I wanted our entry to flow better with the rest of our house. Your entry sets the feel for the rest of your house and it's the first thing your guests see. Sometimes, it's the only thing people see. I wanted ours to make a statement.
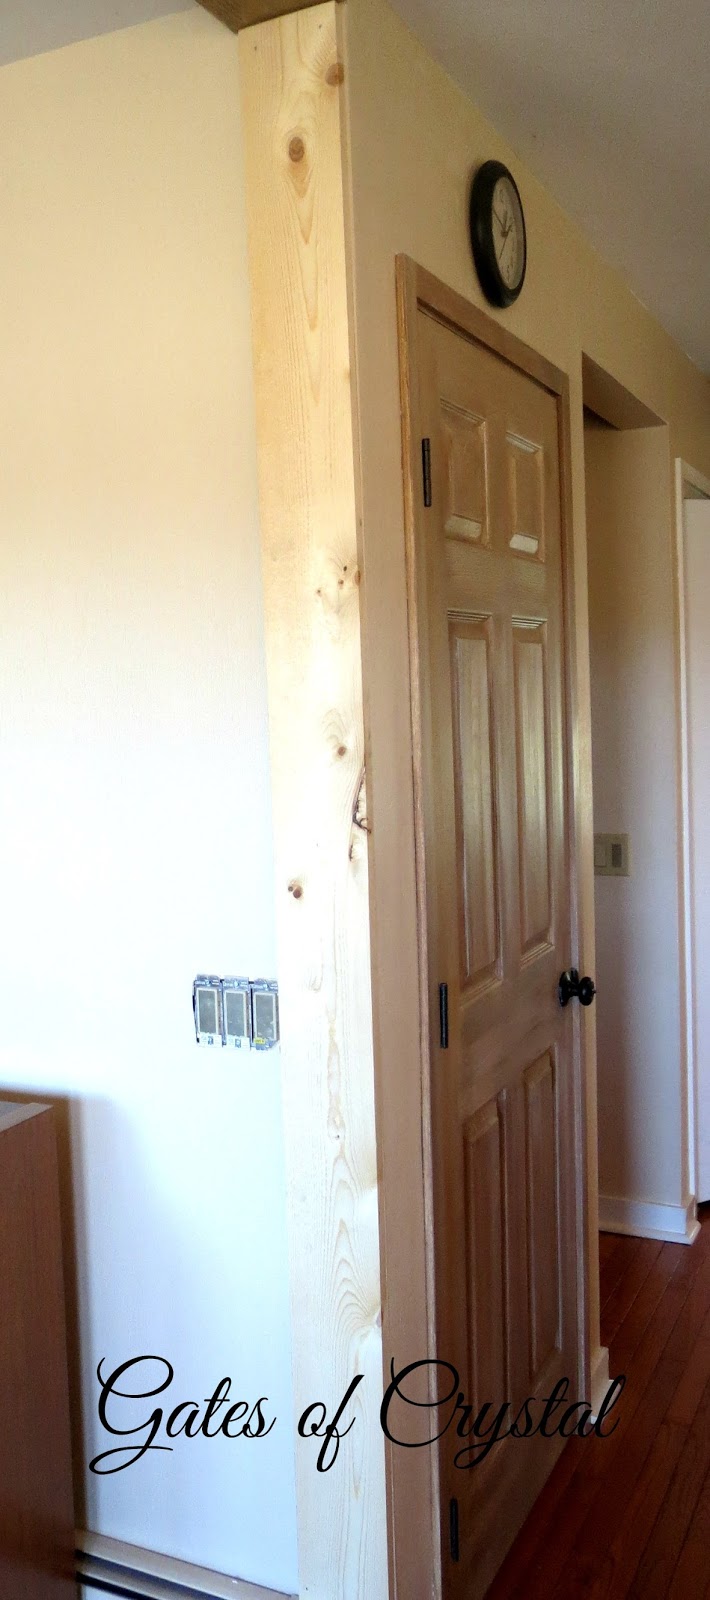
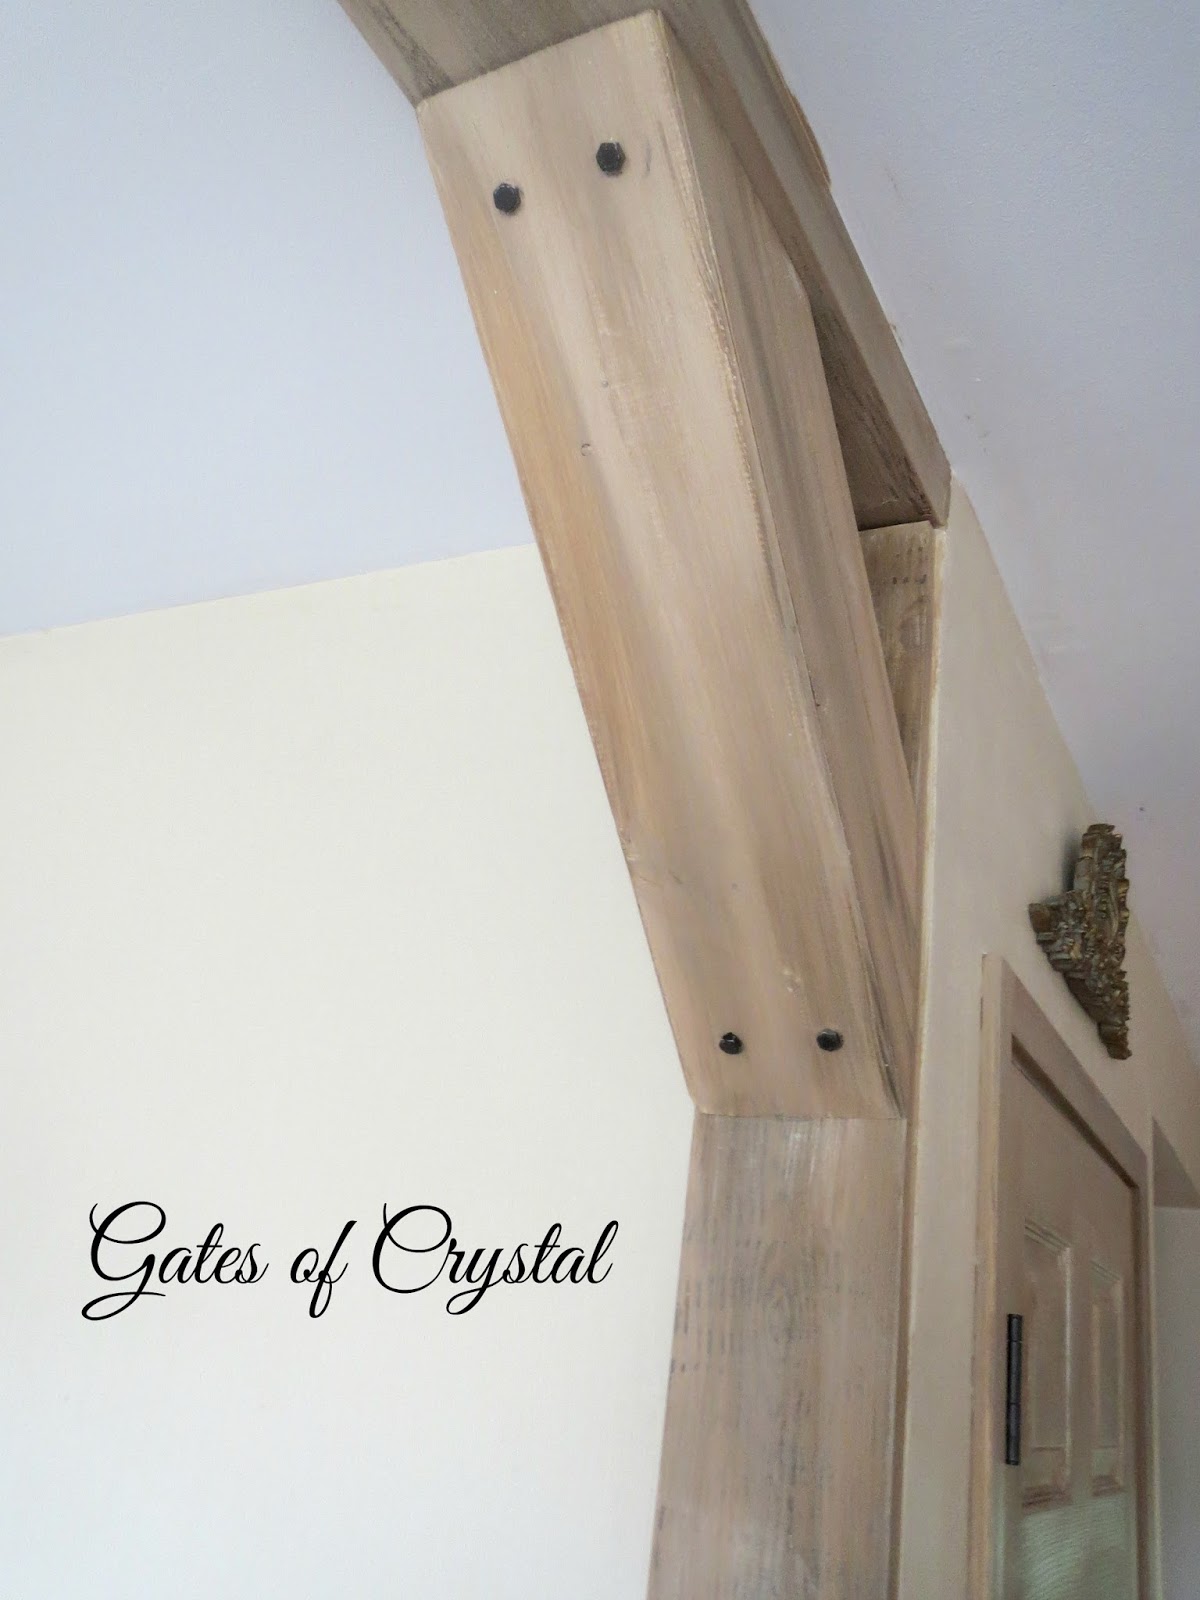
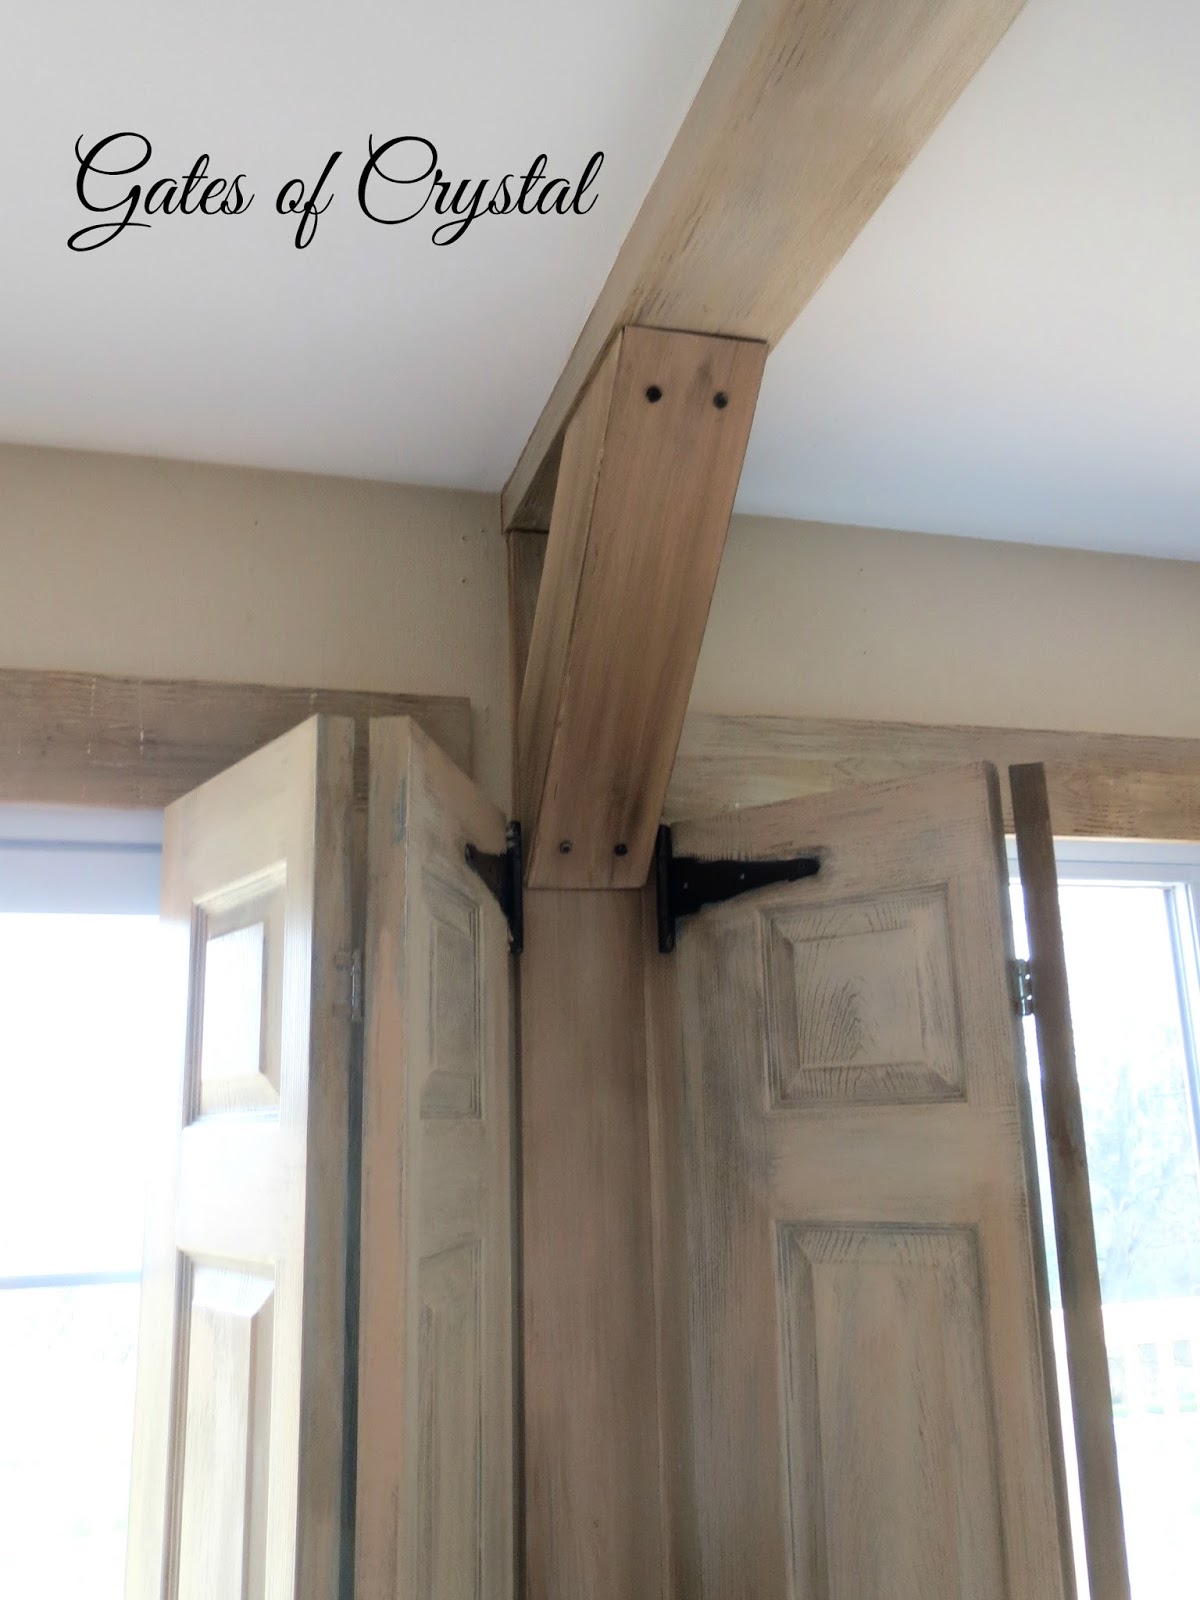
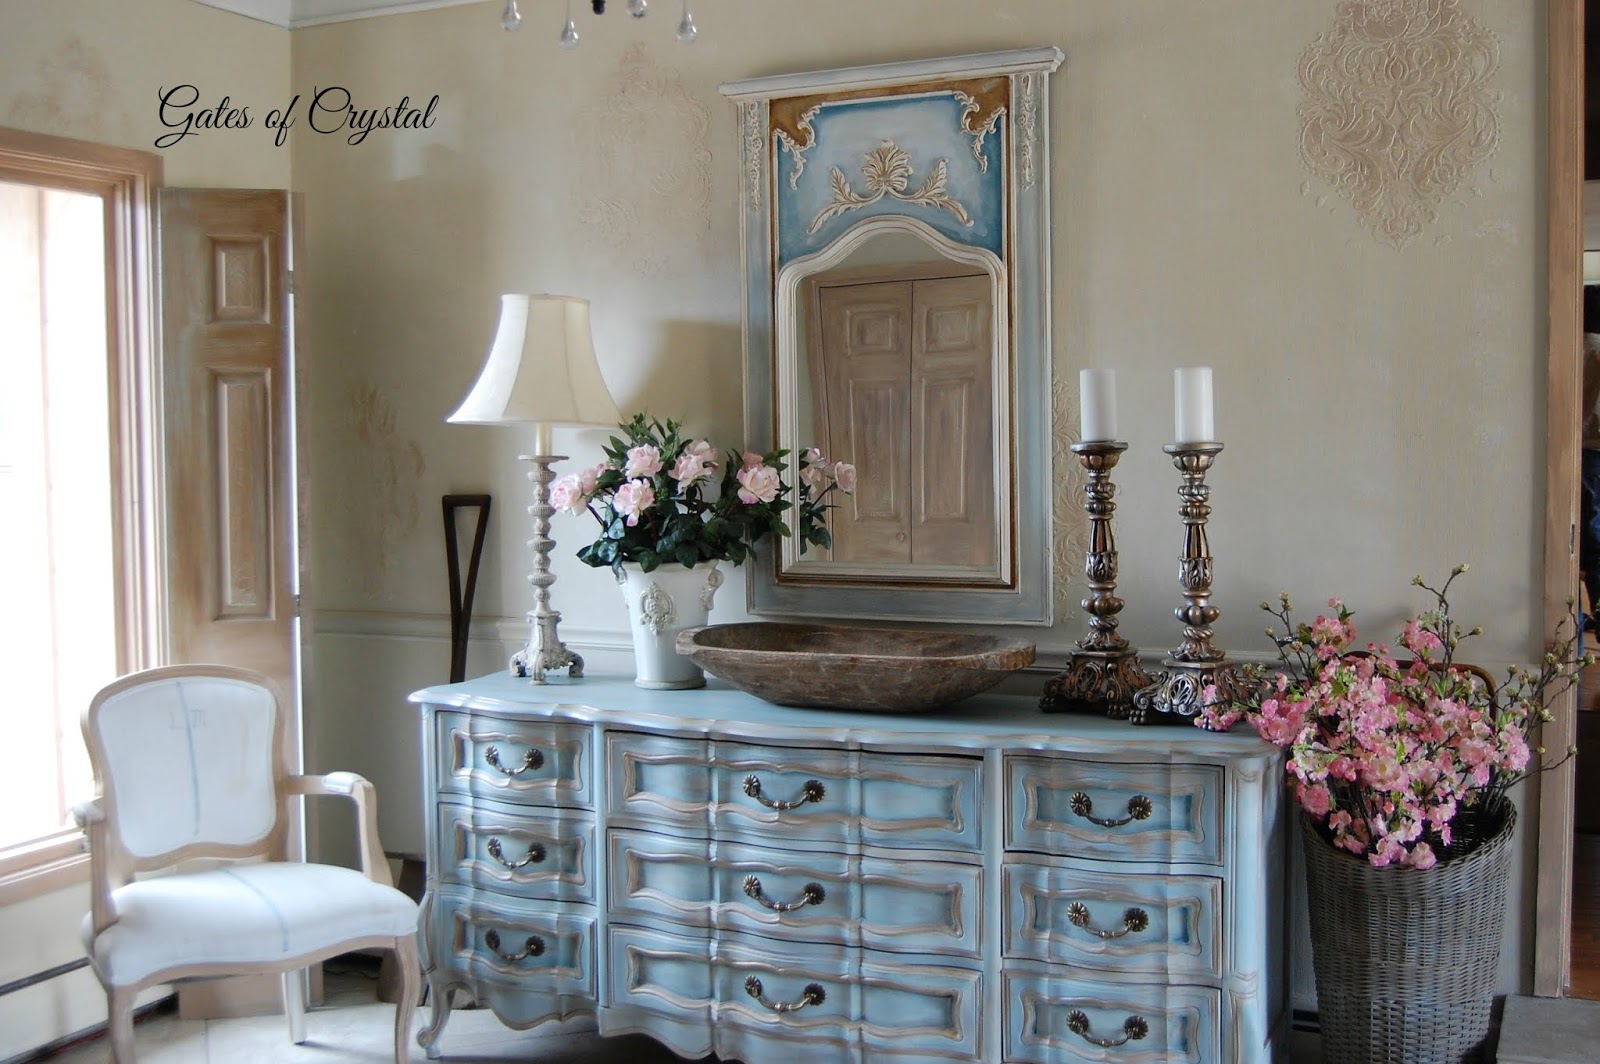
So I started out painting the our white closet doors and trim with the same wood-tone technique that I had done in the rest of the house. You can see the closet reflected in the mirror, the shutter on the window and the trim on the door. Then I went to the walls.
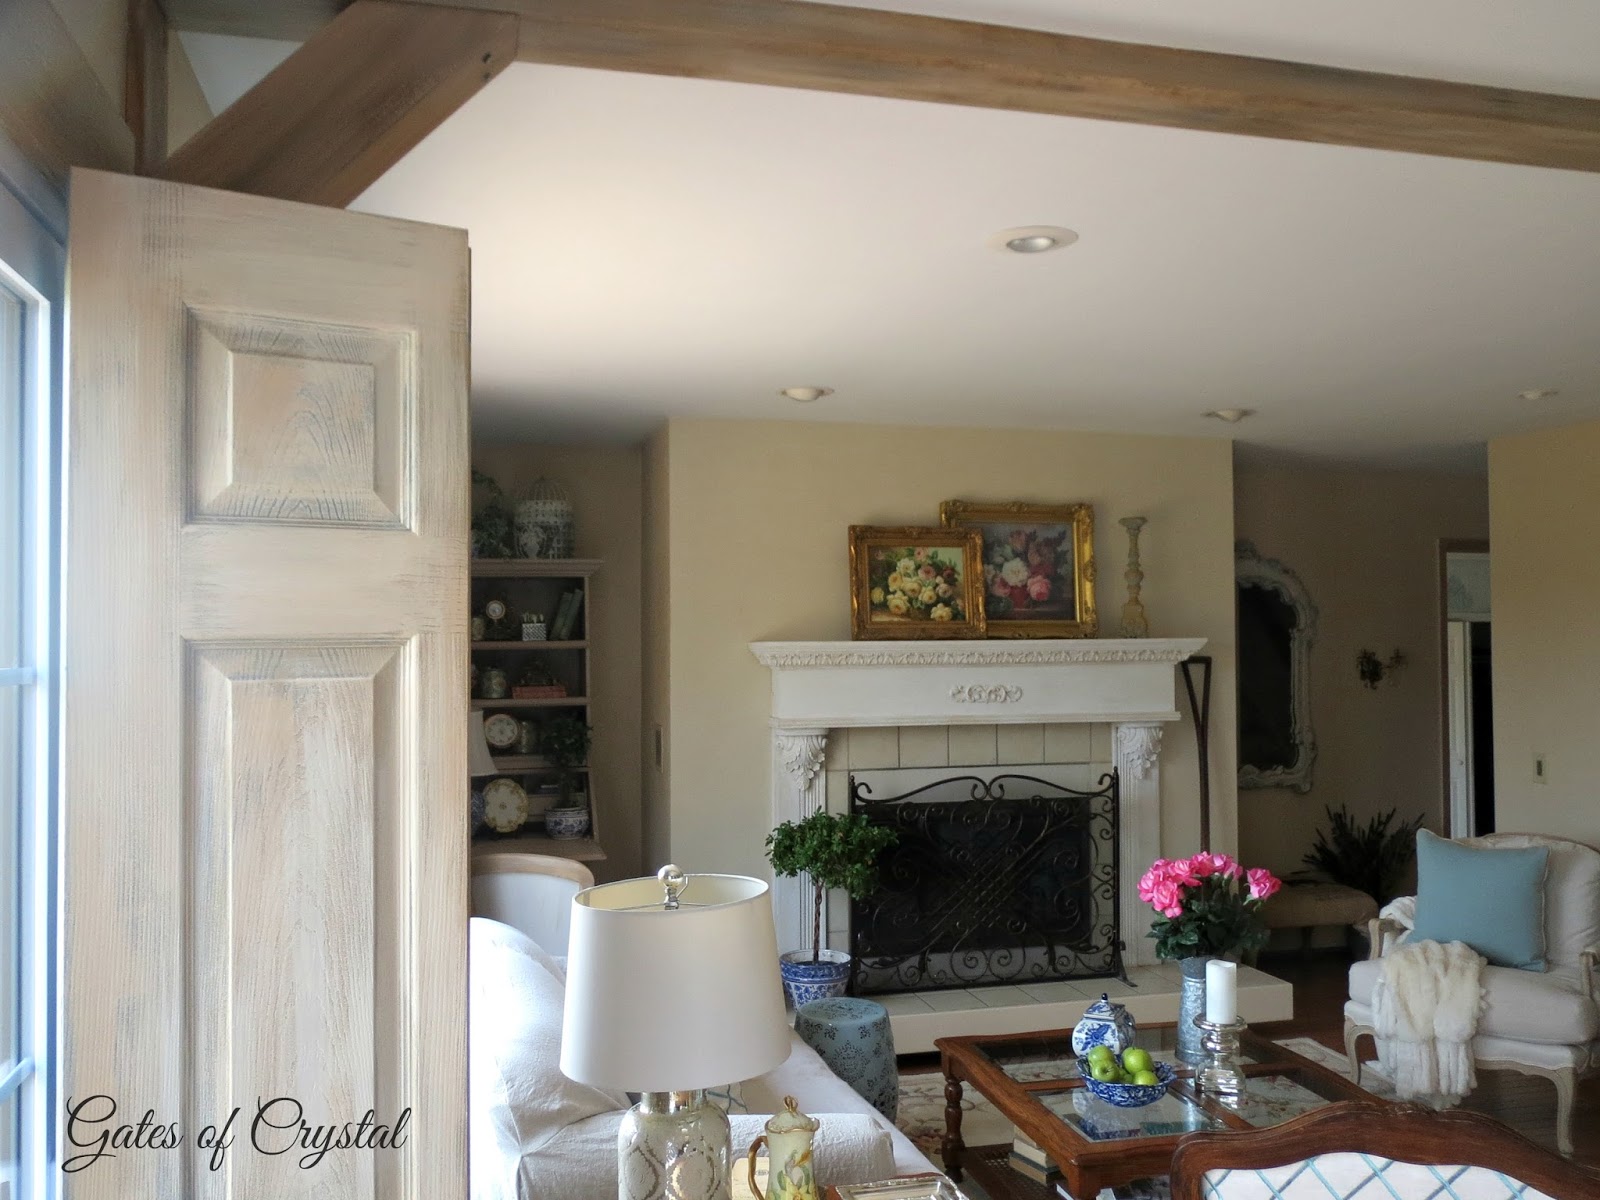
I painted them a uniform Sand by Sherwin Williams - from top trim to bottom, including the chair rail. I experimented with the chair rail being a wood tone and didn't like it so went back and covered my experiment.
And then I paused and almost cried. I truly had loved the old paint technique in the room and now it was just a flat, boring beige. I texted my daughter and told her I may have made a mistake. And then I reminded myself how furniture can sometimes look when you're in the middle of the job and told myself that it will be okay!
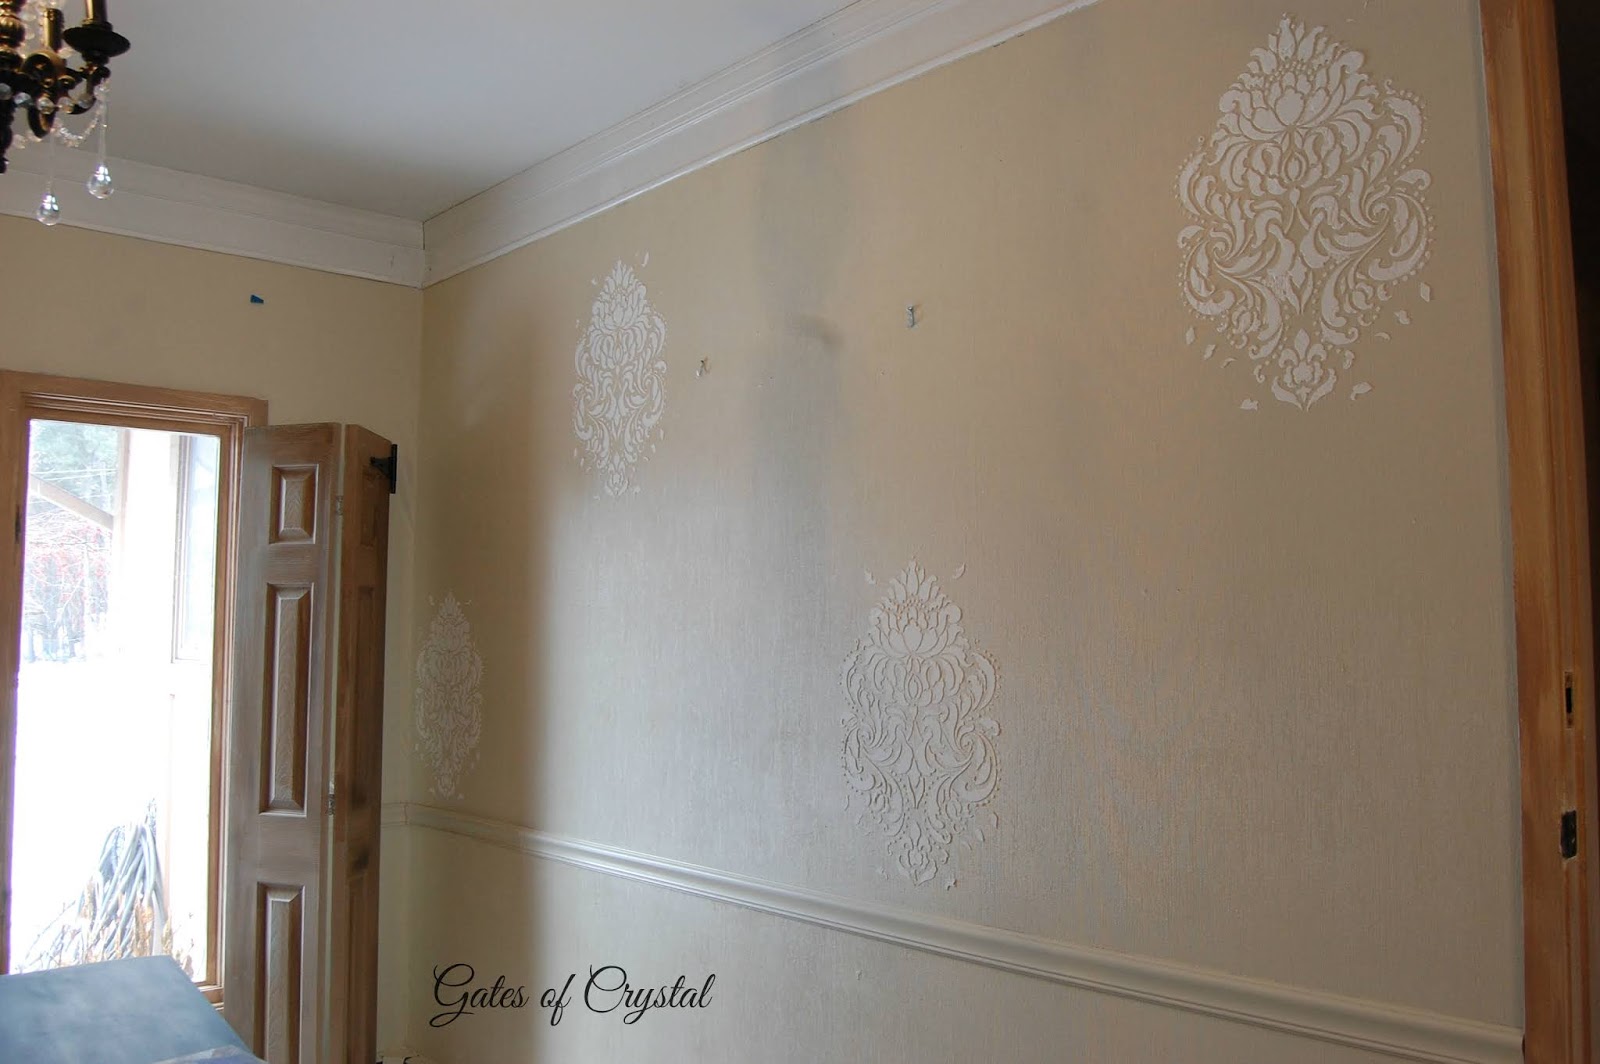
The next day I gathered the supplies I had bought for this design and took a deep breath. I marked the places I wanted the stencils to be, basically the same places they had been on the previous design.
I used painter's tape to hold the stencil to the wall and applied the plaster over the stencil with a small trowel. I got the plaster into all the holes and then skimmed back over it, leaving a thinner, even coat. Then immediately pulled the stencil off the wall.
I let the stencils dry for a full 24 hours. The next day they were hard and solid. My family panicked a little saying, "You know this is permanent!" (I've been known to re-decorate.) ;)
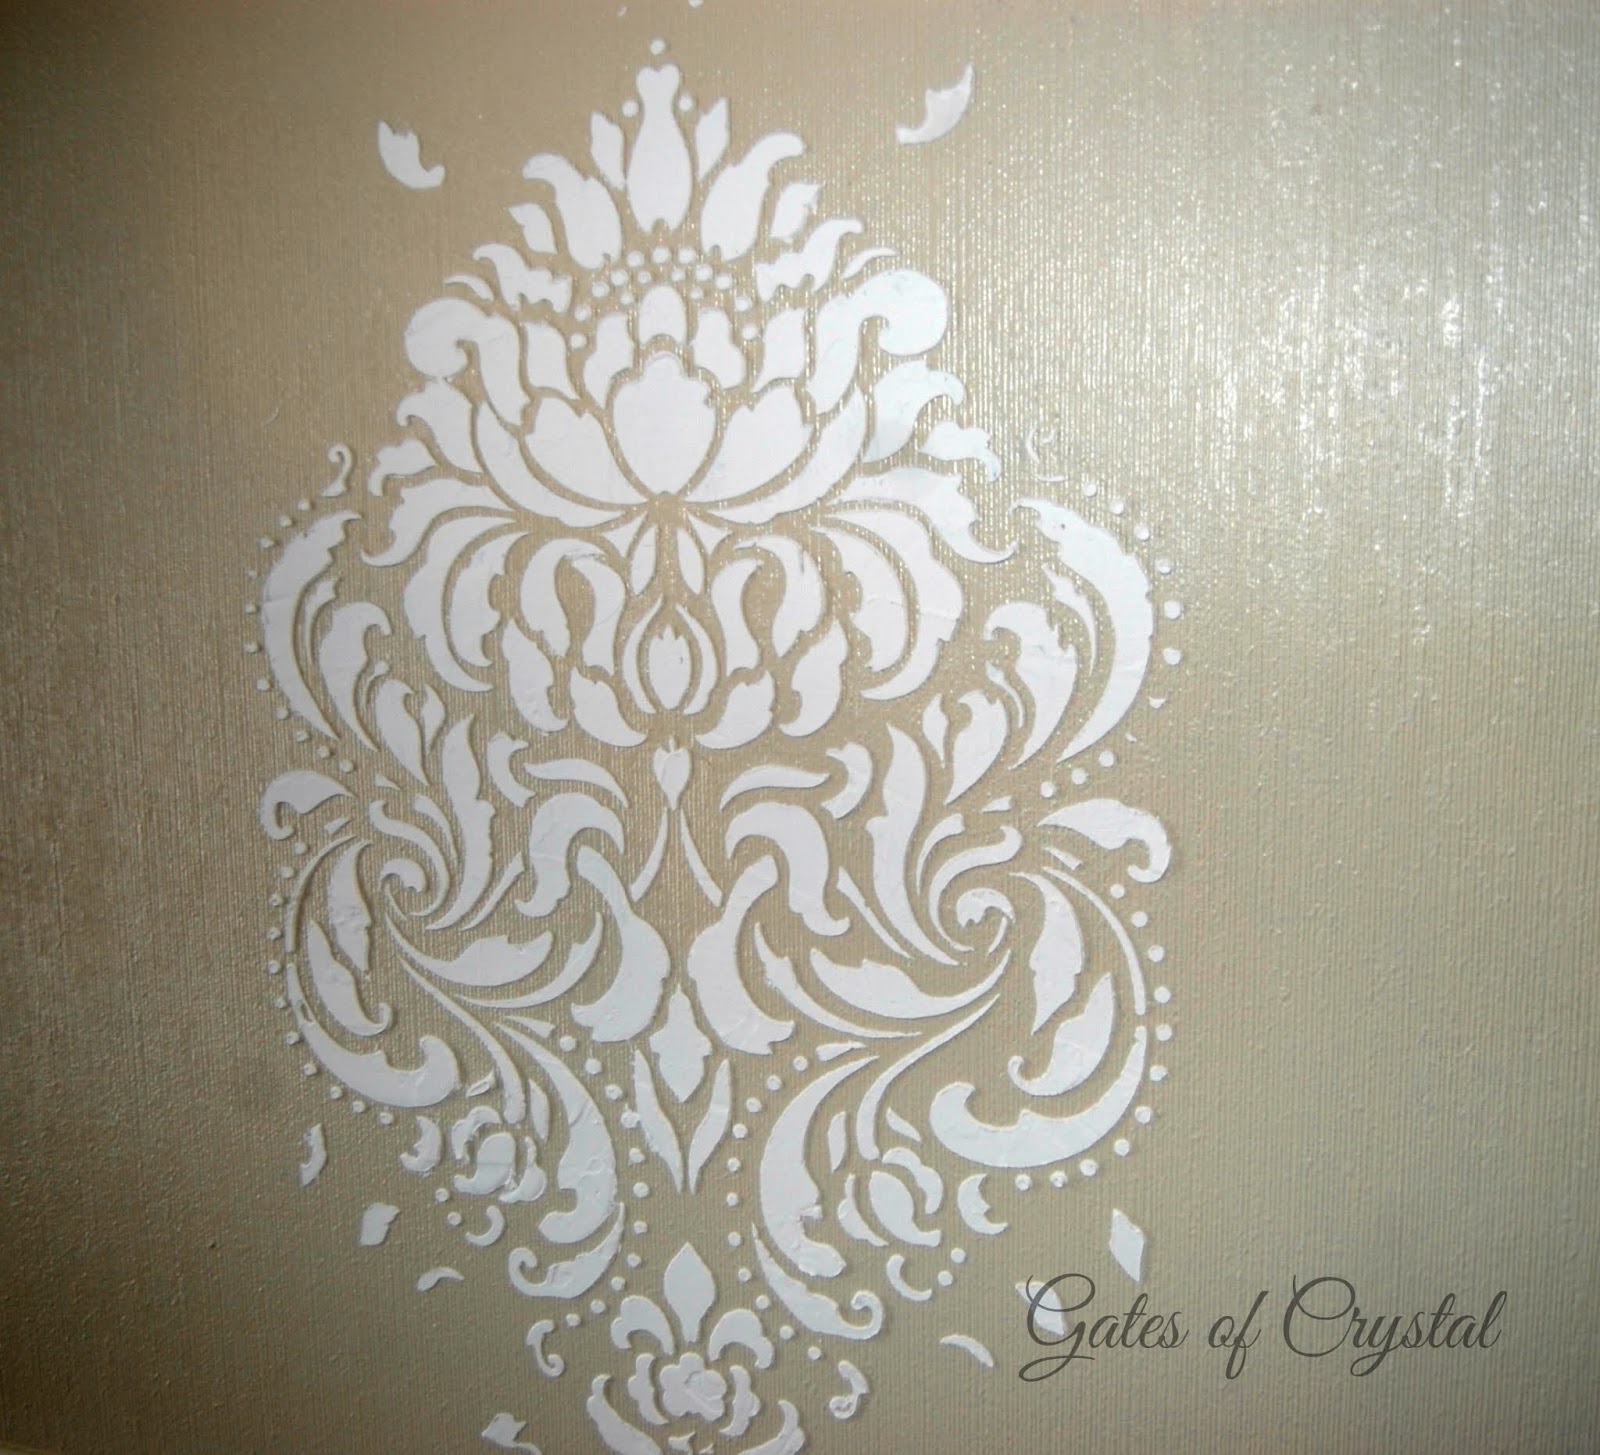
I then used this roller and put Sand by SW in one side and Antique White by Valspar in the other side and went back over my walls, including the raised stencil to get an uneven look on my walls.
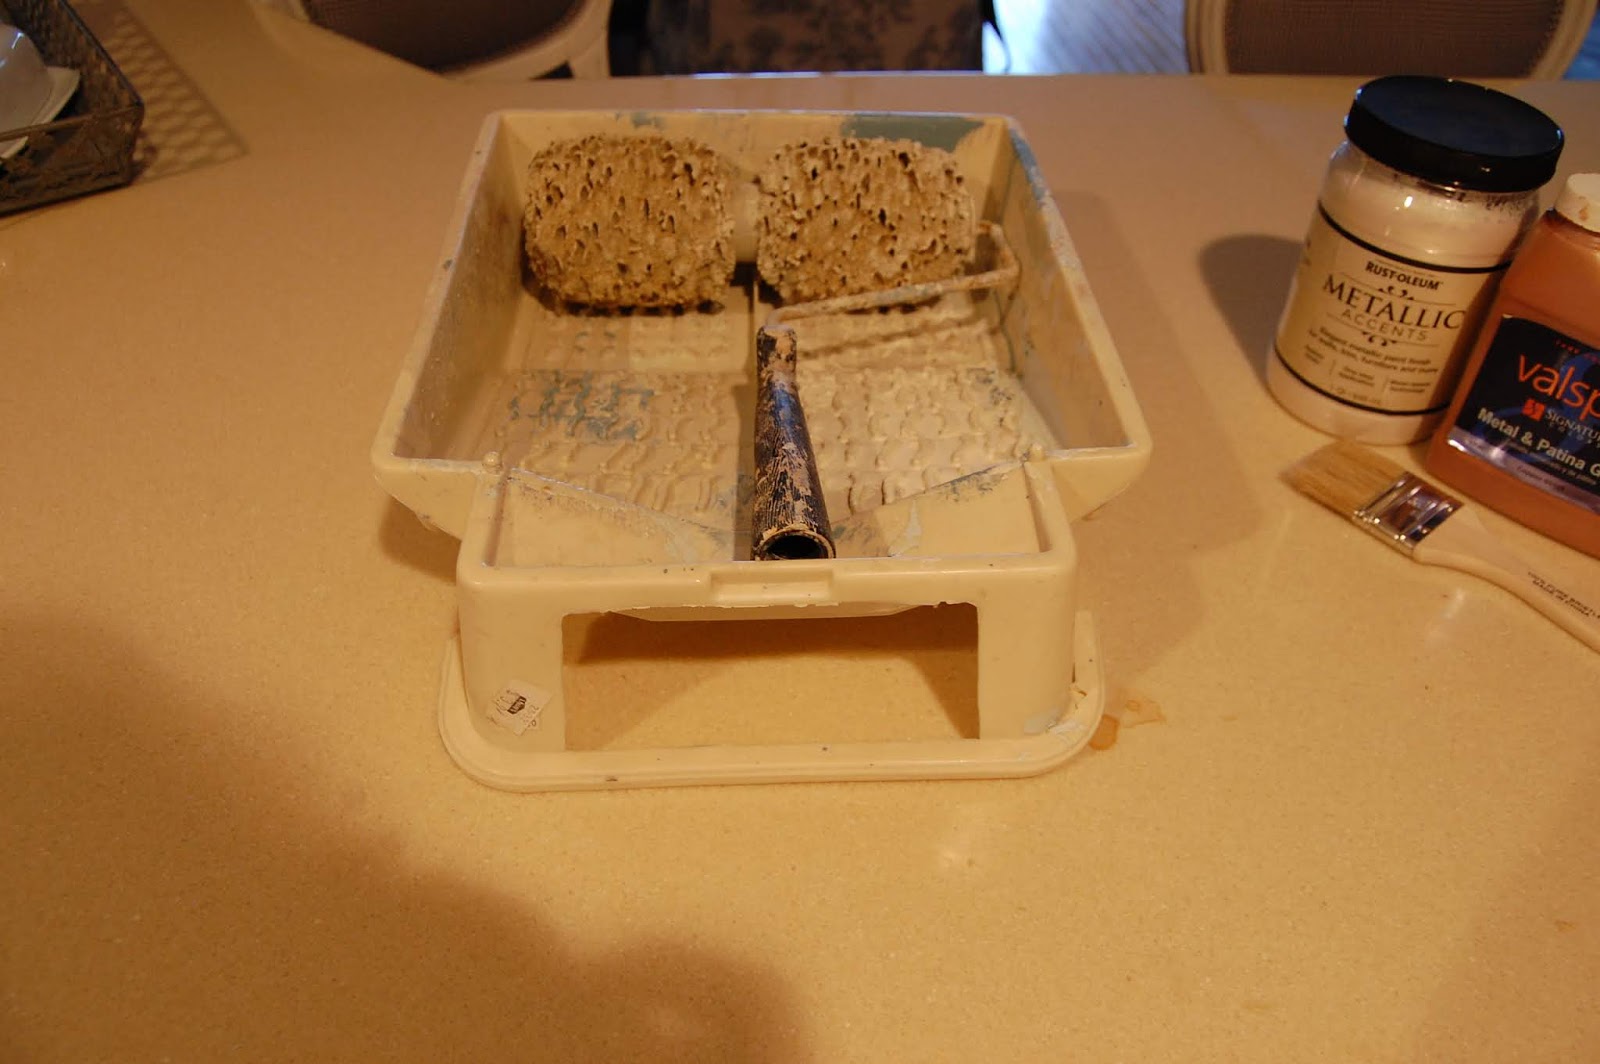
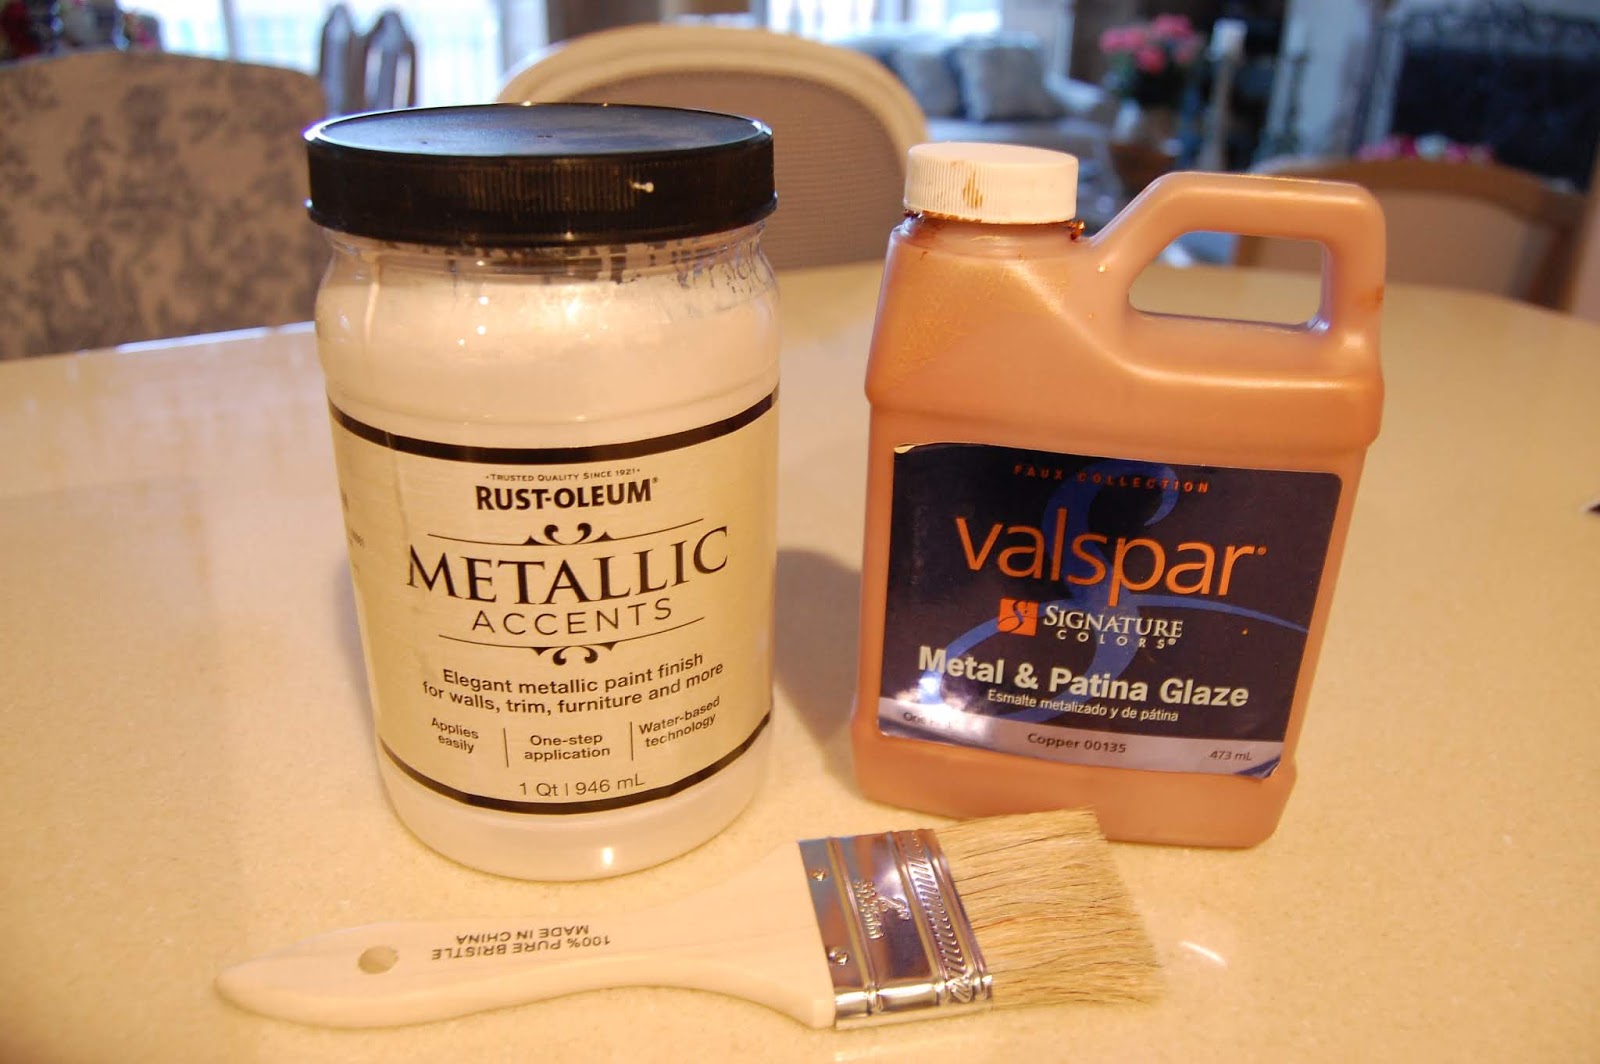
I wasn't blogging at the time so I don't have any more pictures of the process. I then used these products to accent the stencils.
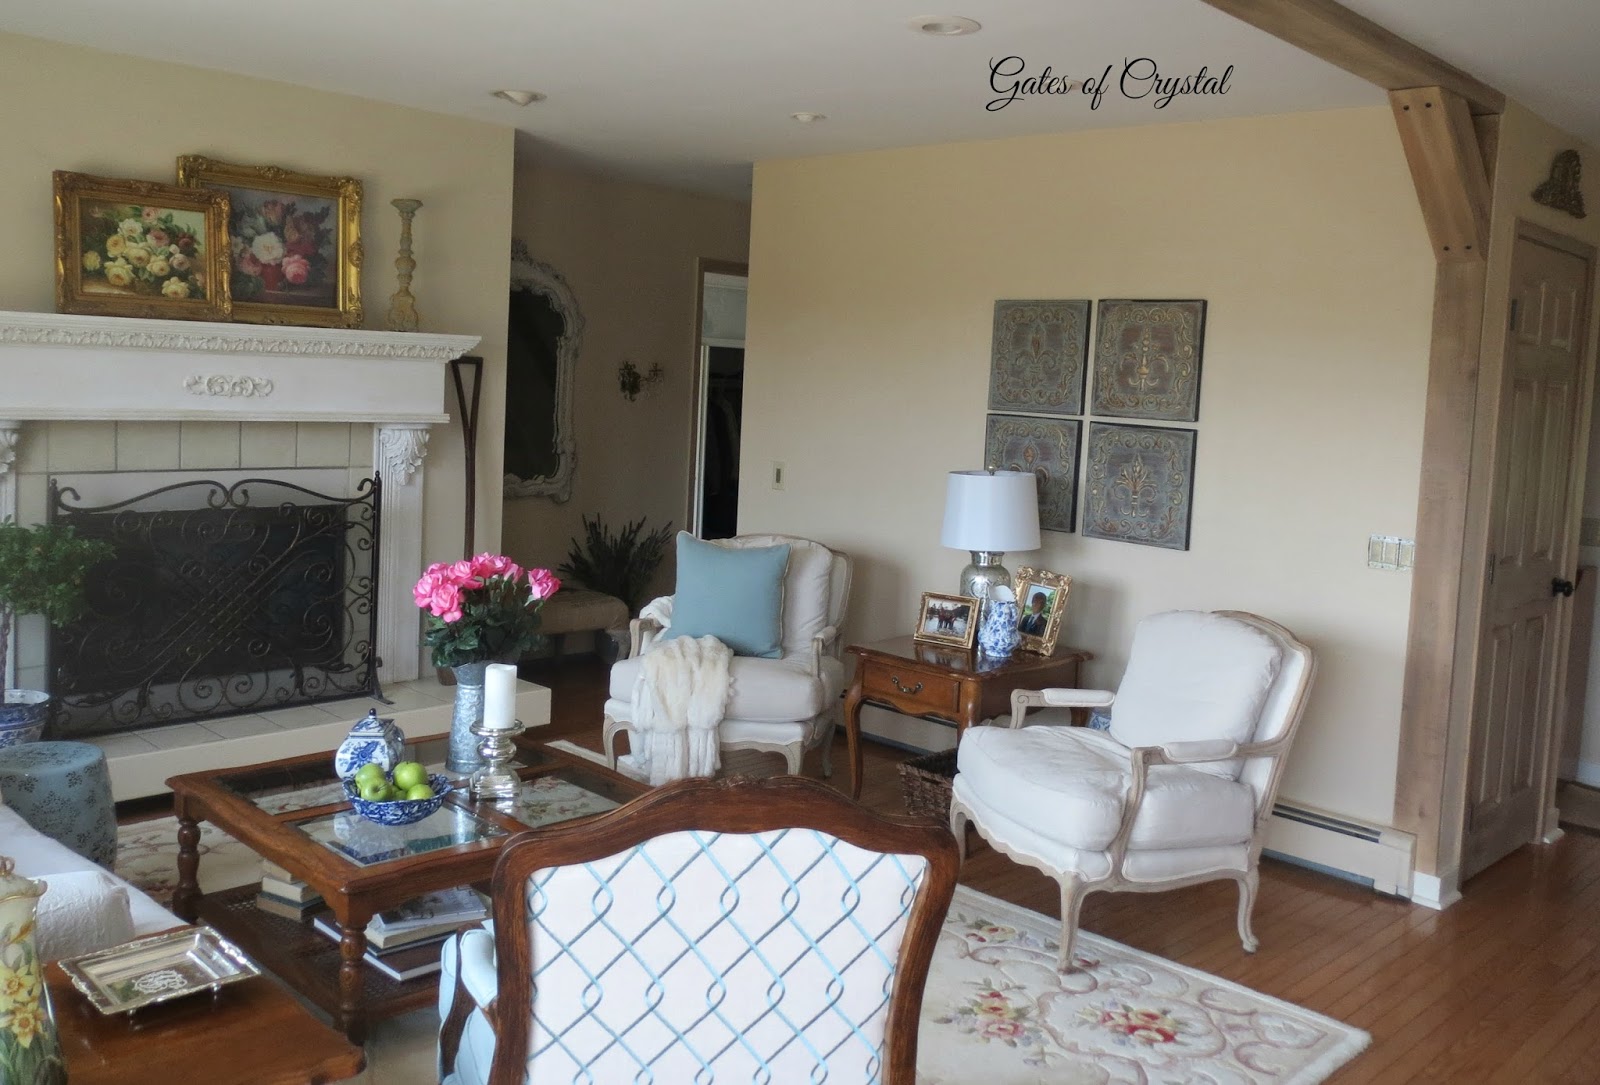
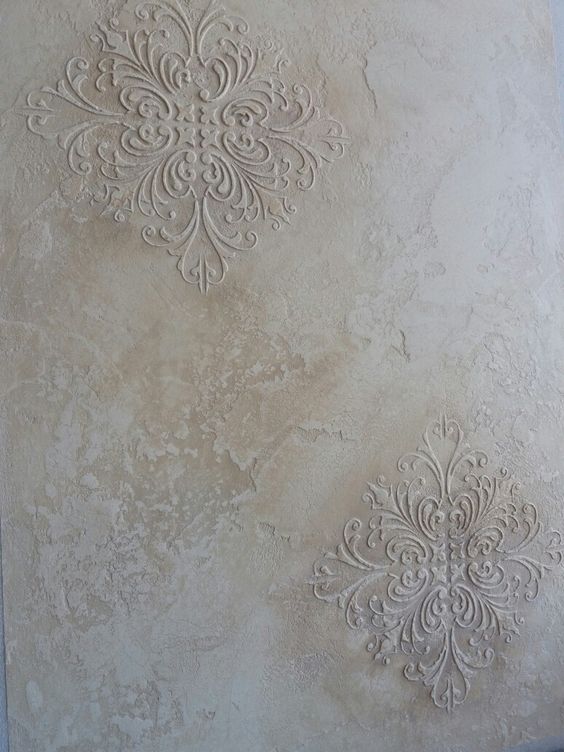
It was really an experiment. Some things that I thought I would like were too dark. Whenever I didn't like something, I covered it back up with Sand. There are about 20 of these raised stencils in the room and each one is uniquely painted. What I mostly ended up with was very little of the bronze glaze and more of the pearl glaze. The stencils become more evident depending on where you're standing in the room and how the light is hitting them.
If I ever get tired of them, a coat of paint the same color as the room would cause them to barely show.
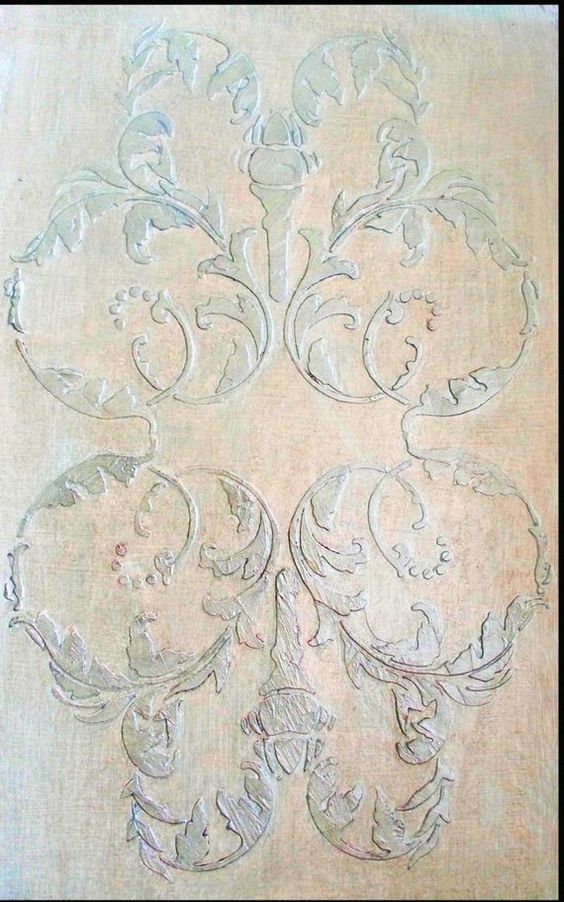
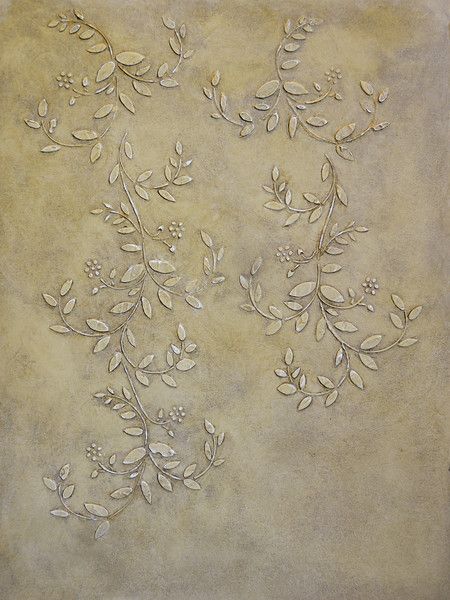
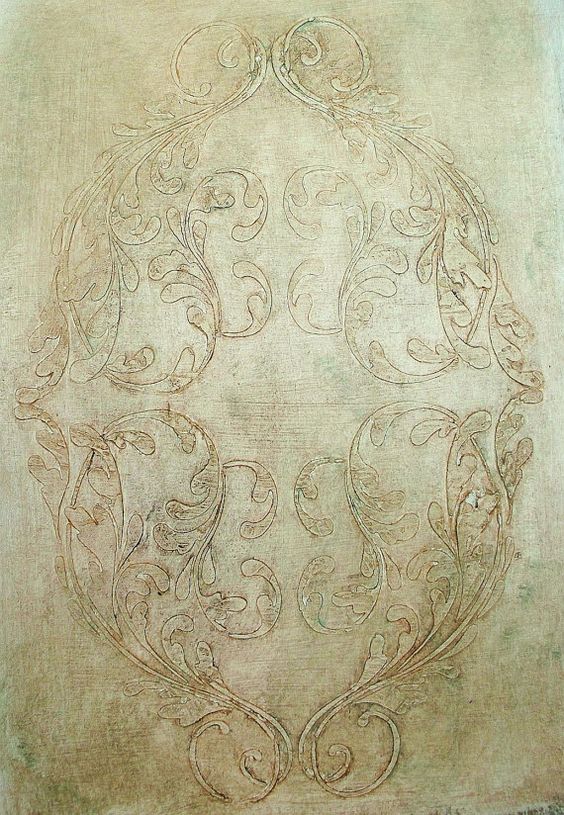
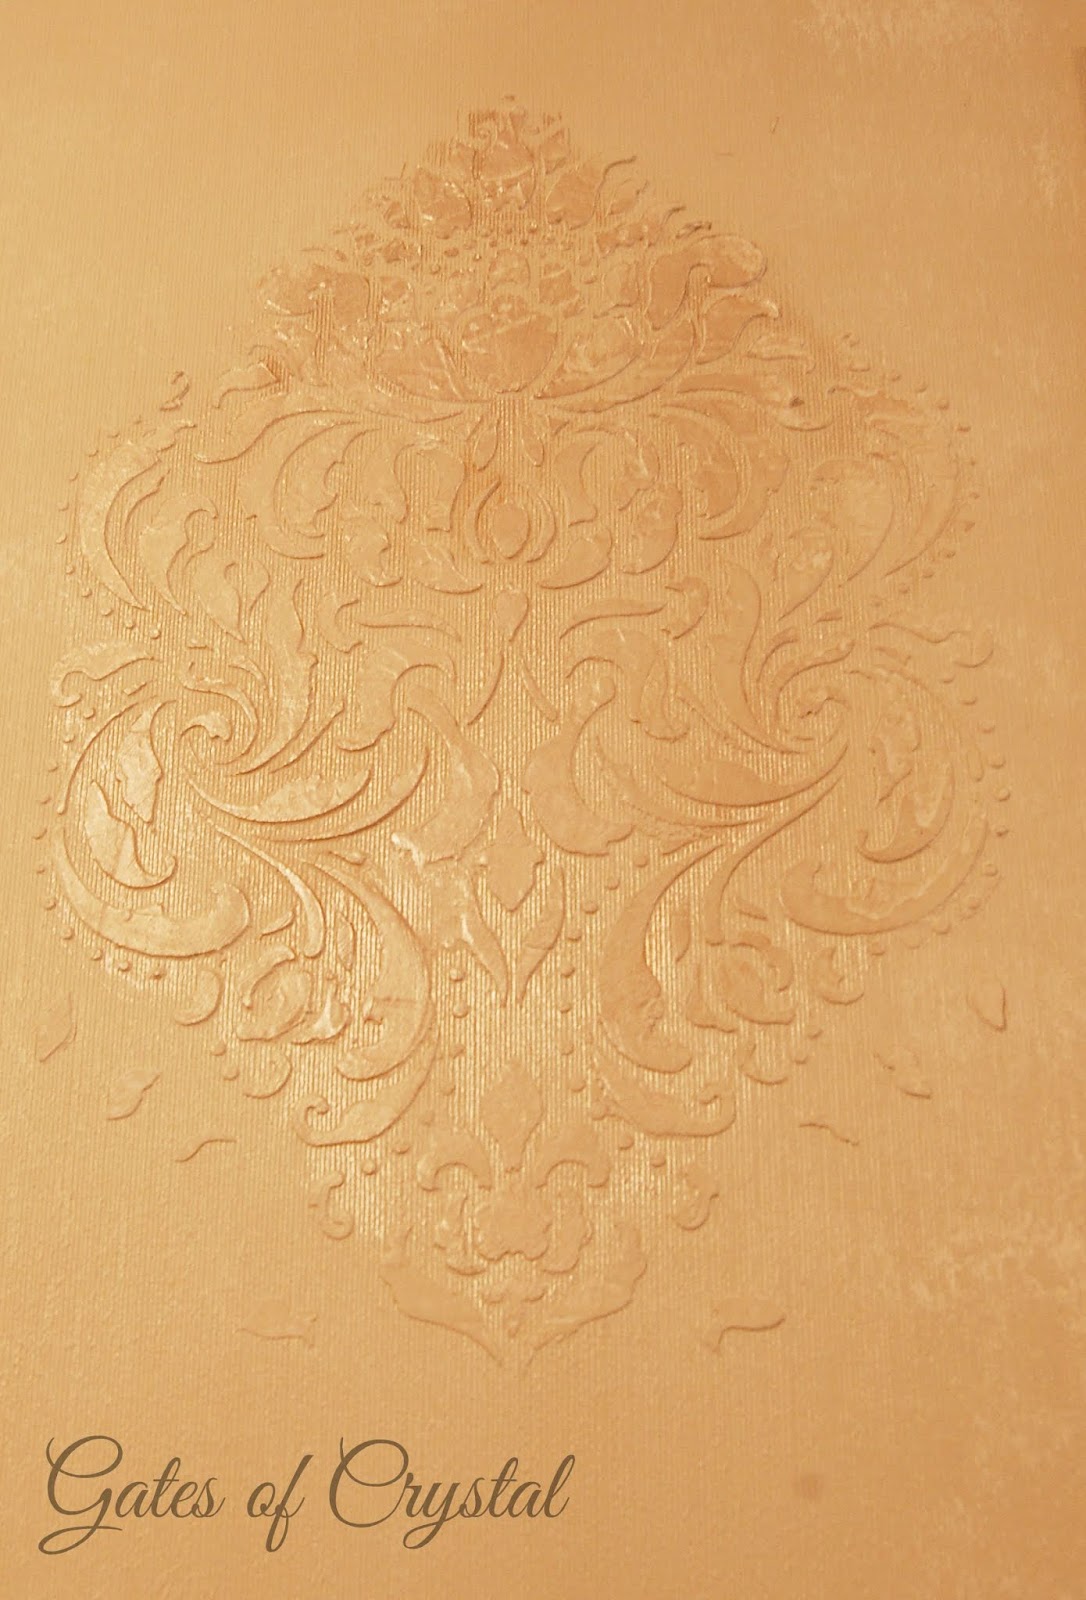
Here are some pictures I found on Pinterest that were my inspiration:

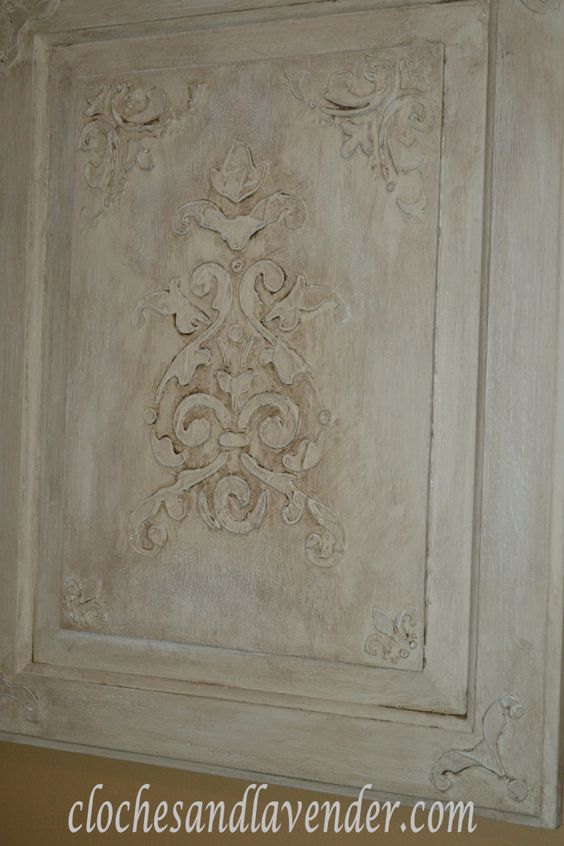
This last picture is a door! And I know exactly the door in my house that I can do this on!
I think a lot of my inspiration pictures were done on plaster walls (of a French chateau) and that was more work than I could do. So mine is a modern compromise.
I hope this explained the process well. It took me about 5 days to finish this all. One for trim and closets, one for wall base coat, one for plaster stencils, and a couple more days painting all the stencils and finding the look I liked. This is a large room (25x15) and the fun thing is, depending on your stencil pattern, placement and paint, there are so many options to try!
My husband loves it. He got a far away look in his eye in the middle of this whole thing and I asked him what he was thinking. He replied, "I'm worried about all the rooms you could do this in!"
Poor man! Right now, I'm thinking about that closet door!
love and blessings~

“Everyone then who hears these words of mine and does them will be like a wise man who built his house on the rock. And the rain fell, and the floods came, and the winds blew and beat on that house, but it did not fall, because it had been founded on the rock. And everyone who hears these words of mine and does not do them will be like a foolish man who built his house on the sand. And the rain fell, and the floods came, and the winds blew and beat against that house, and it fell, and great was the fall of it.” Matthew 7:24-27
Supplies:
Sponge paint roller
Sand by Sherwin Williams
Antique White by Valspar
painter's tape
stencil
wall plaster
Valspar Copper Glaze
Rustoleum Pearl Glaze