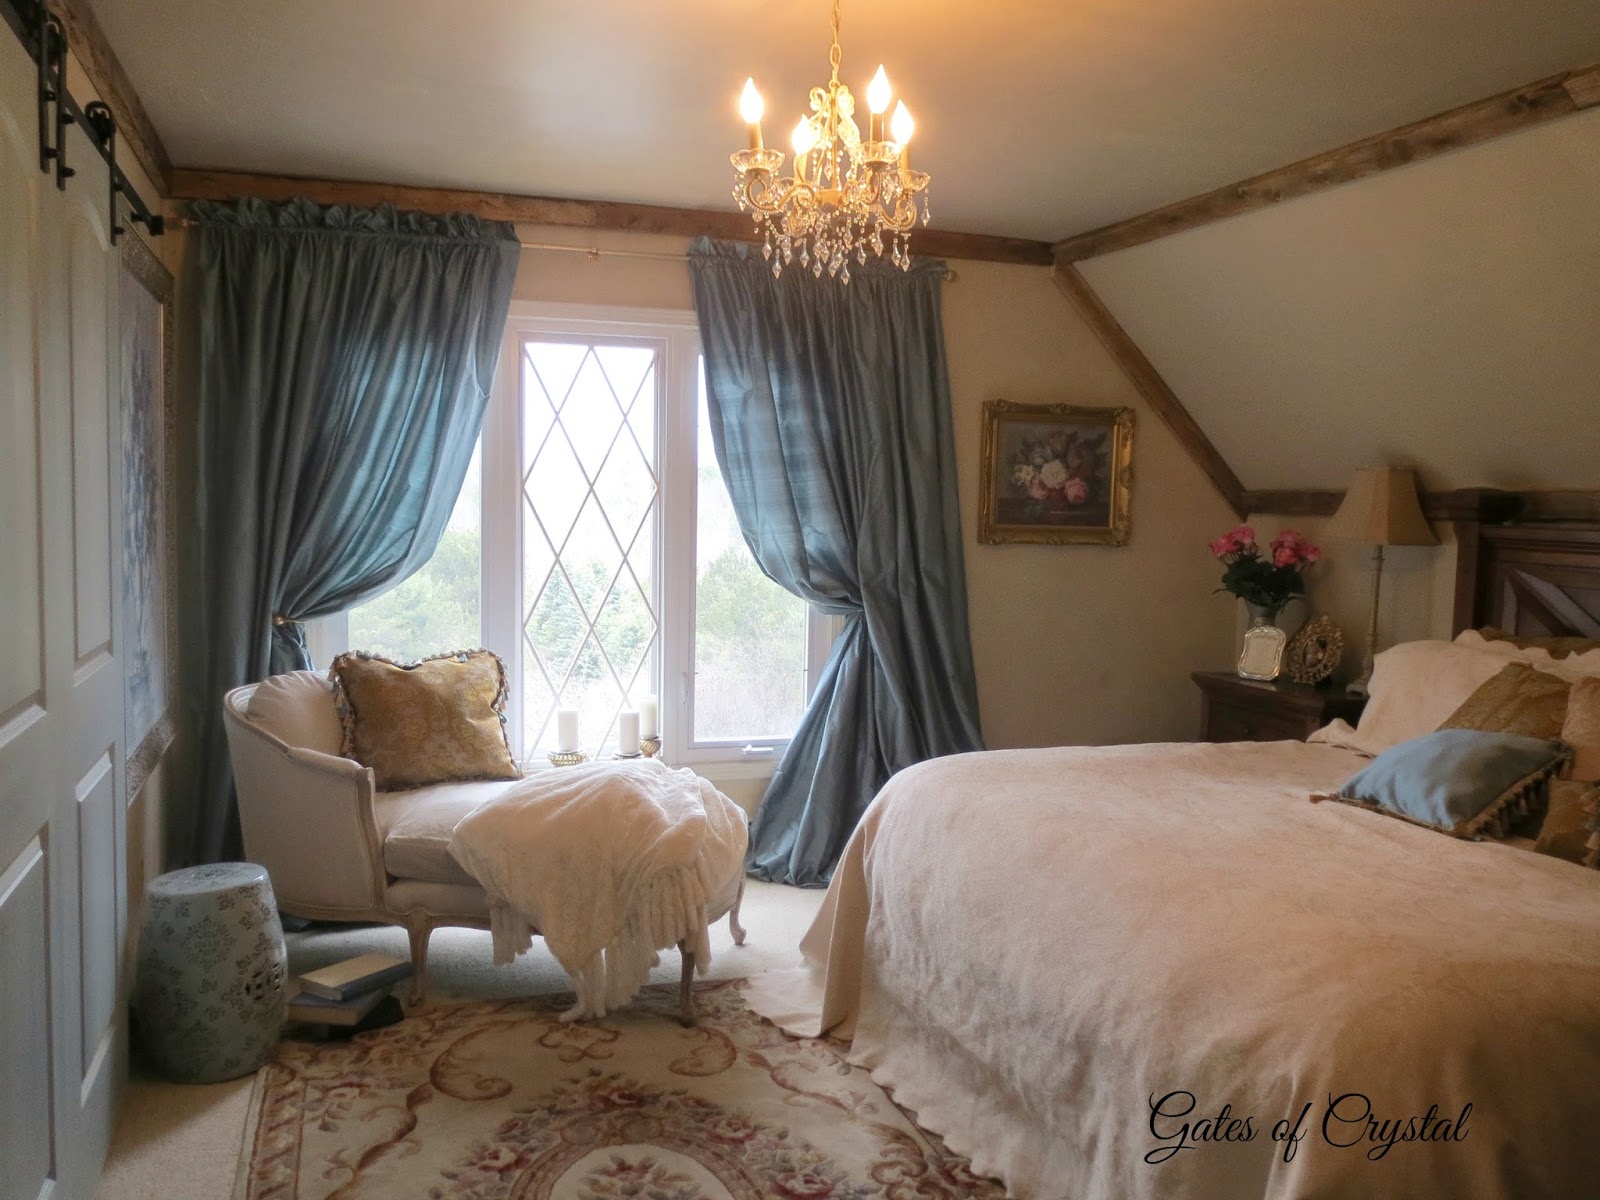
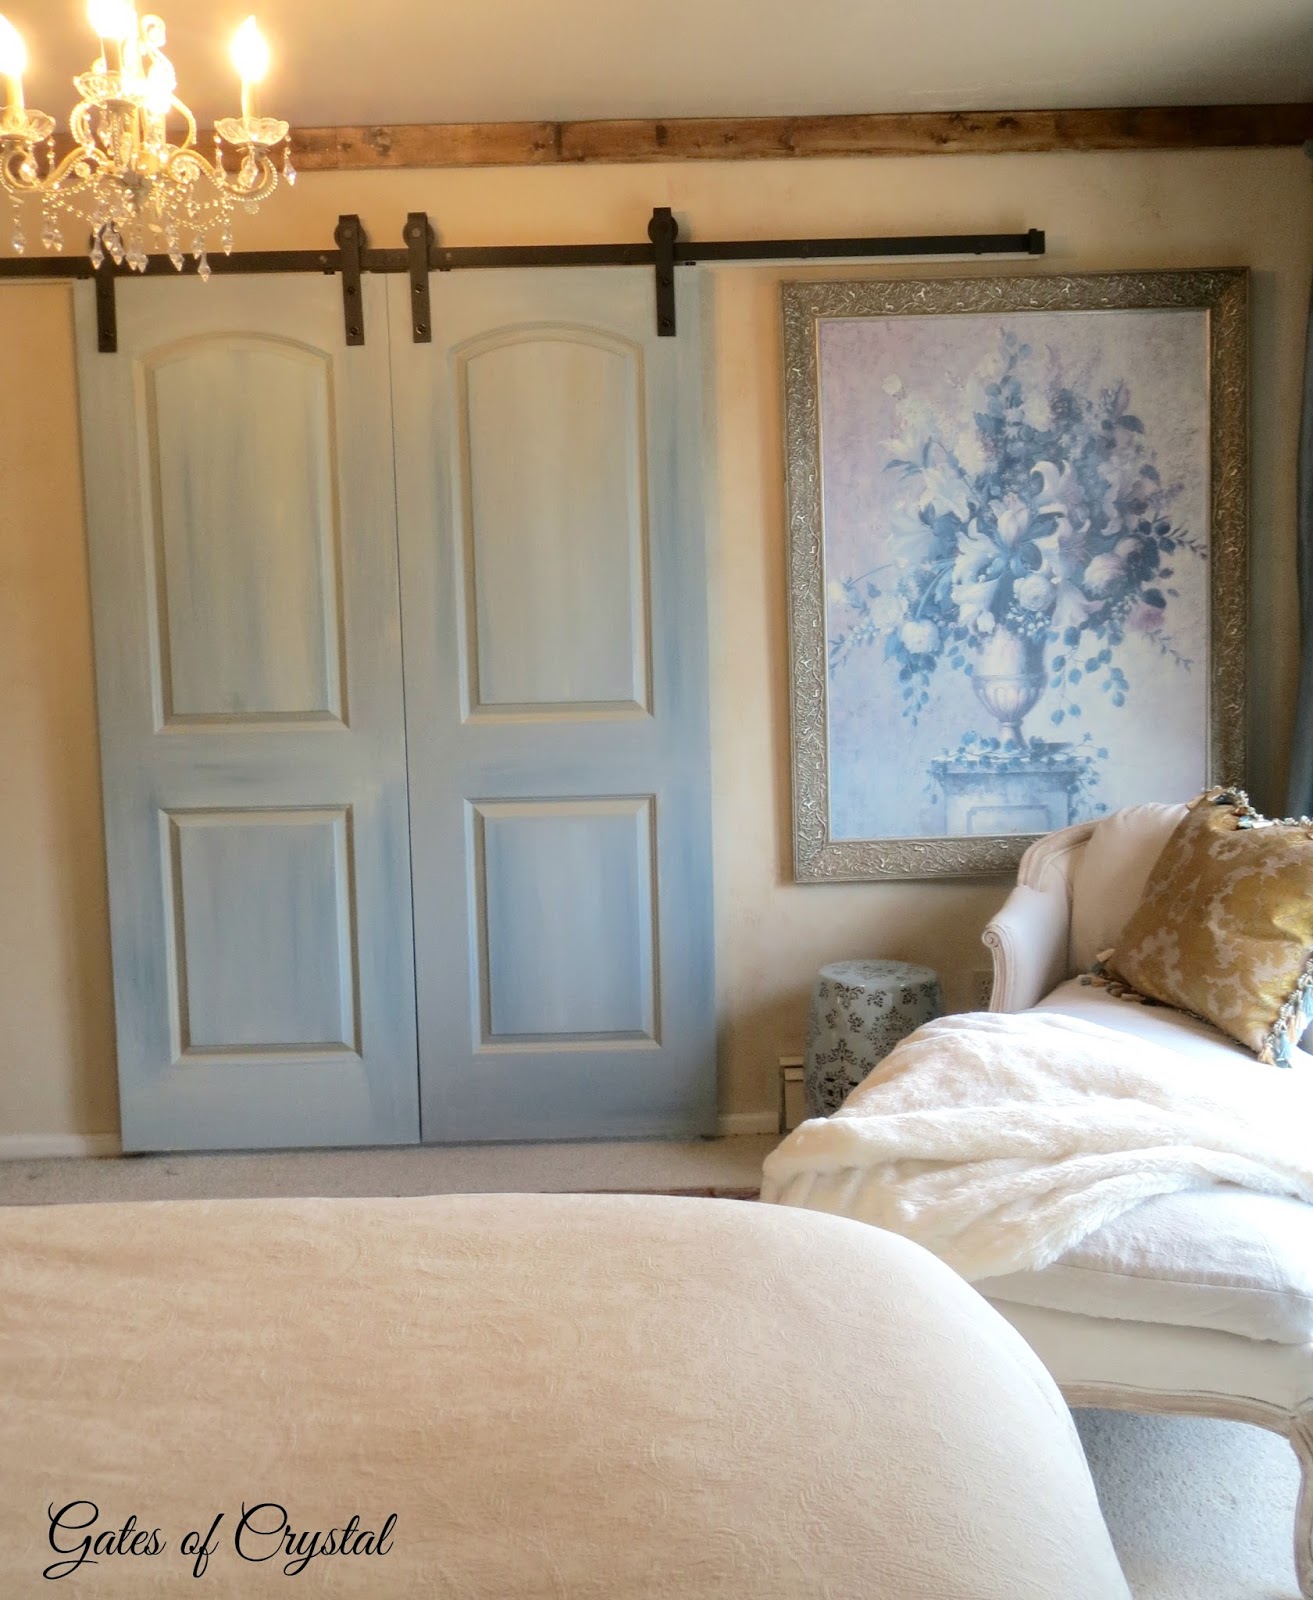
We've never had doors on this opening between our bedroom and bath and in reality, we don't really need them but we've always liked the look of barn doors and this was a perfect place.

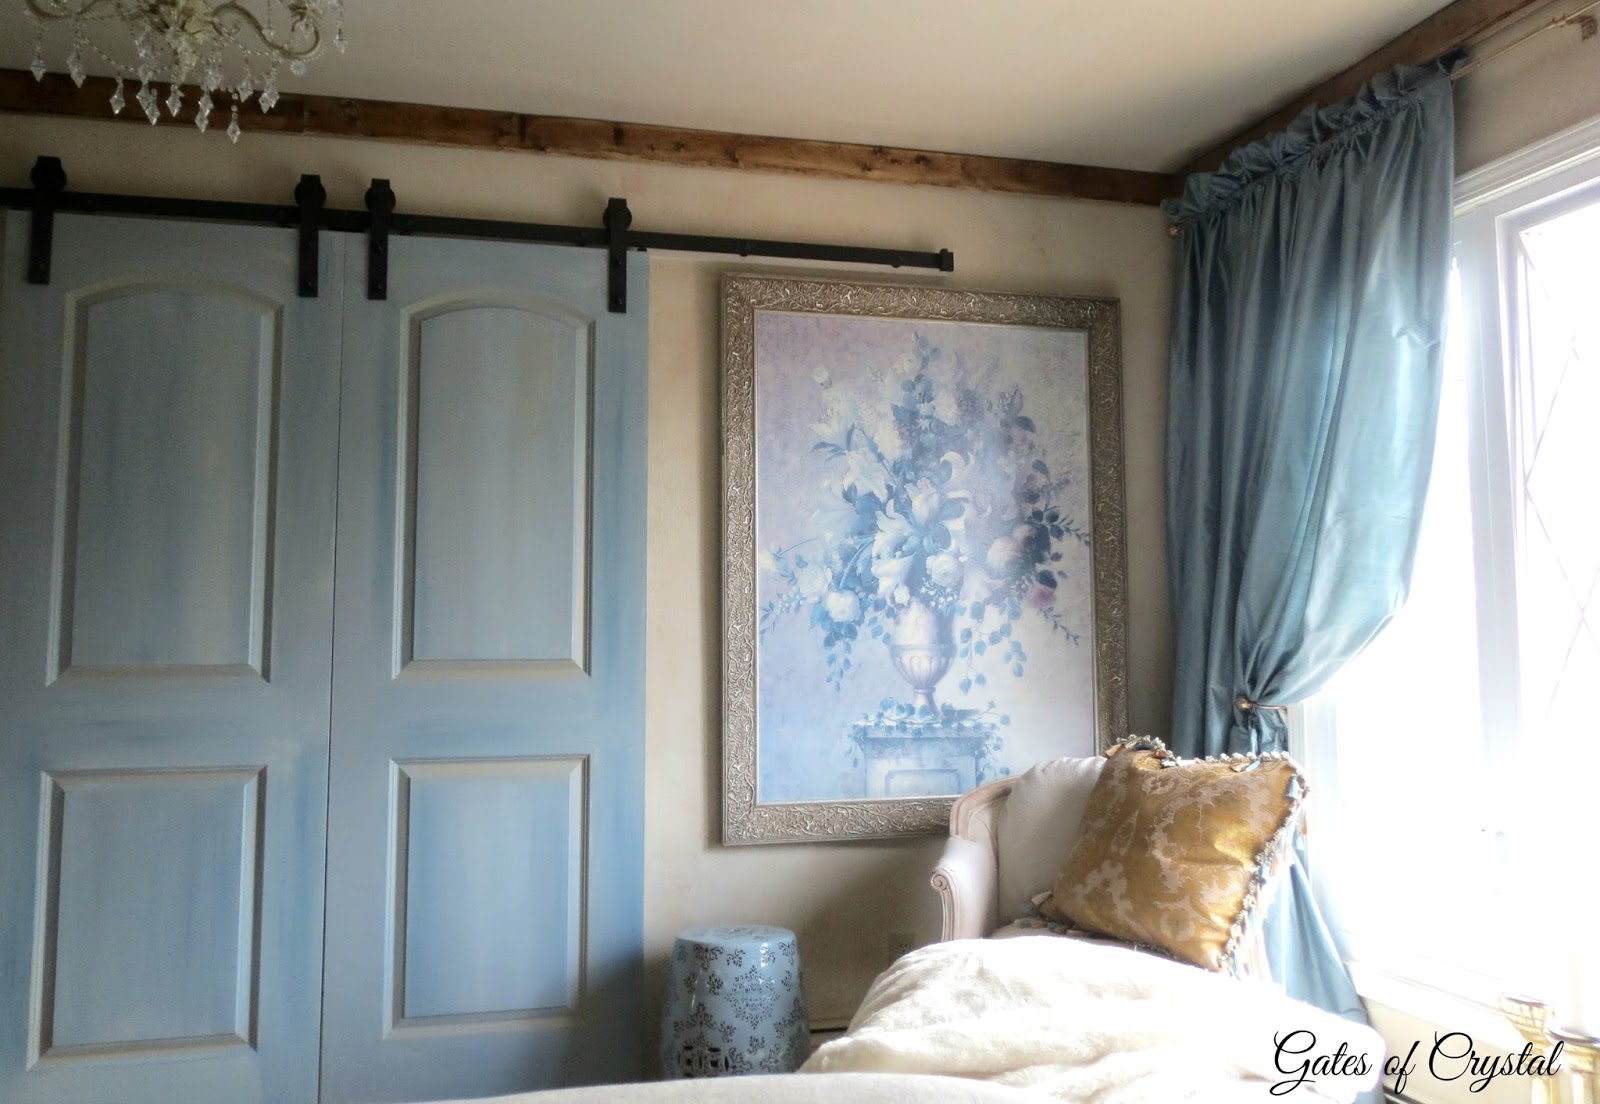
They were a challenge to get hung but it was more our situation than a problem with the hardware. As you can imagine, these metal pieces are heavy-duty and add the weight of the doors and you need to be sure everything is securely hung. The tract had pre-drilled holes to hang it on the wall but these holes did not line up with the studs in the wall. The molly bolts that came with the hardware set would not stay set - they twirled when we tried to put the bolts in.

In an effort to make a long story short, we made several trips to the store getting new molly bolts, new screws, trying to fix the molly bolts into the wall, etc. We finally gave up and attached a board to the wall under the tract. And that worked!
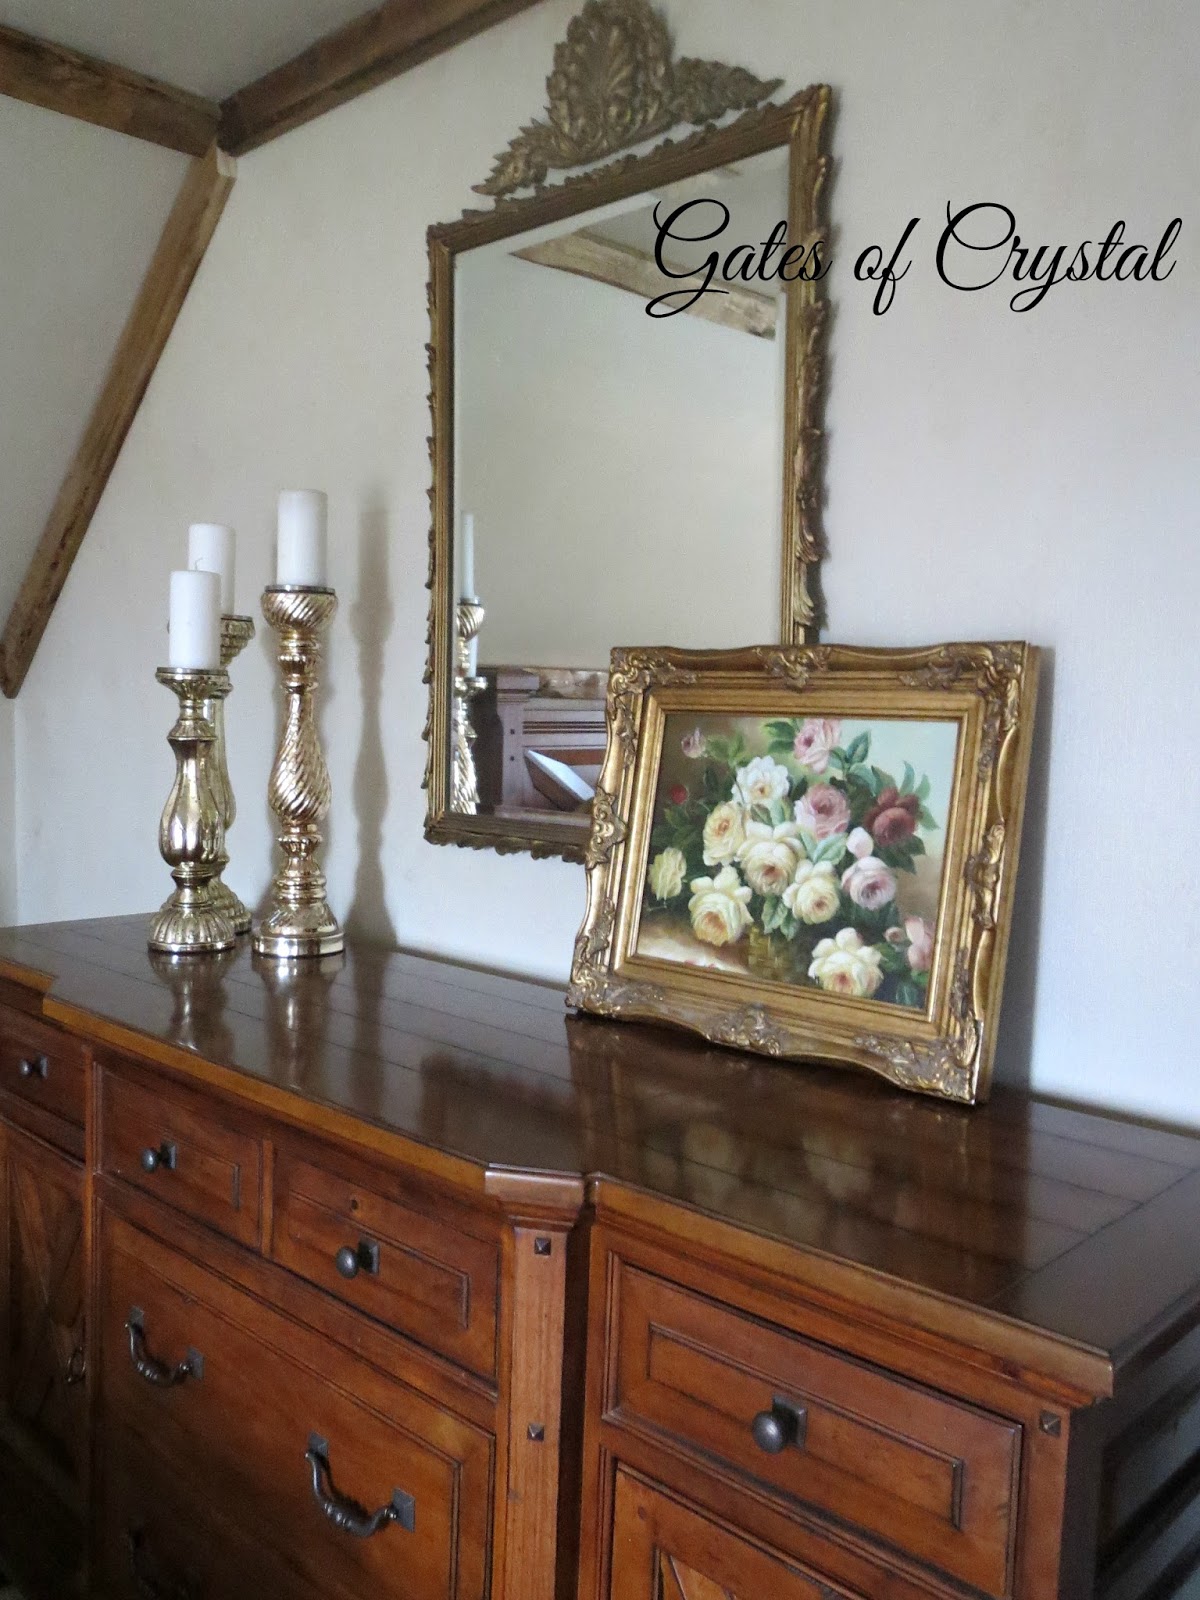
I still need to find picture hangers for this large piece of art that are flatter to the wall. The ones we have now are causing the picture to stick out too far for the door to open all the way but I think when I change that, it will.

I bought these doors at Menard's. I would have loved to have had antique doors with some wonderful details but I like these. They're just regular 28 1/2" doors without the predrilled holes. I like them so much that I wish we had found this style when we replaced all the doors in our house but these are a fun difference. These doors are hollow. The solid doors were a lot more expensive but also a lot heavier. Mark added reinforcements to each door where the hardware was attached.
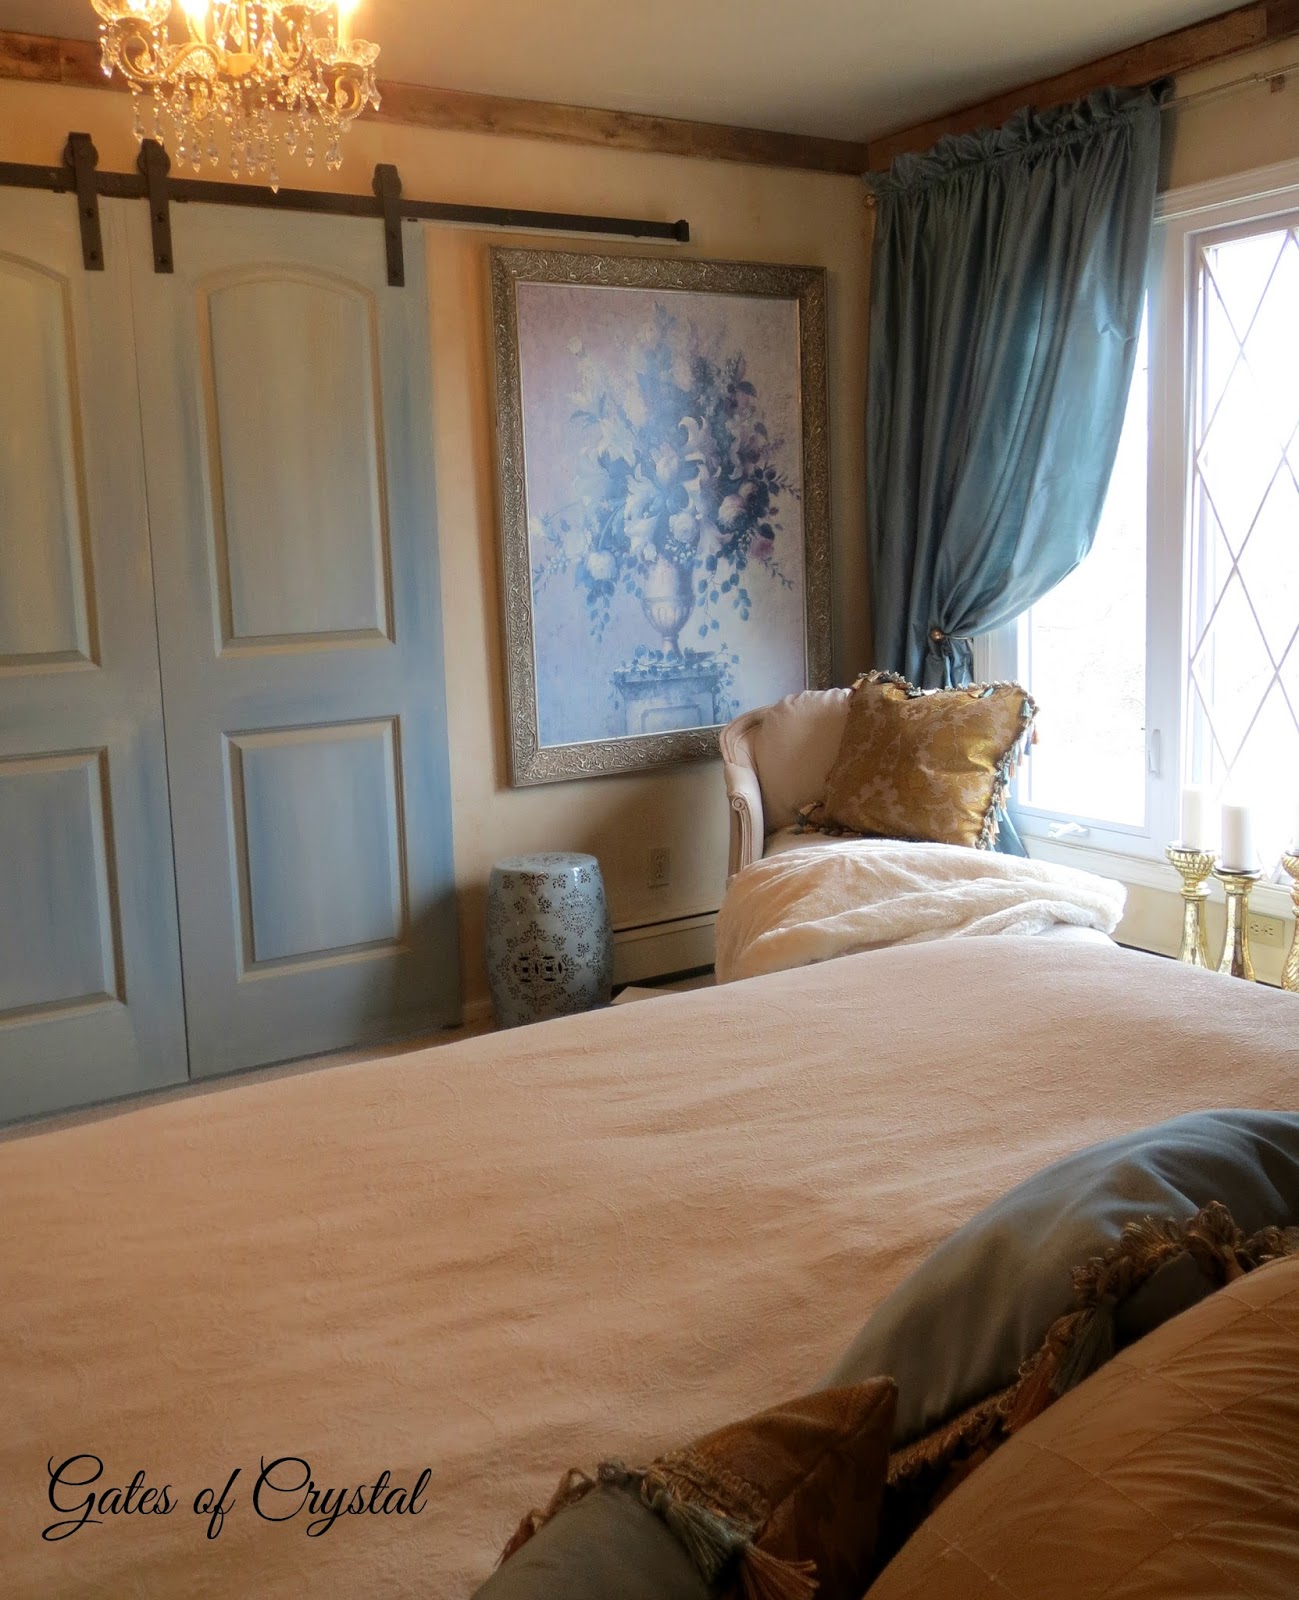
I painted them with SW Rain with a tiny bit of black added to the paint to make the color a little grayer. Then I added a deeper blue in places and blended it out. I had a mix of SW Deer Valley mixed with a little gold glaze from another project and I painted that into the details and blended it out.
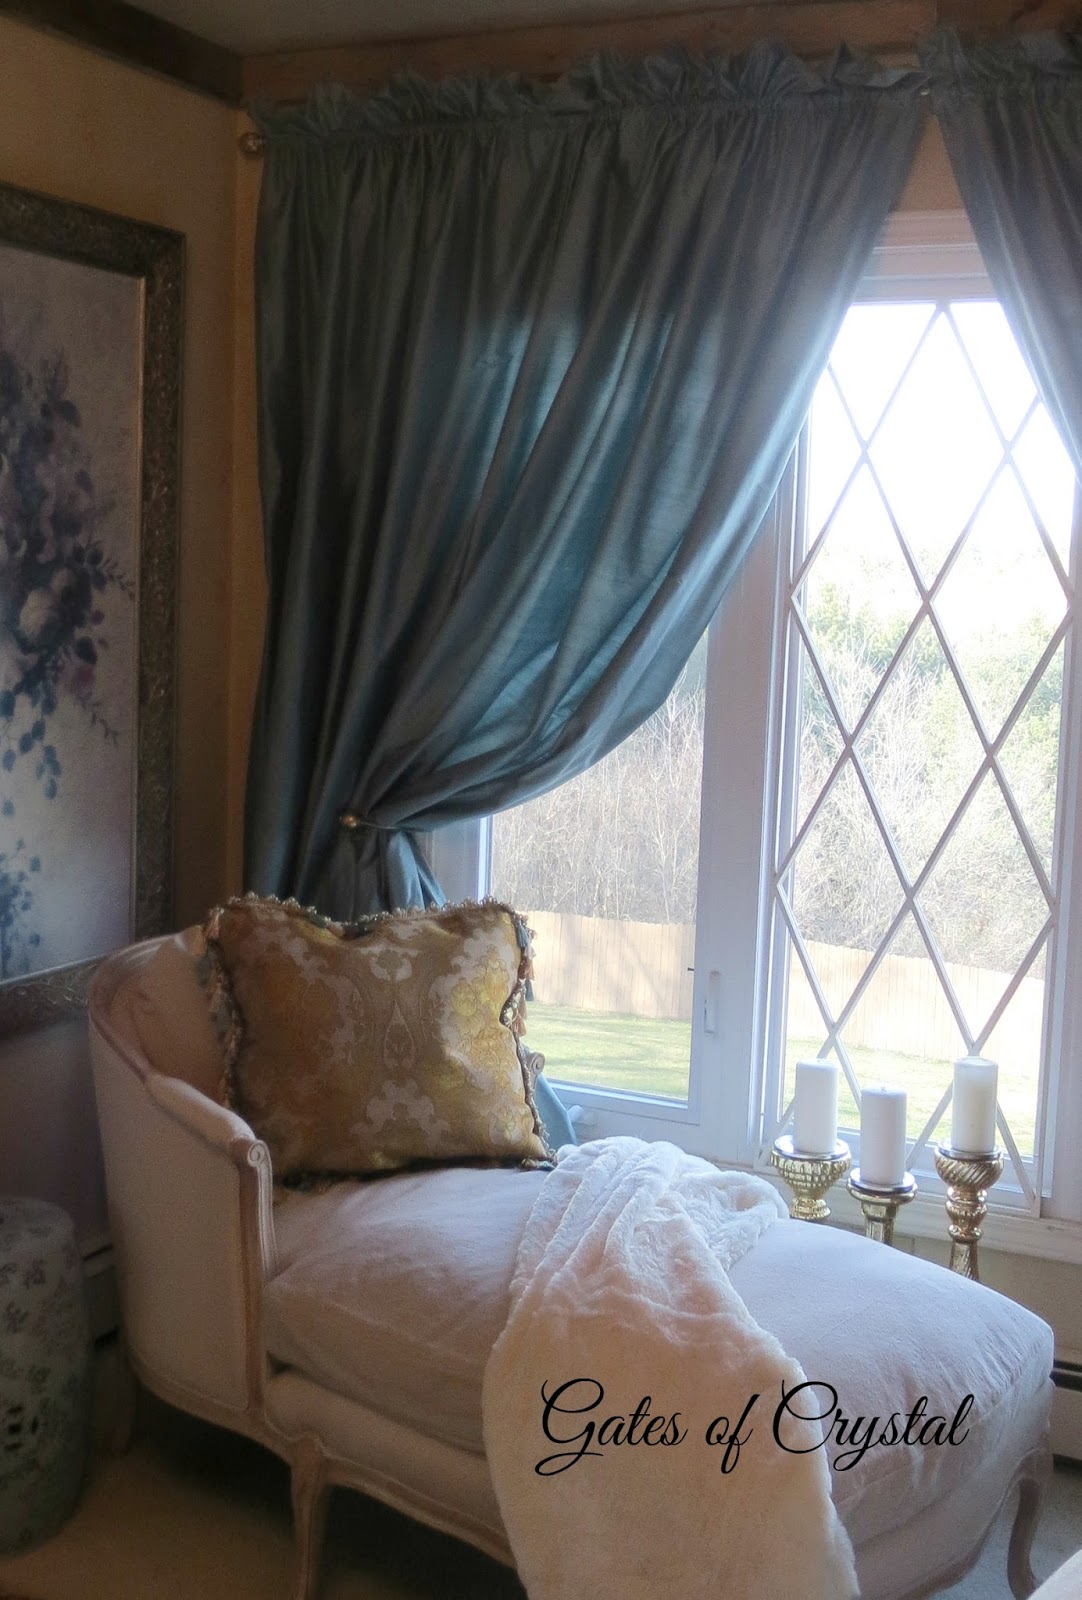
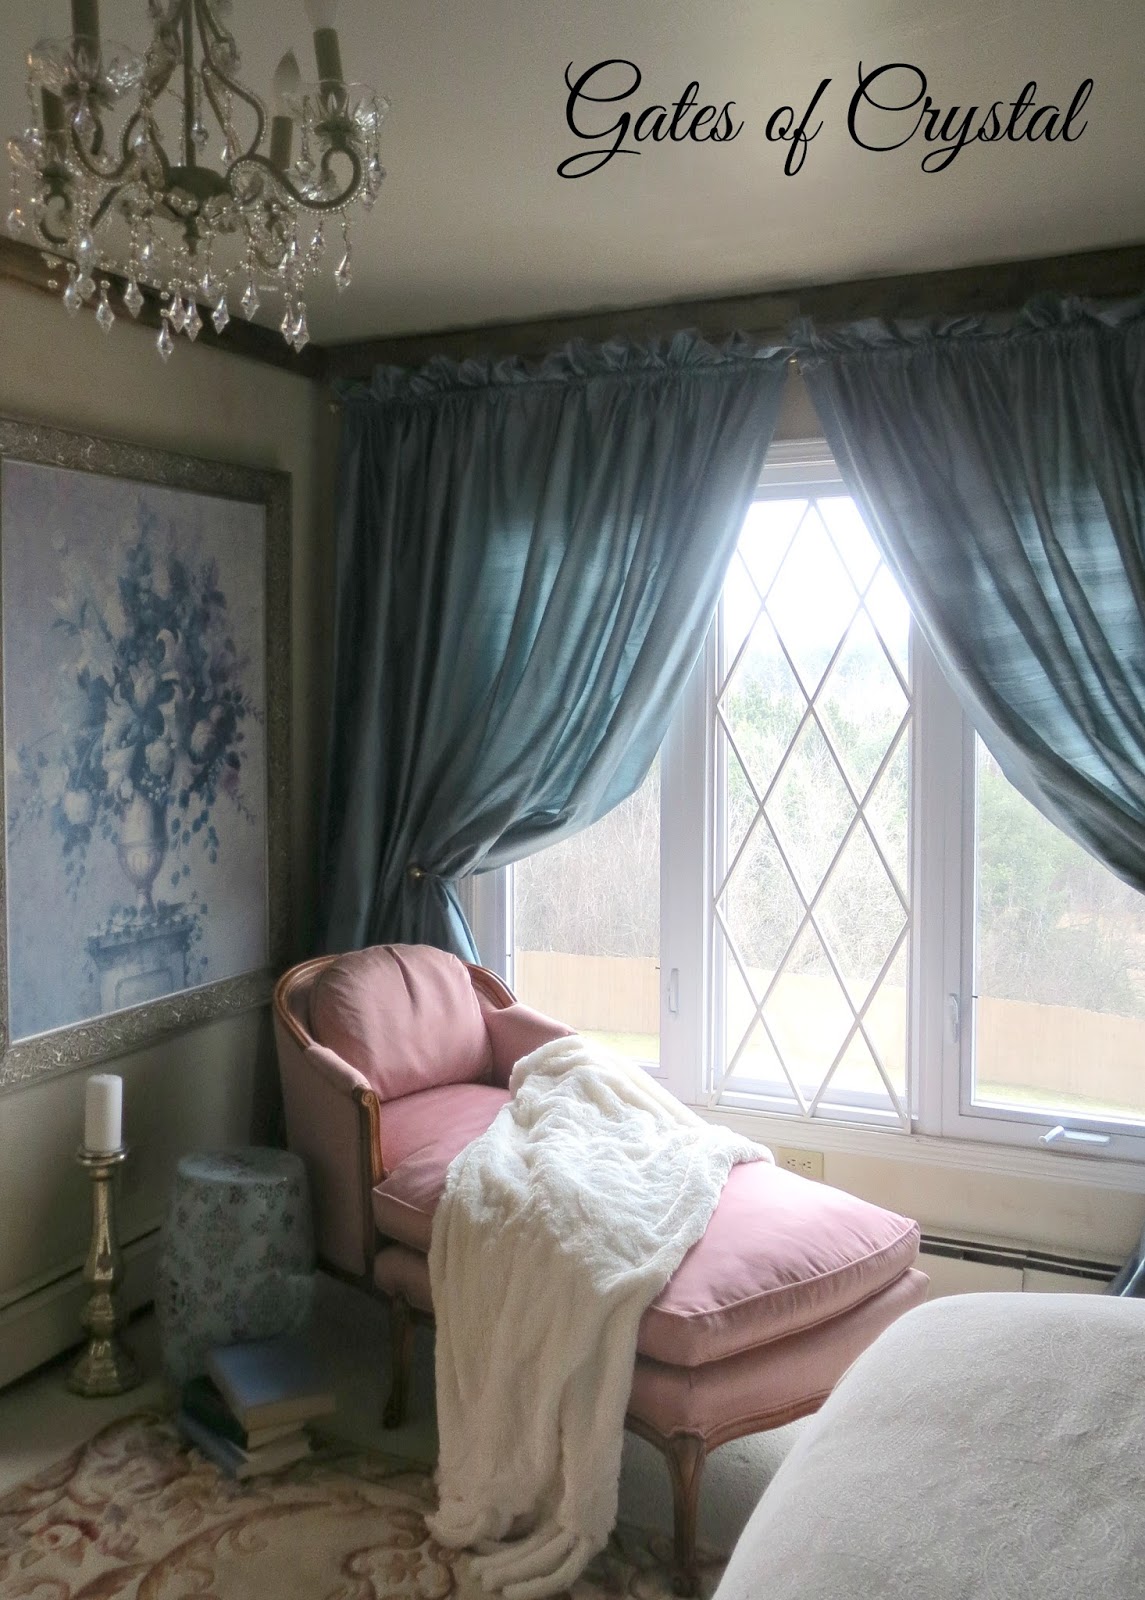
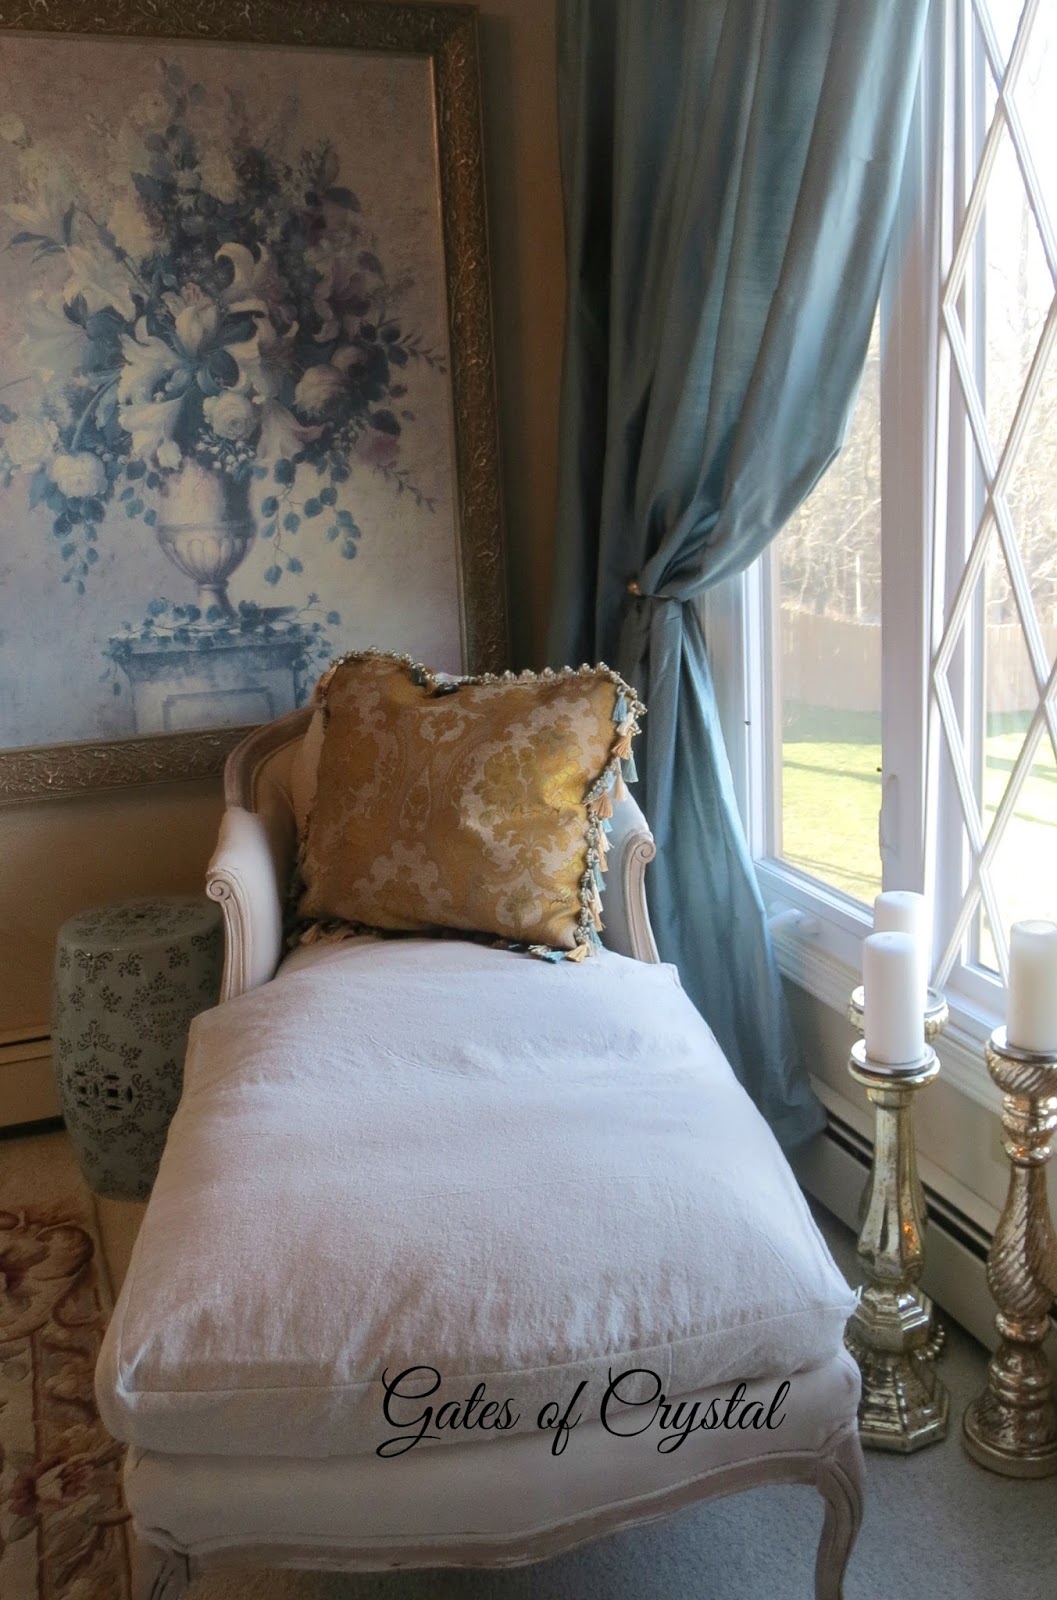
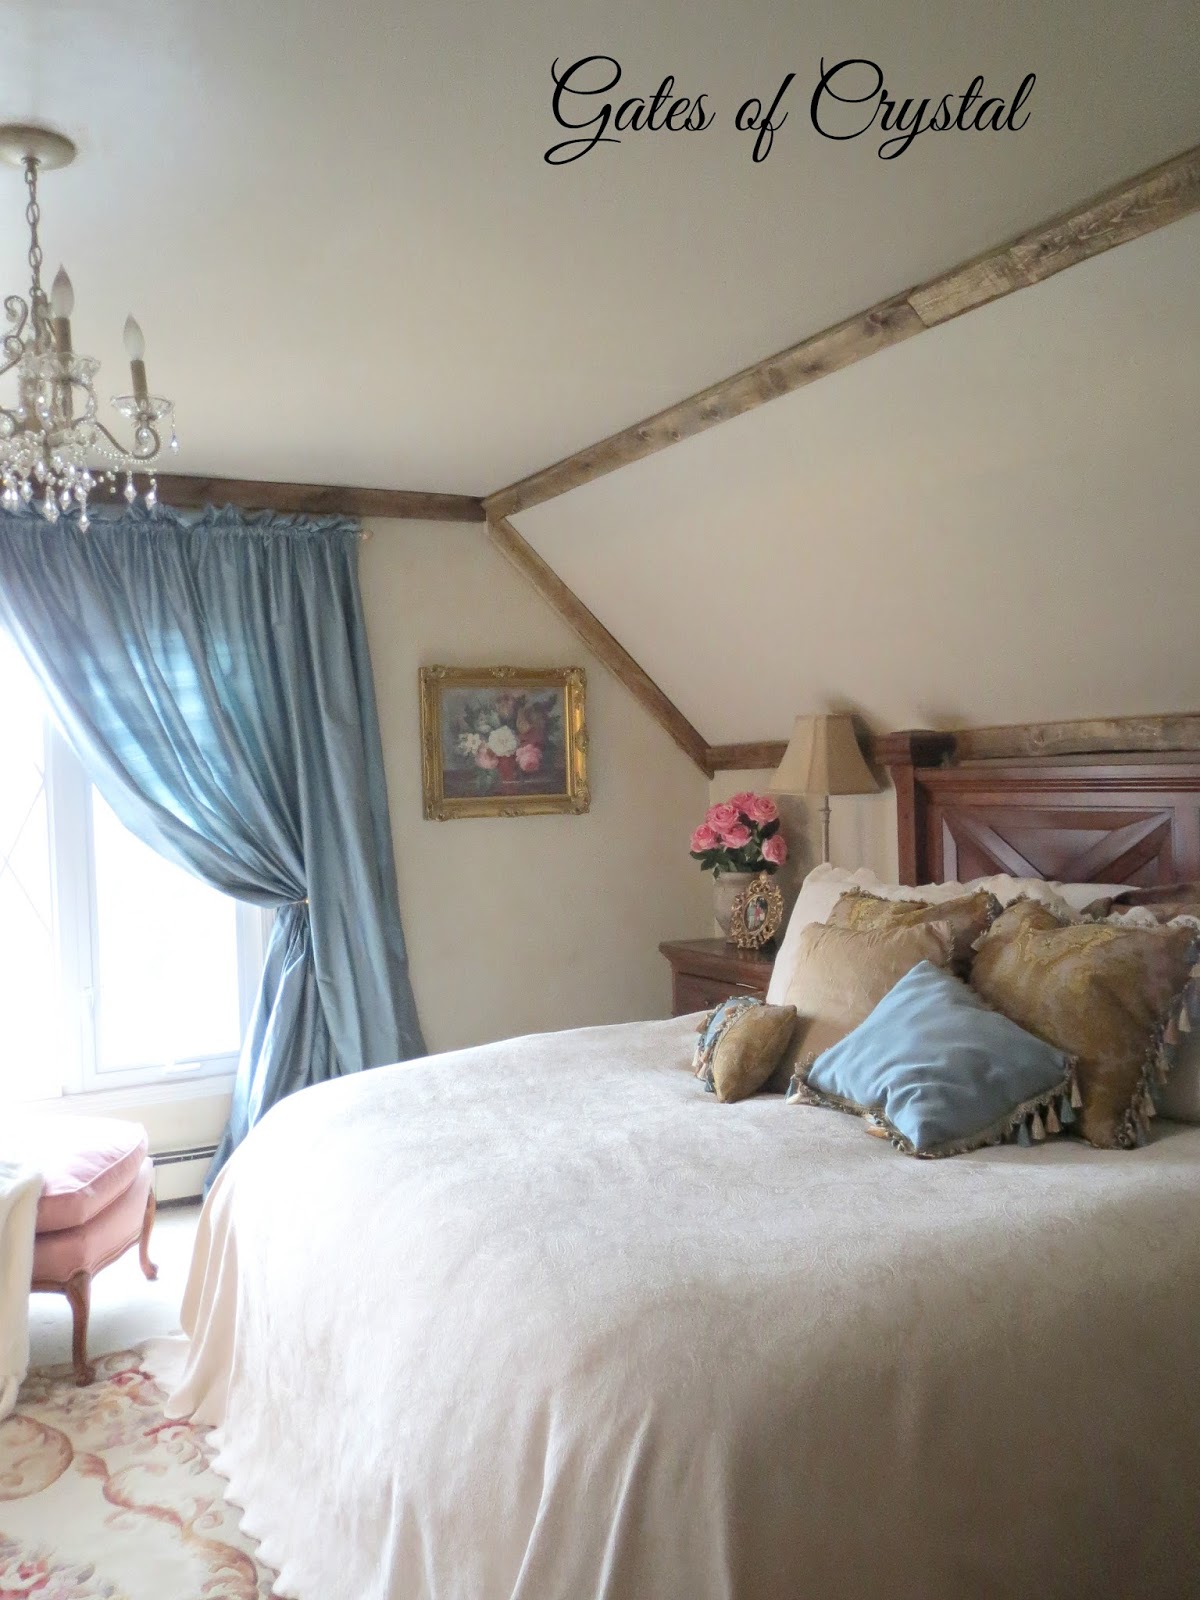
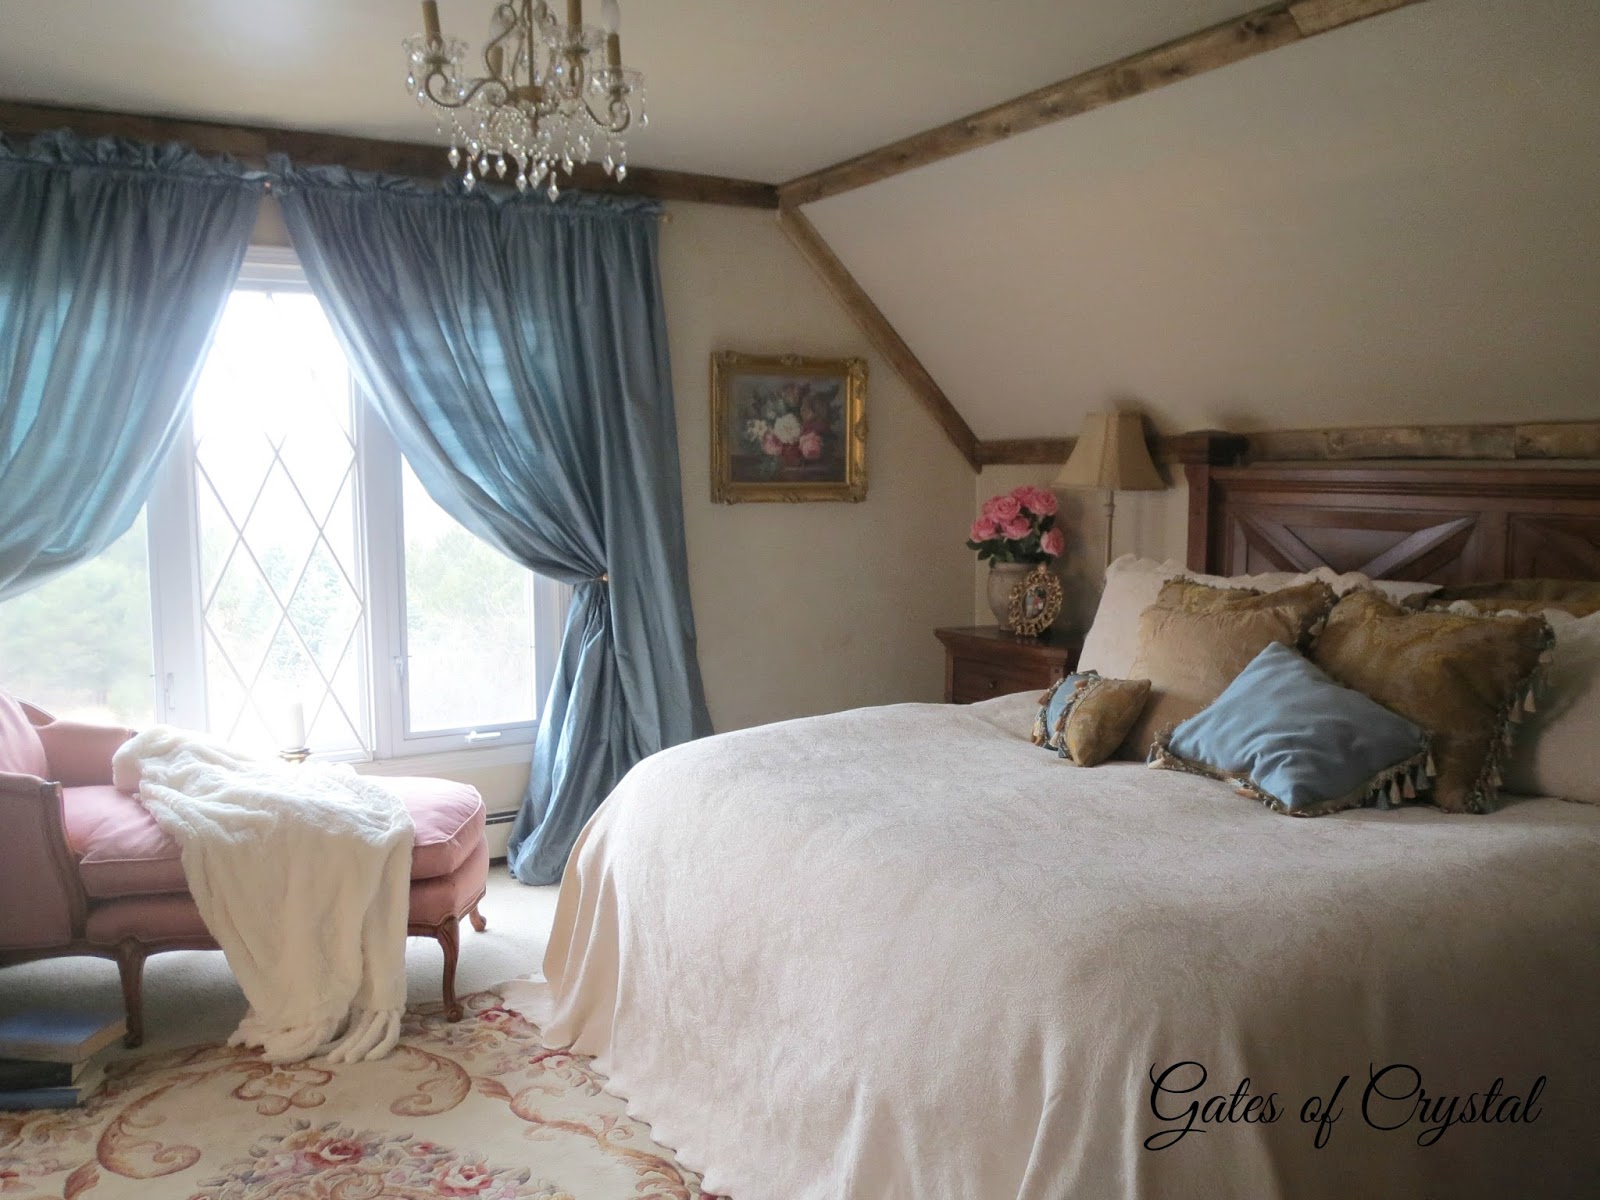
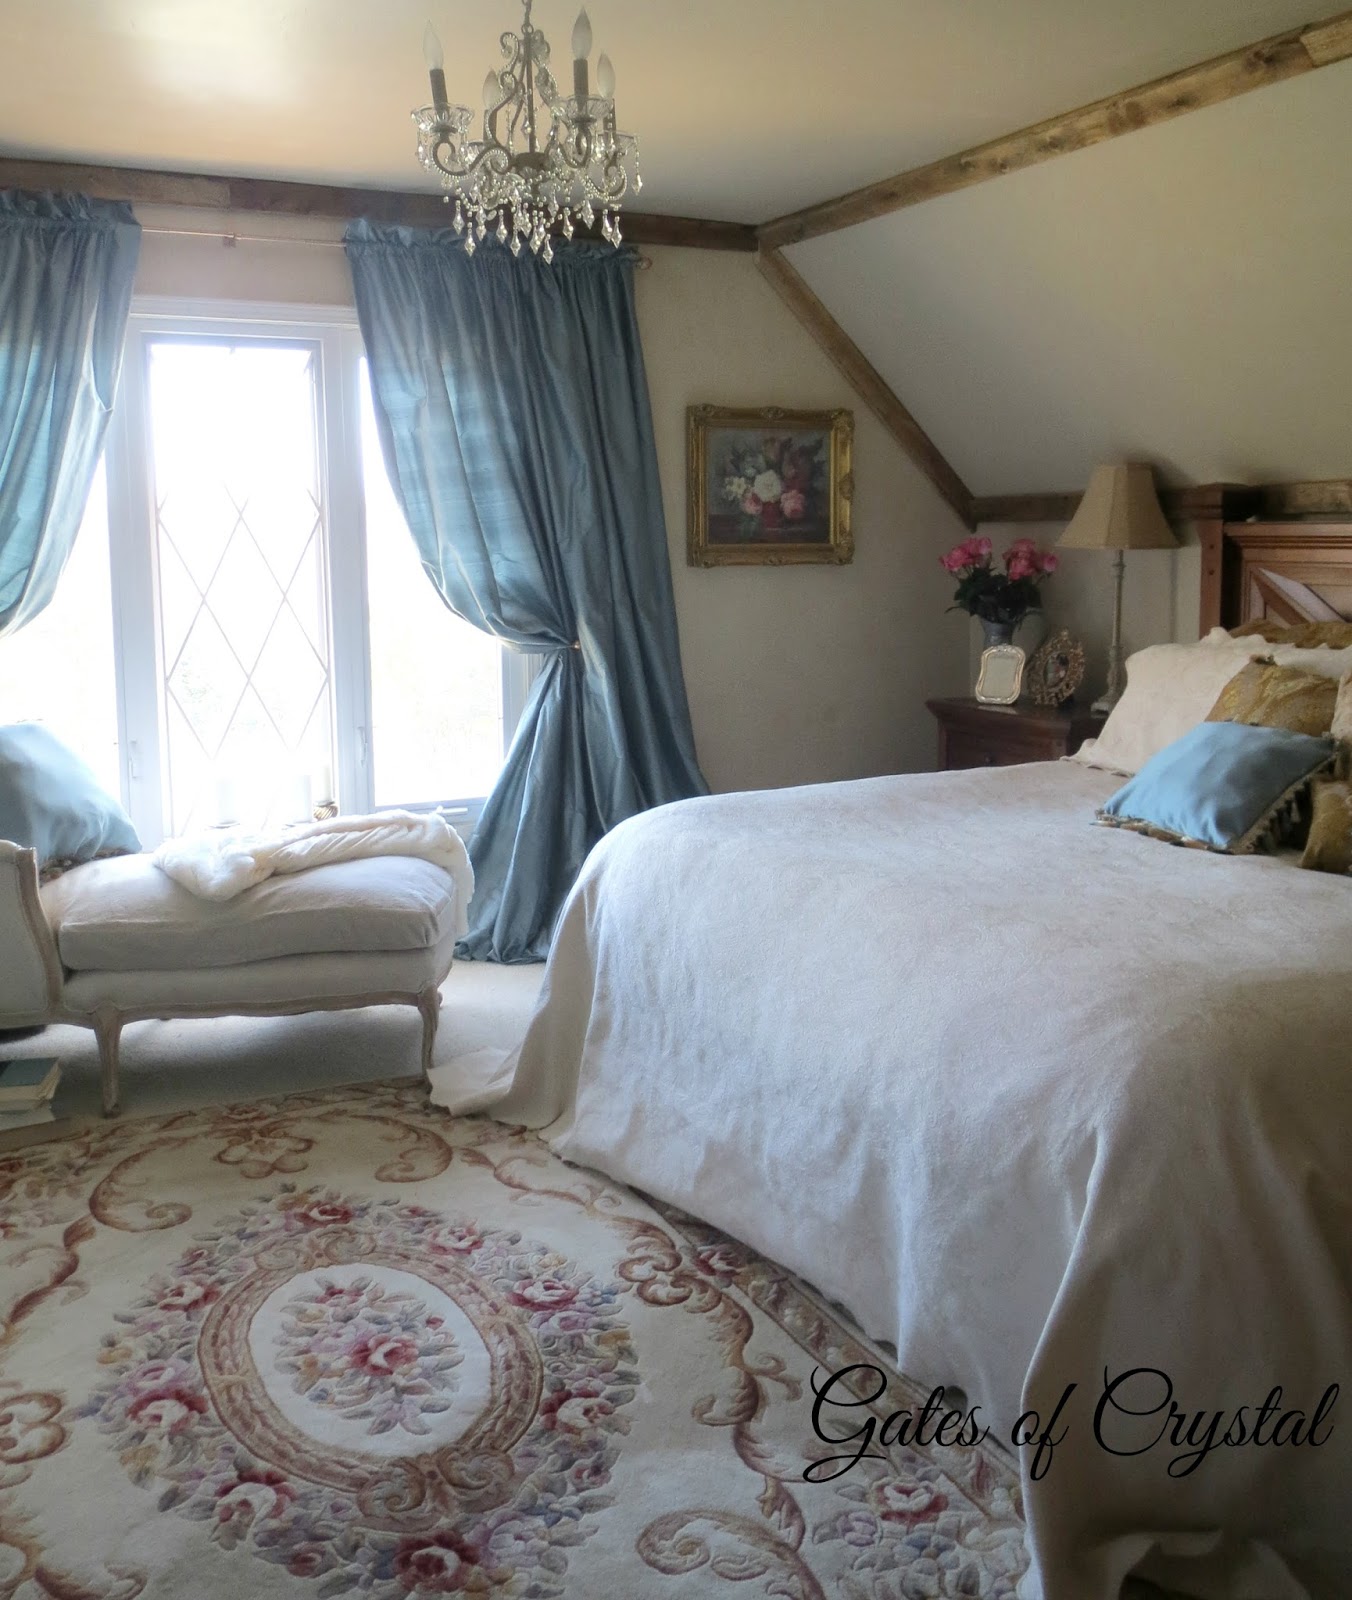
When I was done, the color coordinated well with our new draperies.
We got our hardware from Amazon. It came very quickly and it's a good solid quality. Straight-Rustic-Double-Sliding-Hardware. I would give it 4 stars instead of 5. The holes that were predrilled in all the pieces were not evenly spaced so the first time we put everything on the doors, they were uneven. In other words, the uneven holes caused the doors to hang crookedly. We had to mark where each hole should go and redo it to make everything plumb.
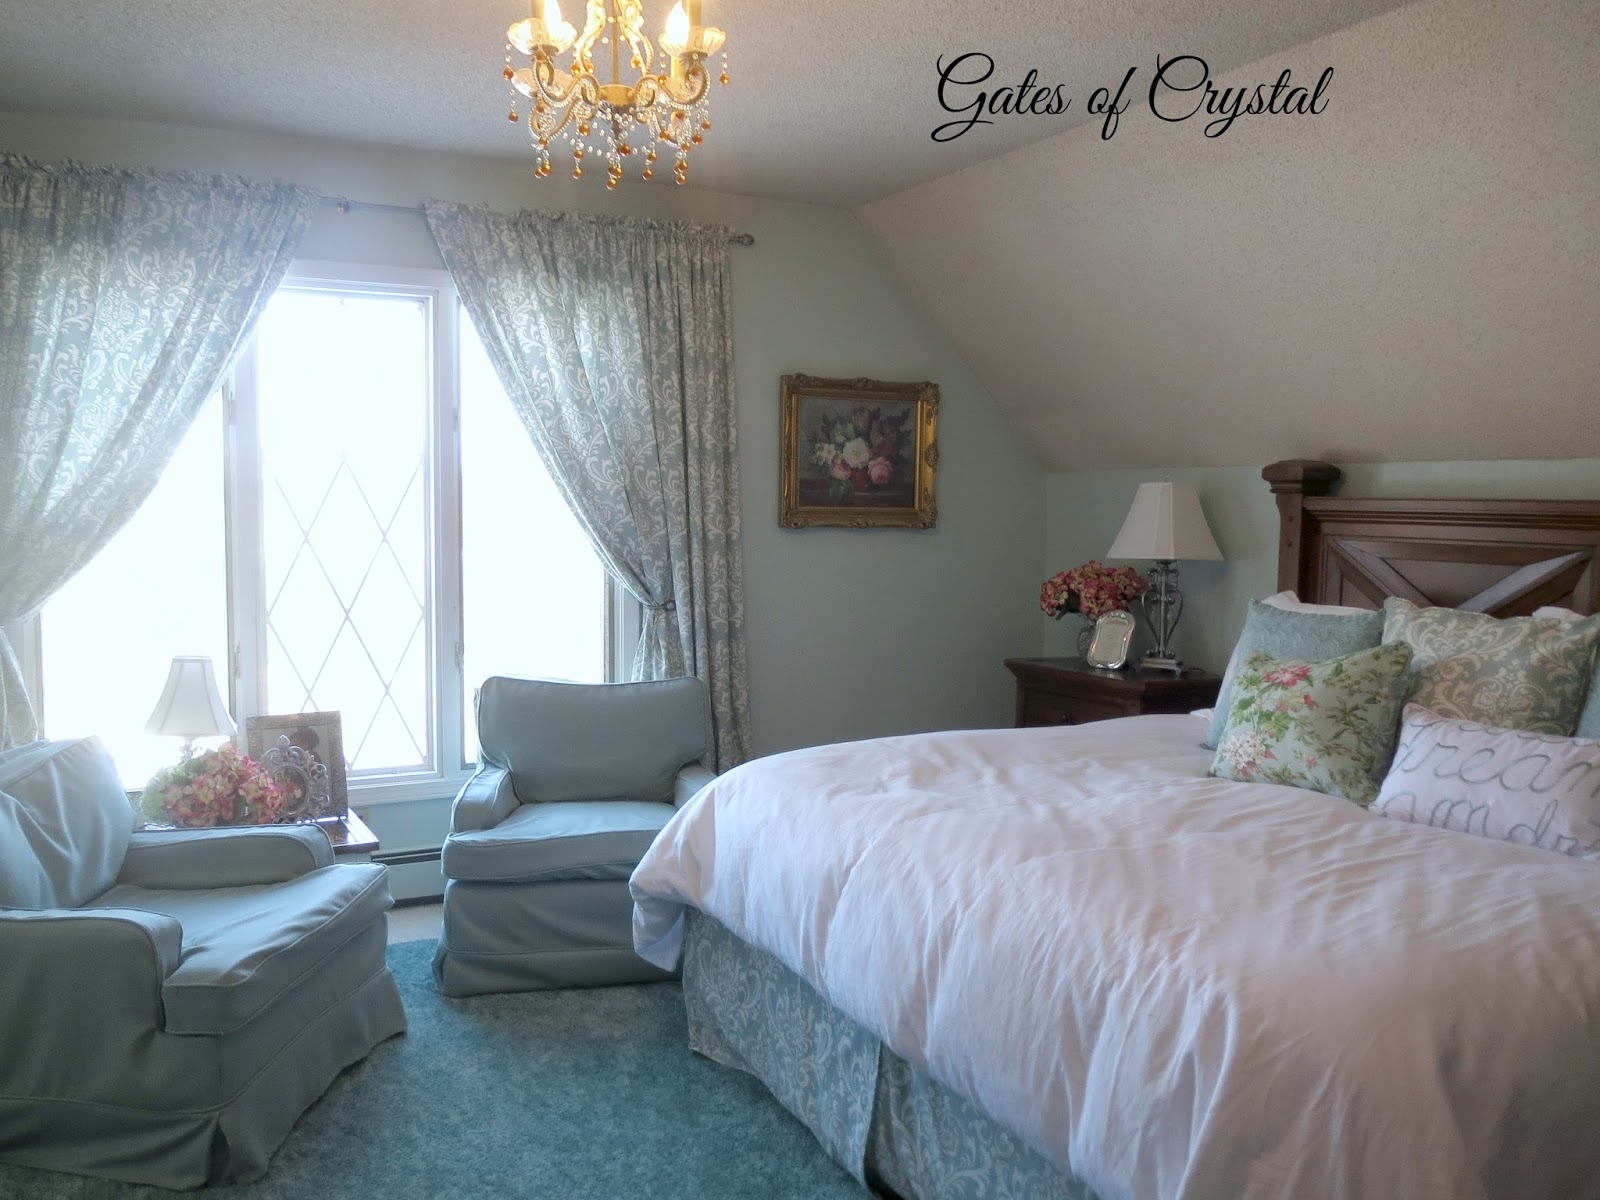
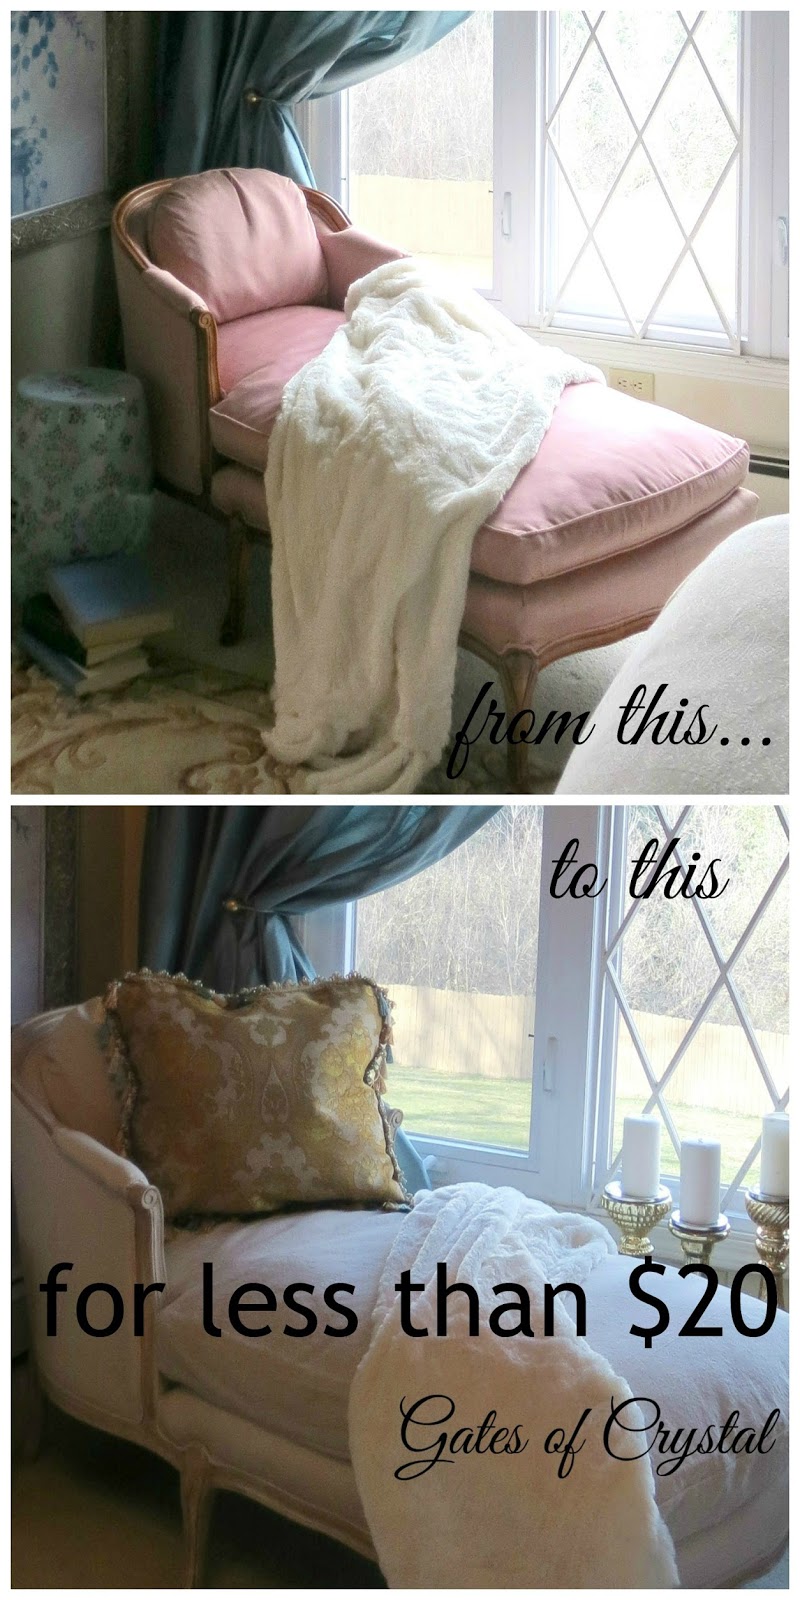
Here's a before picture to remind you. I liked this but it wasn't really my style - I got too influenced by what was popular right now. Here are the links to my past posts on this room makeover.
Update on Our Master Bedroom
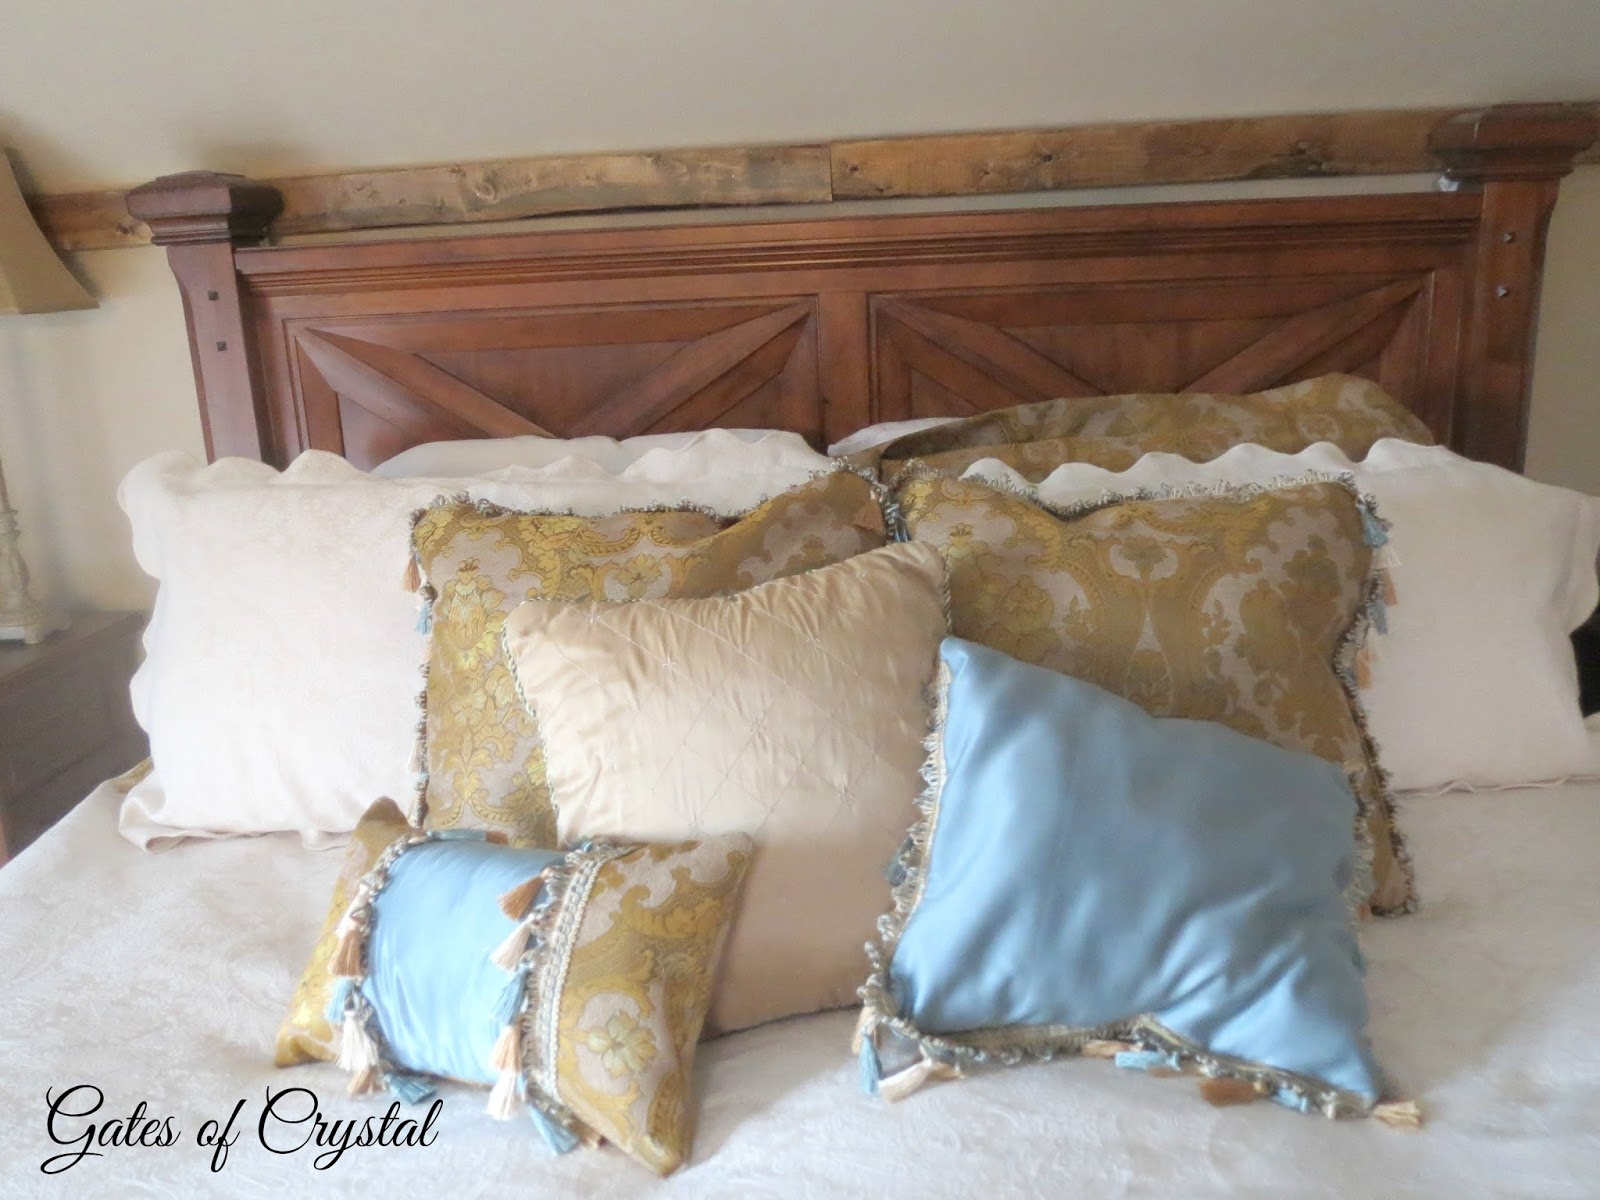
Making Pillows for the Master Bedroom
Beams In the Bedroom
Oh! and in case you're wondering, nothing's happened in our master bathroom yet. In fact, I'm waiting on the contractor to get back to me again. We have had him come out and measure, we've picked our tile, and now we're waiting on an estimate.
Our Master Bathroom
I've been busy 'tweaking' lots of things in our house lately.I also got some new dining room chairs a couple of weeks ago and have refinished them. I'll be back soon to show them to you!
love and blessings~

"Behold, I will set your stones in turquoise, and your foundations I will lay in sapphires. I will make your summits of rubies and your gates of crystal, and your entire wall of precious stones."
Isaiah 54:11,12
Sources:
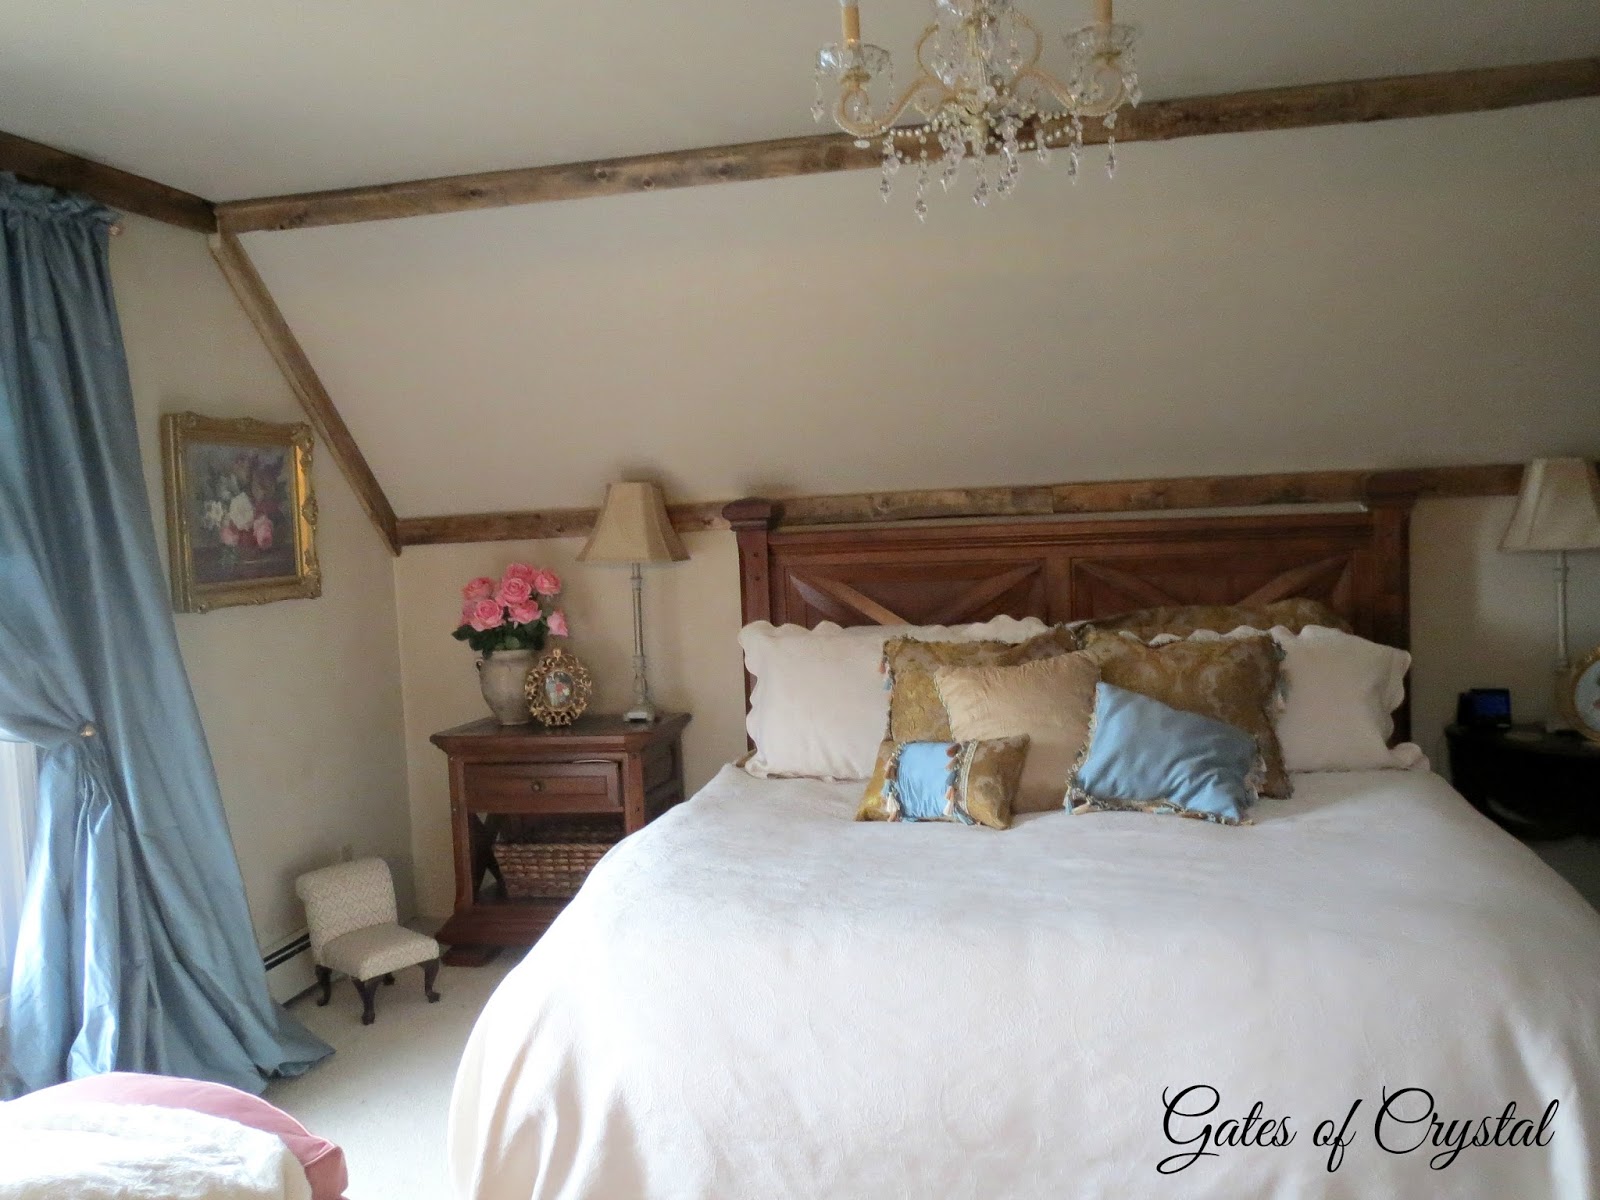
Bedspread and shams - Overstock.com
curtain fabric, pillow fabric and tassel fringe - warehousefabrics.com
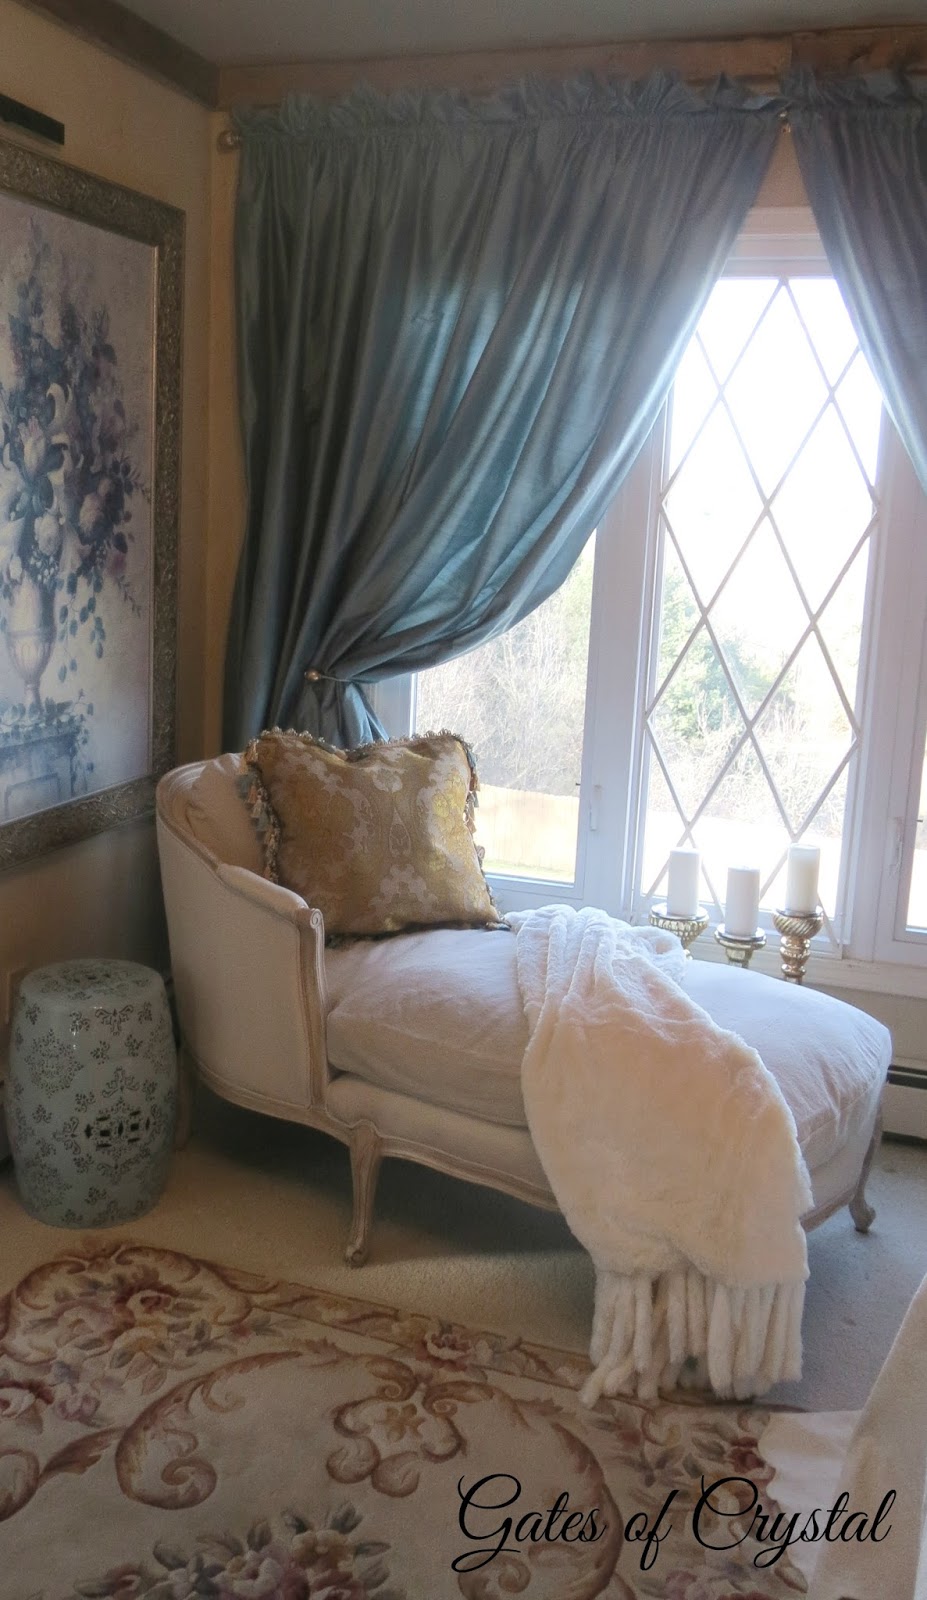
rug - QVC, Royal Palace about 12 years ago
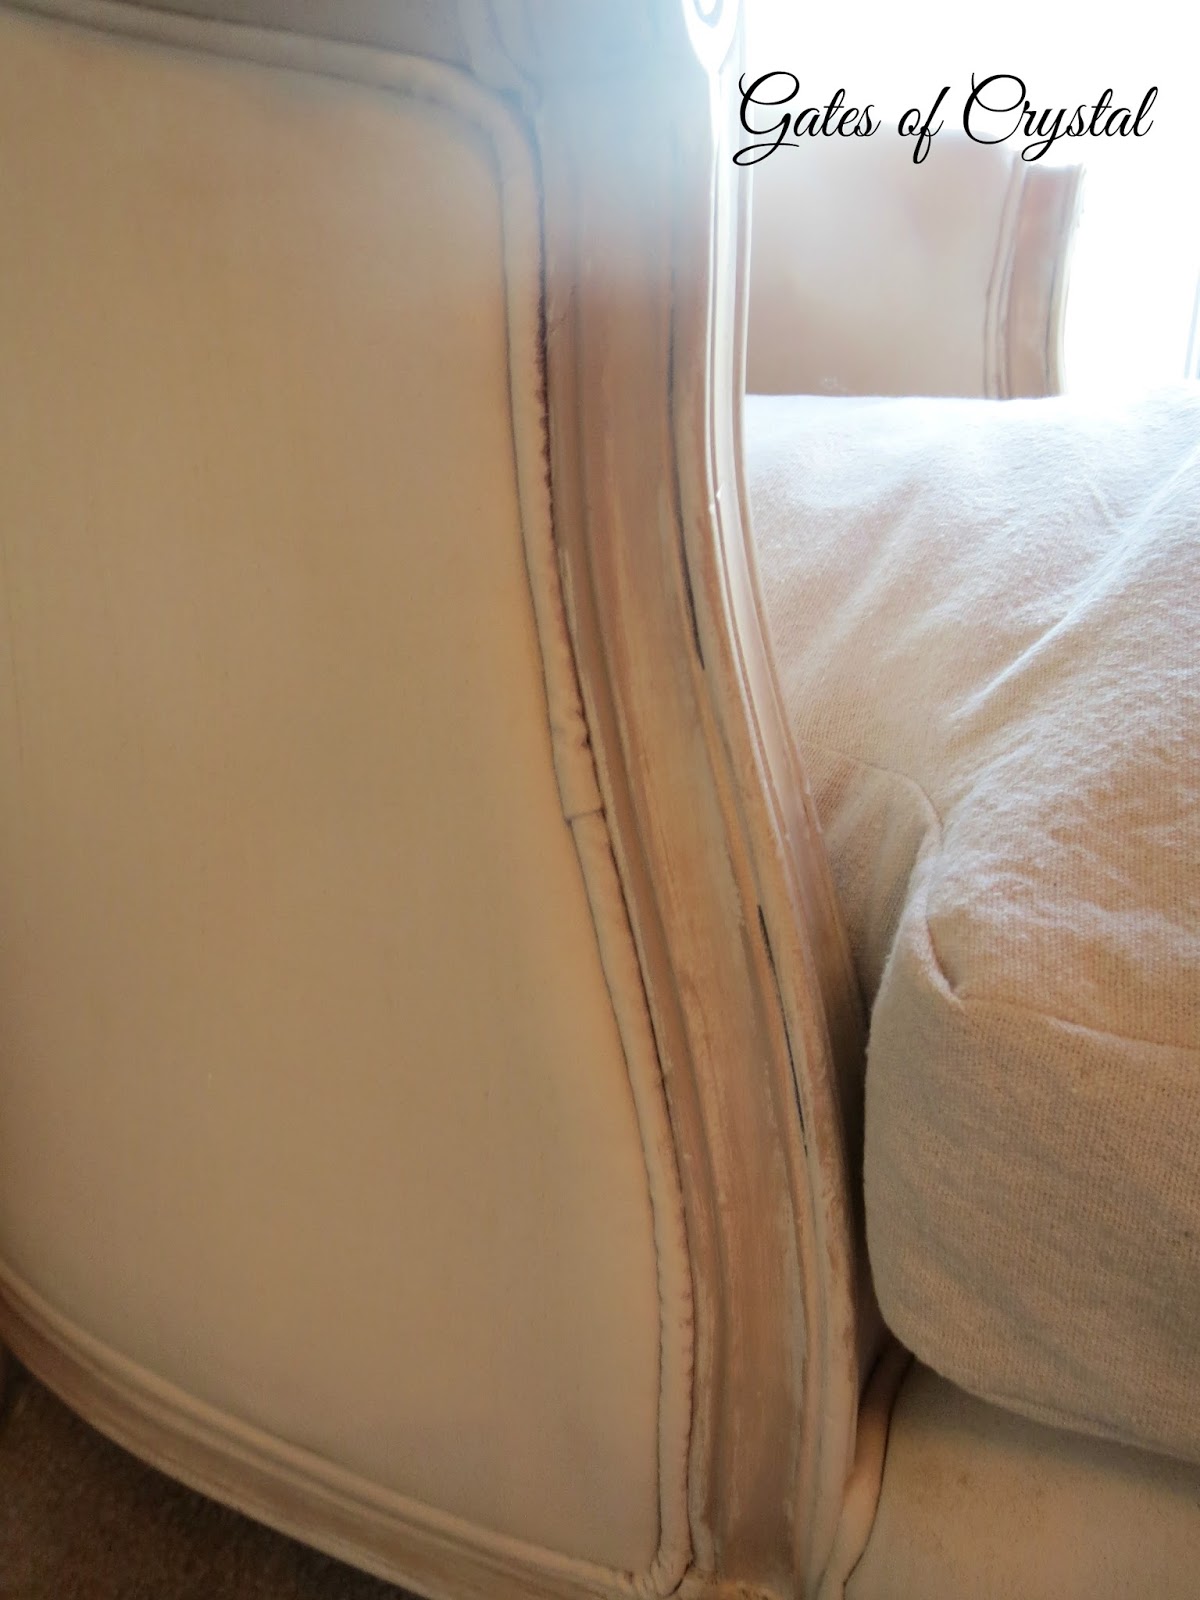
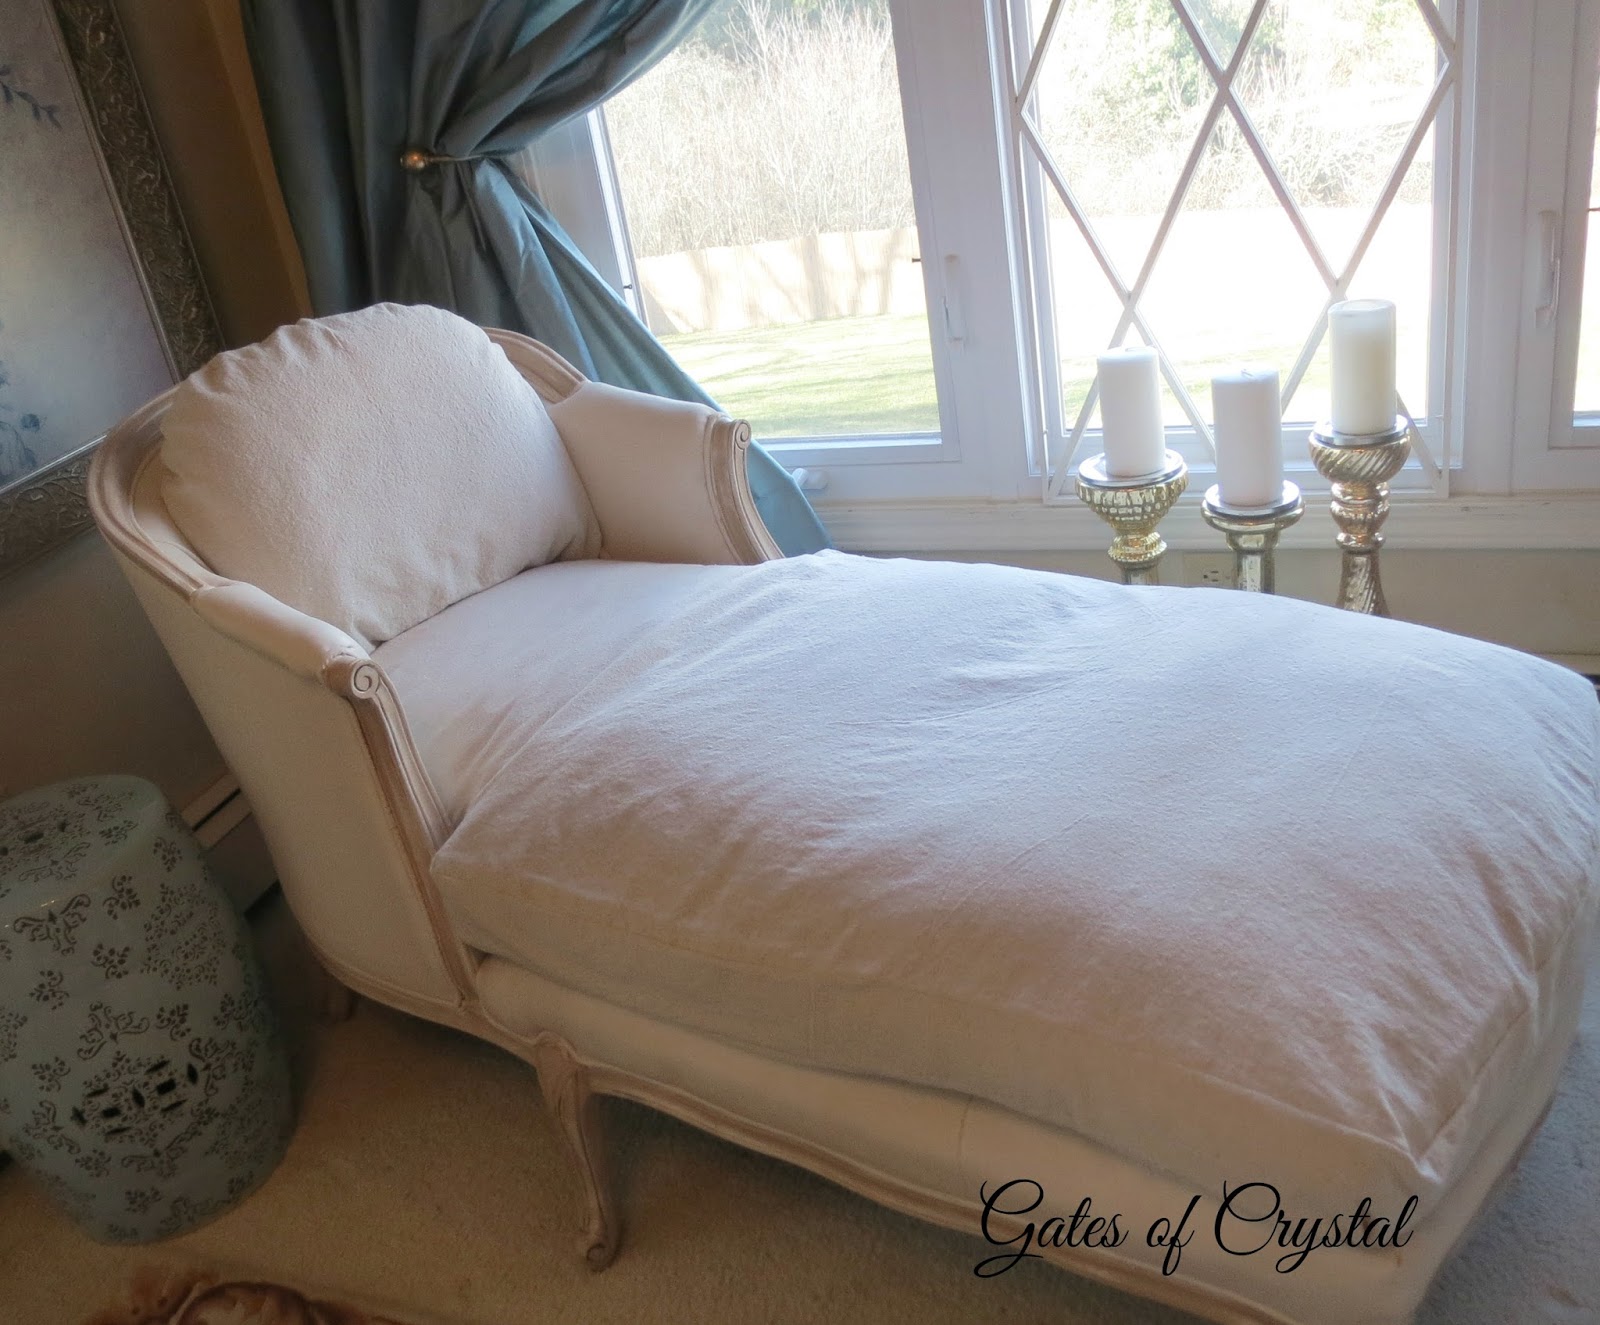
French chaise - second hand
curtain fabric, pillow fabric and tassel fringe - warehousefabrics.com
rug - QVC, Royal Palace about 12 years ago
French chaise - second hand
doors - Menards
barn door track - Amazon
I'm joining these linky partiies:
coastalcharm
betweennapsontheporch
myuncommonsliceofsuburbia
stonegableblog
astrollthrulife
cozylittlehouse
diybydesign
knickoftime
wow-us-wednesdays
share-your-style-61.
thoughts-of-home-on-thursday
addisonmeadowslane
frenchcountrycottage
handmade-hangout-97
impartinggrace
foodie-friday-and-everything-else