Home & Garden

Christmas in our Master Bedroom

We are in the middle of a blizzard here in Michigan. Church was canceled today and if the snow continues like expected, schools will be closed tomorrow. So it was a perfect day to take some pictures of our master bedroom and post them.

This skinny tree is perfect for our bedroom. It doesn't take up much room but adds a big punch of Christmas.
A couple of things have changed in here since summer. The large framed art I had here stuck out from the wall too much for us to open our barn door all the way so I got this classic from Joss&Main for this space. I have always loved this painting.
This rug was in our living room and when I bought the new rug, I put this one in here. I like the lighter color.
I added a wreath, some faux amaryllis and a deer to our dresser.
A garland of evergreen, gold ribbon and ornaments is draped across our headboard.

You can tell in this picture that it's a white-out outside. And this is a perfect spot to read and watch the snow fall.


I filled this little tree with satin wired ribbon and gold and silver ornaments.
This is also a perfect place to 'hide' the grand kids presents. They get so excited and shake everything when they come over! lol

We had a fun family photo shoot yesterday. We took a million photos and got about fourteen good ones, and only two that had all three of them looking good. lol
Levi, Rhynn and Lucas


Hope you're staying safe and warm if you're getting this storm too!

love and blessings~


And suddenly there was with the angel a multitude of the heavenly host praising God, and saying,
"Glory to God in the highest, and on earth peace, good will toward men." Luke 2

I'm joining these parties:
dwellings
thededicatedhouse
stonegable
astrollthrulife
impartinggrace
seekinglavenderlane
RattlebridgeFarm
Standard
Home & Garden, Tips & How To

A New Barn Door in the Master Bedroom

Our master bedroom make over is done except a few little details and we are enjoying the changes! The last big item was getting our barn door hung and we can finally mark that off the list.

We've never had doors on this opening between our bedroom and bath and in reality, we don't really need them but we've always liked the look of barn doors and this was a perfect place.

They were a challenge to get hung but it was more our situation than a problem with the hardware.  As you can imagine, these metal pieces are heavy-duty and add the weight of the doors and you need to be sure everything is securely hung. The tract had pre-drilled holes to hang it on the wall but these holes did not line up with the studs in the wall. The molly bolts that came with the hardware set would not stay set - they twirled when we tried to put the bolts in.

In an effort to make a long story short, we made several trips to the store getting new molly bolts, new screws, trying to fix the molly bolts into the wall, etc. We finally gave up and attached a board to the wall under the tract. And that worked!

I still need to find picture hangers for this large piece of art that are flatter to the wall.  The ones we have now are causing the picture to stick out too far for the door to open all the way but I think when I change that, it will.

I bought these doors at Menard's. I would have loved to have had antique doors with some wonderful details but I like these. They're just regular 28 1/2" doors without the predrilled holes. I like them so much that I wish we had found this style when we replaced all the doors in our house but these are a fun difference. These doors are hollow. The solid doors were a lot more expensive but also a lot heavier. Mark added reinforcements to each door where the hardware was attached.

I painted them with SW Rain with a tiny bit of black added to the paint to make the color a little grayer. Then I added a deeper blue in places and blended it out. I had a mix of SW Deer Valley mixed with a little gold glaze from another project and I painted that into the details and blended it out.

When I was done, the color coordinated well with our new draperies.

We got our hardware from Amazon. It came very quickly and it's a good solid quality. Straight-Rustic-Double-Sliding-Hardware.   I would give it 4 stars instead of 5. The holes that were predrilled in all the pieces were not evenly spaced so the first time we put everything on the doors, they were uneven. In other words, the uneven holes caused the doors to hang crookedly. We had to mark where each hole should go and redo it to make everything plumb.


Here's a before picture to remind you. I liked this but it wasn't really my style - I got too influenced by what was popular right now.  Here are the links to my past posts on this room makeover.

Update on Our Master Bedroom

Making Pillows for the Master Bedroom

Beams In the Bedroom


Oh! and in case you're wondering, nothing's happened in our master bathroom yet. In fact, I'm waiting on the contractor to get back to me again. We have had him come out and measure, we've picked our tile, and now we're waiting on an estimate.
Our Master Bathroom

I've been busy 'tweaking' lots of things in our house lately.I also got some new dining room chairs a couple of weeks ago and have refinished them. I'll be back soon to show them to you!


love and blessings~
"Behold, I will set your stones in turquoise, and your foundations I will lay in sapphires. I will make your summits of rubies and your gates of crystal, and your entire wall of precious stones."
Isaiah 54:11,12
Sources:
Bedspread and shams - Overstock.com
curtain fabric, pillow fabric and tassel fringe - warehousefabrics.com
rug - QVC, Royal Palace about 12 years ago
French chaise - second hand
doors - Menards
barn door track - Amazon


Standard
Home & Garden, Tips & How To

Our New Chaise Makeover

I bought this French chaise from a photography studio here in town. It had never been in a home and was used only for photographs so it was in perfect condition. I have always wanted one of these and was thrilled when I saw it for sale. 


When you last saw it, it looked like this. And even though it was perfect, I didn't want to leave it pink.

So, I painted the upholstery and the wood frame with chalk paint and covered the cushions with drop cloths. I used the same methods I used on these chairs. (The secret is to sand the fabric after you paint it!) I liked the way they turned out and nobody has ever suspected that the fabric was painted. I used the same colors on this chaise.

And I covered the cushions with drop cloths using the same steps I used for slip covering my couch.
How to Make a Slip Cover - Part Two

This makeover was free - I already had the paint and the drop cloth but you could buy enough paint and a drop cloth for less than $20.

This chaise is super comfy! My son was here for a visit and when he spotted this, he immediately flopped down on it and looked out the window.  And that's what I do, too!
We're almost done with our bedroom makeover. You can see the edge of the track for the barn door in this picture. My husband has worked and worked to get it up. The end screws don't hit a stud and he's had to change the molly bolts several times to try to get it securely on the wall.

He made another trip to the store this weekend for more bolts and hopefully he'll get it figured out this week. In the meantime, he's been working on putting rustic wood all around our house. I'm excited to show it to you when we get it done.


Find out how I made this pillow here: Making Pillows for the Master Bedroom and our progress on our master bedroom here.

Have a wonderful week!

love and blessings~

"Behold, I will set your stones in turquoise, and your foundations I will lay in sapphires. I will make your summits of rubies and your gates of crystal, and your entire wall of precious stones."
Isaiah 54:11,12

I'm joining these linky parties:
thoughts-of-home-on-thursday
diy-collective-no-12
Rattlebridge Farm


Standard
Home & Garden, Tips & How To

Making Pillows for the Master Bedroom

We had beautiful weather here over Spring Break. We didn't go anywhere because my husband had recently returned from an Economics Conference and has another one coming up soon.  So we spent the week with our family and working on a few small projects around the house.

We almost have our barn door up.  We ran into a few snags but are working them out and should have it up this week. I can't wait!

So, in the meantime, I've worked on some other small things. I don't usually buy throw pillows very often. Every once in a while I'll find something I really like and buy it but usually I'd rather make mine out of whatever fabric I'm using in my room.

I ordered this gold damask fabric along with the tassel fringe when I ordered the blue damask. I canceled the blue when the company notified me that they required a minimum order of five yards. I couldn't use all five yards and I didn't want to spend that much money. I had ordered this gold fabric, thinking I would use it too, but when it came I decided to make all my pillows from it.

The blue in this fabric is very subtle but the tassel fringe had all three of the colors of the fabric and was perfect to tie everything together.
The links are at the end of the post for the fabrics and fringe.

I first made two big shams out of the damask. I measured my fabric up against a king-sized pillow and cut it out with enough to fold over.
I sewed this all around. I then cut out two pieces for the back of the sham.  I didn't want to use up my damask so I used a tan fabric that I already had.  Plus, this damask is so heavy that putting two layers together would be too much.  If you're interested in purchasing this fabric, it was great for these pillows but it's the heaviest fabric I've ever used. My sewing machine would not go through these corners and edges of this back fabric. I would not try to use it for a slip cover. It's upholstery weight. It doesn't fold...it bends.  lol
I made an envelope opening on the back of this sham and then inserted my pillow.  I didn't worry about centering my pattern on the pillow because I knew I was going to tuck it behind the bedspread shams. Otherwise, you want to center your pattern on your pillow.
I also made two large square pillows with my blue fabric on the back and the gold damask on the front.

I backed both of these pillows with the bluestone polyester.  This gives me the option of flipping them over and having more blue on the bed. After I put them together, I stuffed them all with polyfil and hand-stitched the openings closed.

This little one I made with what fabric I had left after all the others. I would have liked it to be a little larger but this is all the gold damask fabric I had left.  If you're wanting to make these same pillows and want this one to be bigger, you'll need to order more than 2 yards.

I made one small square pillow with blue on both sides.

The large shams are tucked behind the shams that came with the spread.  The gold pillow in the middle was one I already had (ready-made). It has small fleur-de-lis in the fabric.

I got my French chaise painted and reupholstered today. It needs a pillow. I probably am going to have to make some more! lol

If you're on Spring Break this week, I hope you have a wonderful time!

love and blessings~
"Behold, I will set your stones in turquoise, and your foundations I will lay in sapphires. I will make your summits of rubies and your gates of crystal, and your entire wall of precious stones."
Isaiah 54:11,12


Pentex Antique Gold Damask Fabric - 2 yards
Bluestone Polyester - 1 yard
Blue Tassel Fringe - 7 yards

I'm joining these linky parties:
stonegableblog


Standard
Home & Garden, Tips & How To

Beams in the Bedroom

Hi All!

Our master bedroom is almost finished.  My husband's been on Spring Break this week and we actually had a lot of fun yesterday getting our 'beams' up.  And we're both loving this change!
I have always loved the slant of our ceiling and when I suggested that we do this project, my husband liked the idea too.

We purchased 12 8 ft long, 2x4's of rustic white pine. We purposely picked imperfect boards for this project; ones that had lots of knots and even imperfect edges. I stained them with MinWax Weathered Oak and a little bit of MinWax Aged Oak Gel Stain ahead of time and gave them plenty of drying time.

Be sure to do this in a well ventilated area. The stain has a strong smell and it takes a few days before it goes away. It gives me a headache and I wanted to wait until it was gone before we put these in our bedroom.

The Weathered Oak definitely has a gray tone to it and the Aged Oak is more the color of our furniture.  I think I may use less of the Aged Oak if we do in this other rooms of our house.

This was a very straight forward project and easy to do.  We cut the two boards that follow the slant first. They were the only cuts that had an angle. All the rest of board had straight cuts.

We may add some decorative metal pieces to some of our seams but they're really not very noticeable. This is probably our most noticeable seam - right above the bed.  There were not studs in this area to really get the board on tight so one is slightly twisted.

If you saw my last post on our bedroom, I had ordered fabric for pillows but received notice that I had to order five yards.  I cancelled the order. I had already ordered this gold damask as another fabric that I was going to use, and when it arrived I really liked it and decided to make the pillows out of it instead. I'll post a pillow tutorial soon.


I found this French chaise right here in town. A local photography studio was selling it. They'd been using it just for pictures. It's in perfect condition although I don't plan on leaving it this color. It's a solid piece of furniture and very comfortable. This is now my new favorite spot to read.

I have a Pinterest board where I save ideas for reupholstering furniture and think I'll probably make the wood a distressed white and recover the chaise in an off white French linen.


We had taken down our chandelier during this project so I cleaned it and replaced some crystals that were amber with clear crystals.

I hung our mirror above the dresser and added a decorative piece above it. I'm not sure I love it so this may get tweaked a bit.
We bought two 28" wide doors for our opening to our bathroom.  We've never had a door there but loved the idea of barn door here. I painted the doors a soft gray/blue and they're ready to hang. We're hoping to get that done tomorrow.

You can also see my wall treatment a little bit in this picture. I've not been able to get a good picture of it. I will also try to do a tutorial on it soon. I used two colors of paint to mimic Venetian plaster.
So we have a few more things to do and this project is finished.
We are still trying to get estimates on redoing our master bathroom and once that project is done, we're planning on replacing our upstairs carpet, including this room.

I'll be back soon with tutorials on the pillows I made, the wall paint treatment, and painting and hanging the barn doors.

love and blessings~

"Behold, I will set your stones in turquoise, and your foundations I will lay in sapphires. I will make your summits of rubies and your gates of crystal, and your entire wall of precious stones."
Isaiah 54:11,12
Sources:
Bedspread and shams - Overstock.com
curtain fabric, pillow fabric and tassel fringe - warehousefabrics.com
rug - QVC, Royal Palace about 12 years ago
French chaise - second hand


Standard
Home & Garden, Tips & How To

Update on Our Master Bedroom

For the last month or so, I've been working on our master bedroom. It's not done yet...in fact, the features that I'm really looking forward to are not even started yet but I thought I'd show you all the changes so far, because the room looks really different.

I started by scraping the popcorn texture off of our ceiling and painting the ceiling and walls. 
I painted the walls with my sponge roller using Valspar 'Natural' and a little bit of  SW Deer Valley, giving them an uneven finish replicating Venetian plaster.  I painted the ceiling with just the Valspar 'Natural.'
This wool rug, from Royal Palace, used to be in our family room. I'm really glad I held on to it because it's exactly what I want in here now. I love the romantic feel it has and it has the perfect color of blue mixed in with the golds and roses.

The bedspread and pillow shams are from Overstock.com.  I love the weave of the bedspread and the romantic lines. I have our down comforter under it to give the rounded look.
It looks a little white in these pictures but it's a soft cream color.
These are the chairs from our living room.  They won't be staying in here but I brought them up to see what I wanted here. I like the neutral color and the style and will be keeping my eyes open for something similar to put in here.

I made the draperies out of a faux silk in Bluestone that I purchased at Warehousefabrics.com.  I lined them with a cream polyester and was surprised how light (as in not weighty) the finished draperies were. I made them long enough to puddle even when they're pulled back.  I wanted them to feel like a ball gown.

I still need to hang the mirror above our dresser.  I'm waiting until we get our 'beams' put up.  I've stained a dozen 8' long 2x4's and we're putting them up where you'd usually put crown moulding. They'll follow the slope of the ceiling and go all around the room at the top of the walls.
I found a fabric that I loved to make an abundance of throw pillows for the bed.  I ordered two yards and then received an email saying I had to order a minimum of five yards, so I'm deciding what to do.
I'm disappointed because I loved the color and pattern and thought it tied everything together nicely and brought the blue onto the bed. I've also ordered lots and lots of trim.
This is the same fringe that I trimmed out our pillows in the living room with.

Here's a picture of our bedroom before. I liked it but it wasn't as French as I would like. One of these chairs is now in our guest room and I'm planning on putting the other one in the basement. The color works perfectly in those rooms and I don't want to make new slipcovers for them.  I've given the rug and the draperies that were in here to our daughter.
This is also an old picture.  We're planning on putting double doors on this doorway to the bathroom, using a barn-door system.
I'm planning on painting the doors a distressed blue, similar to this picture.
This will add to the rustic romantic feel that I want in here.

So except for making a lot of throw pillows, my part is done. I've order the barn door system from Amazon and it's on its way. I'll buy the doors this week and get them painted. All the boards for the moulding are stained and ready for when my husband gets a chance to put them up.

We haven't done anything on our bathroom yet but now that winter is leaving, I'm going to try again to get some estimates.  

I've been working on some other small projects and will be back with those soon!

love and blessings~
"Behold, I will set your stones in turquoise, and your foundations I will lay in sapphires. I will make your summits of rubies and your gates of crystal, and your entire wall of precious stones."
Isaiah 54:11,12
Sources:
Bedspread and shams - Overstock.com
curtain fabric and trim - warehousefabrics.com
rug - QVC, Royal Palace about 12 years ago
chairs - second hand
blue damask fabric for pillows - decorativefabricsdirect.com

I'm joining these parties:

Standard
Home & Garden, Tips & How To

Changes to the Master Bedroom

Hi All!

Hope you're all having a wonderful new year!  Winter has come roaring into Michigan and we are now living in a winter wonderland.  It's beautiful!  And cold.

And I just try to stay indoors!  lol

I'm taking advantage of being snowed-in and have been working on a new project!

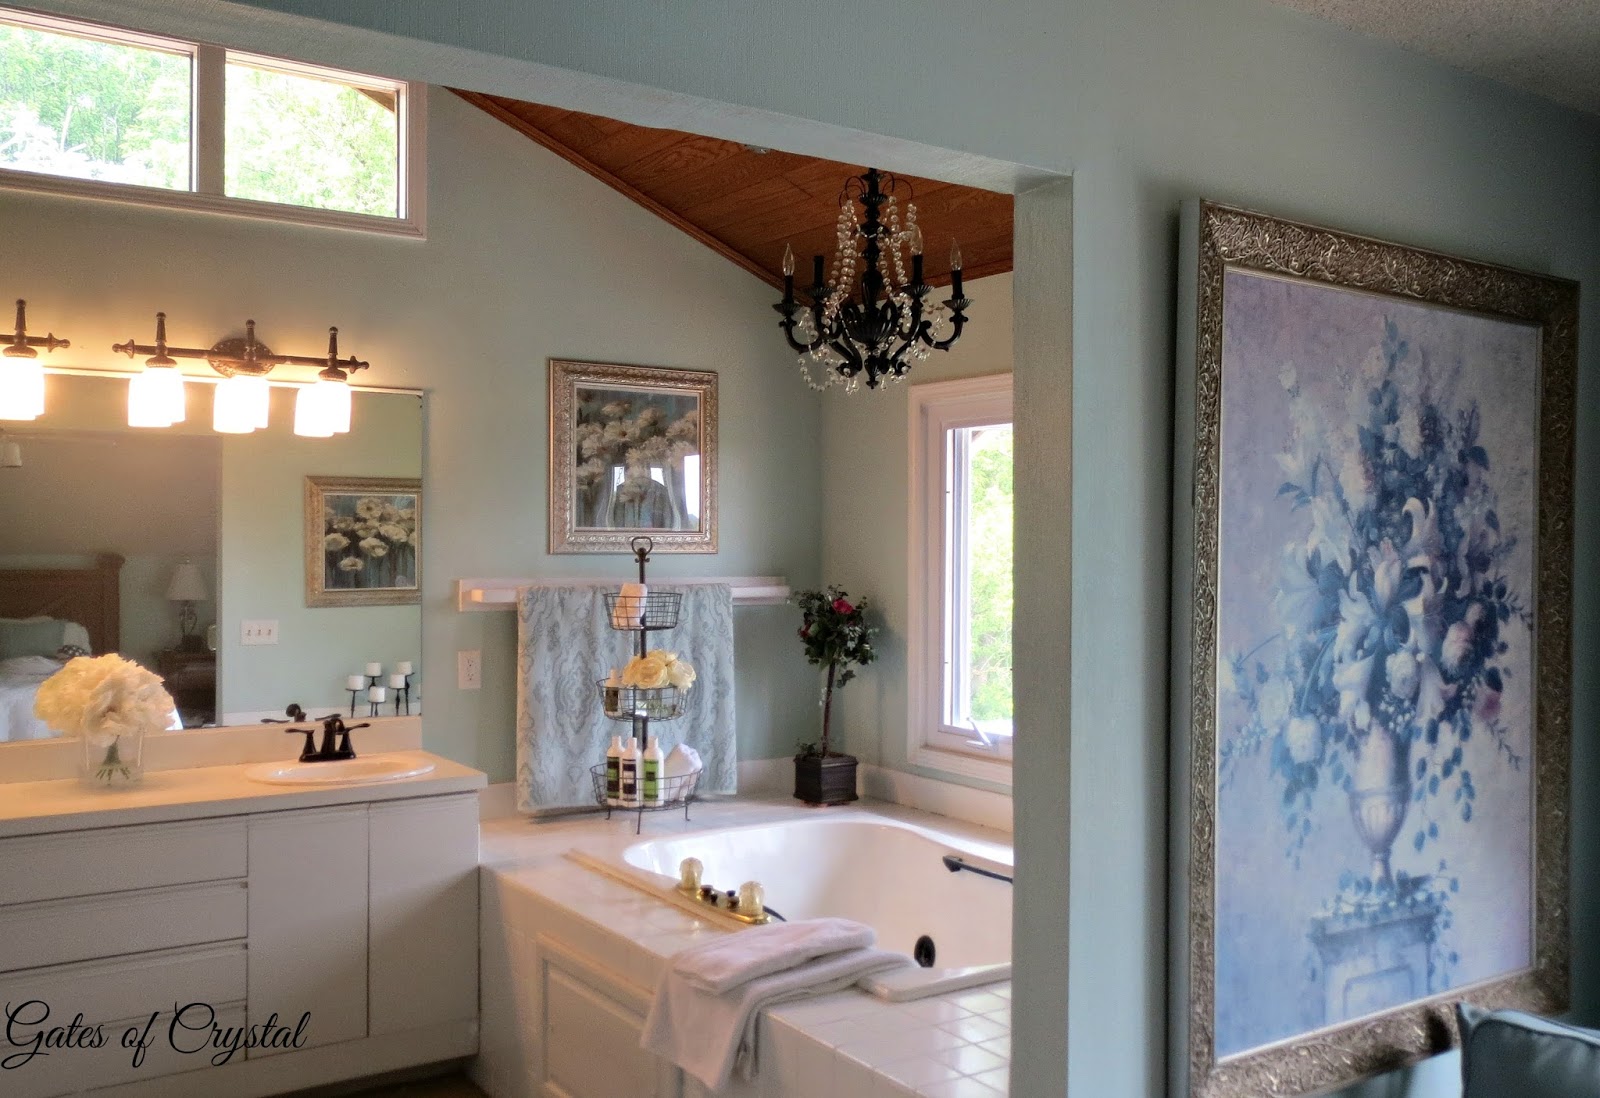
Our master bedroom and bathroom are both upstairs.  I had mentioned during the summer that we were wanting to re-do our bathroom.  Well, we've made no progress at all.

Not even an estimate.

Not that we haven't tried. *sigh*  I still have hope!

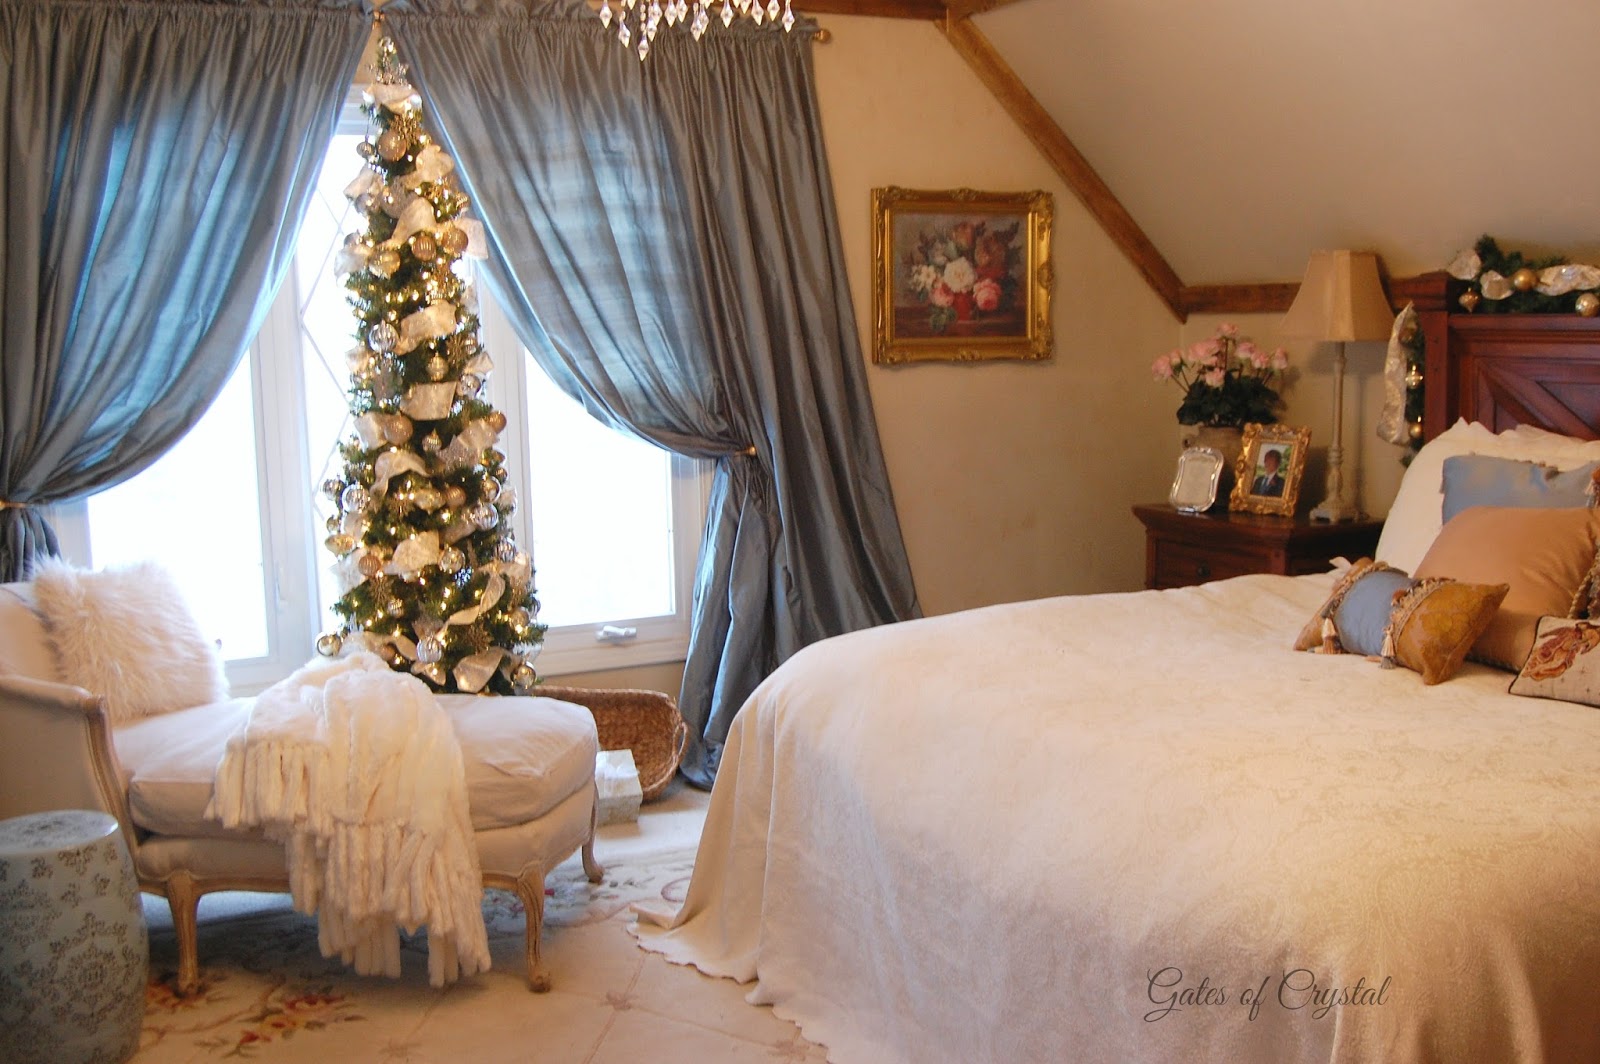
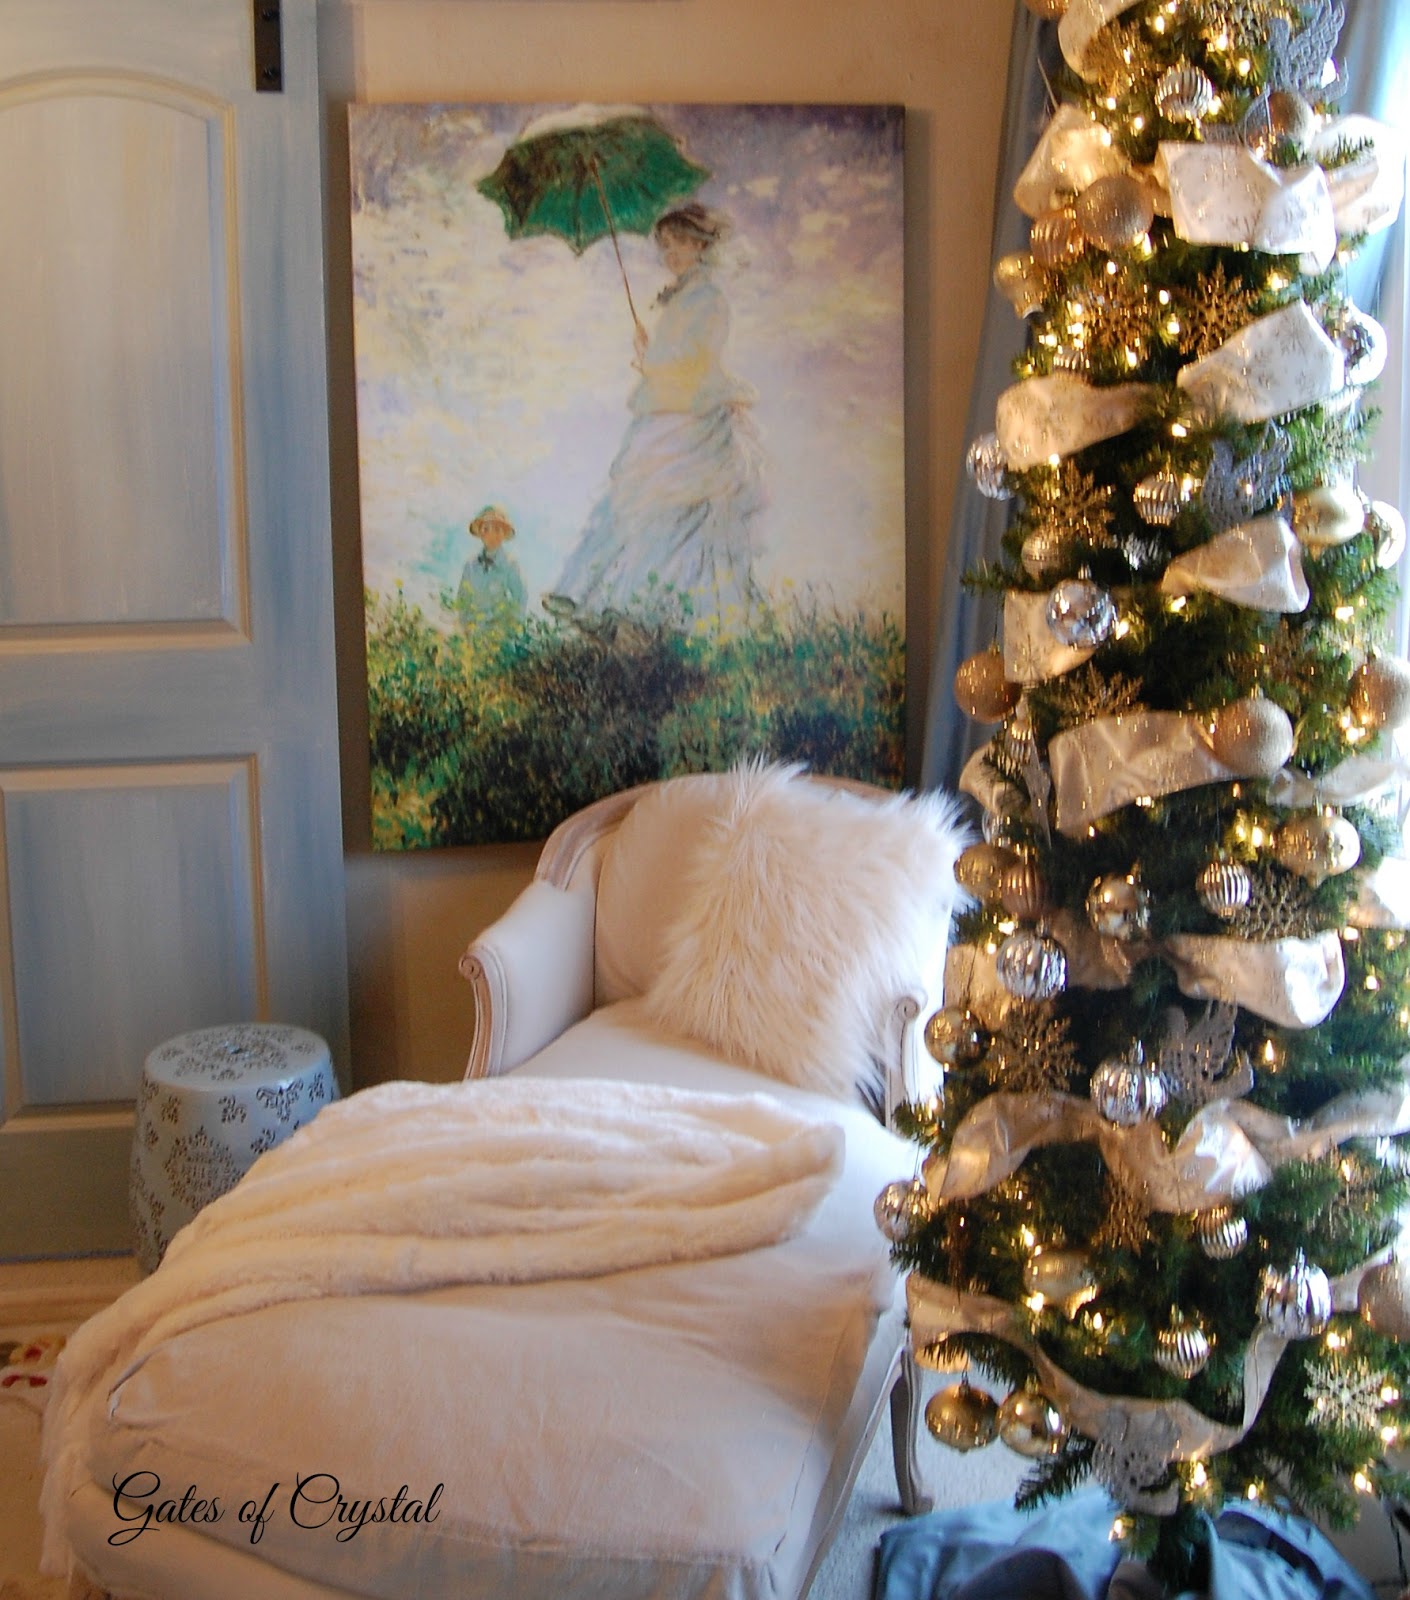
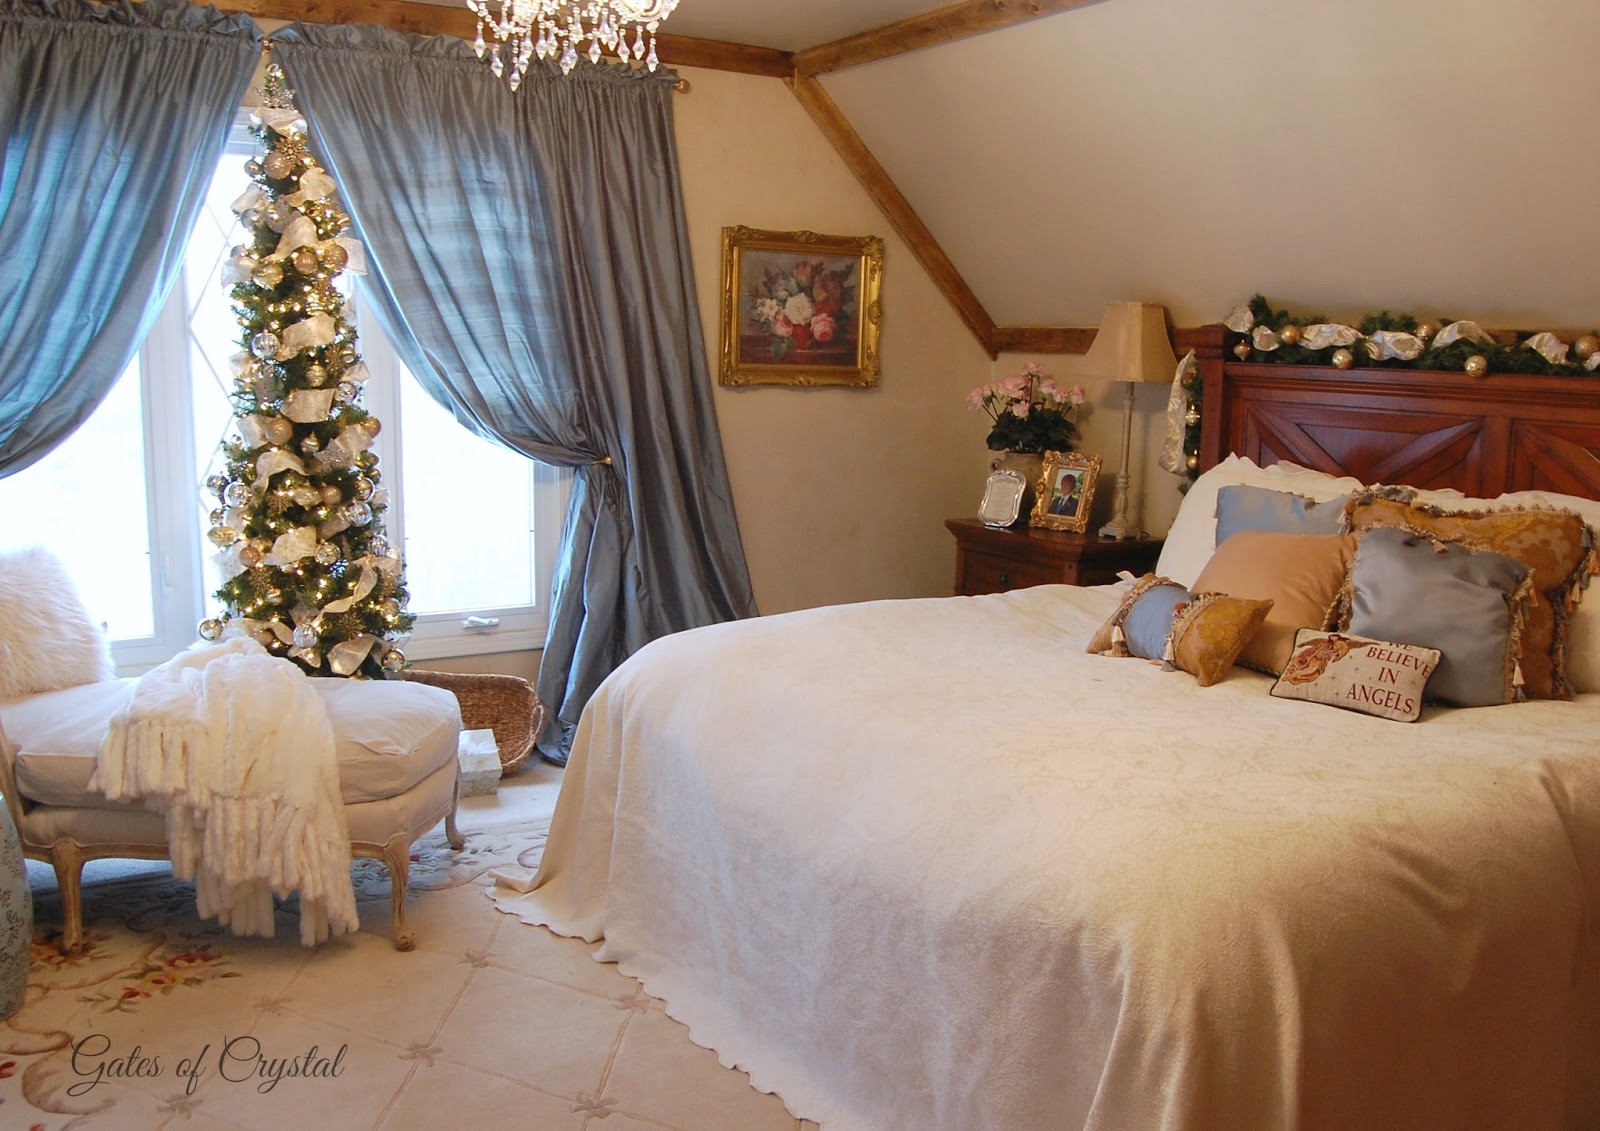
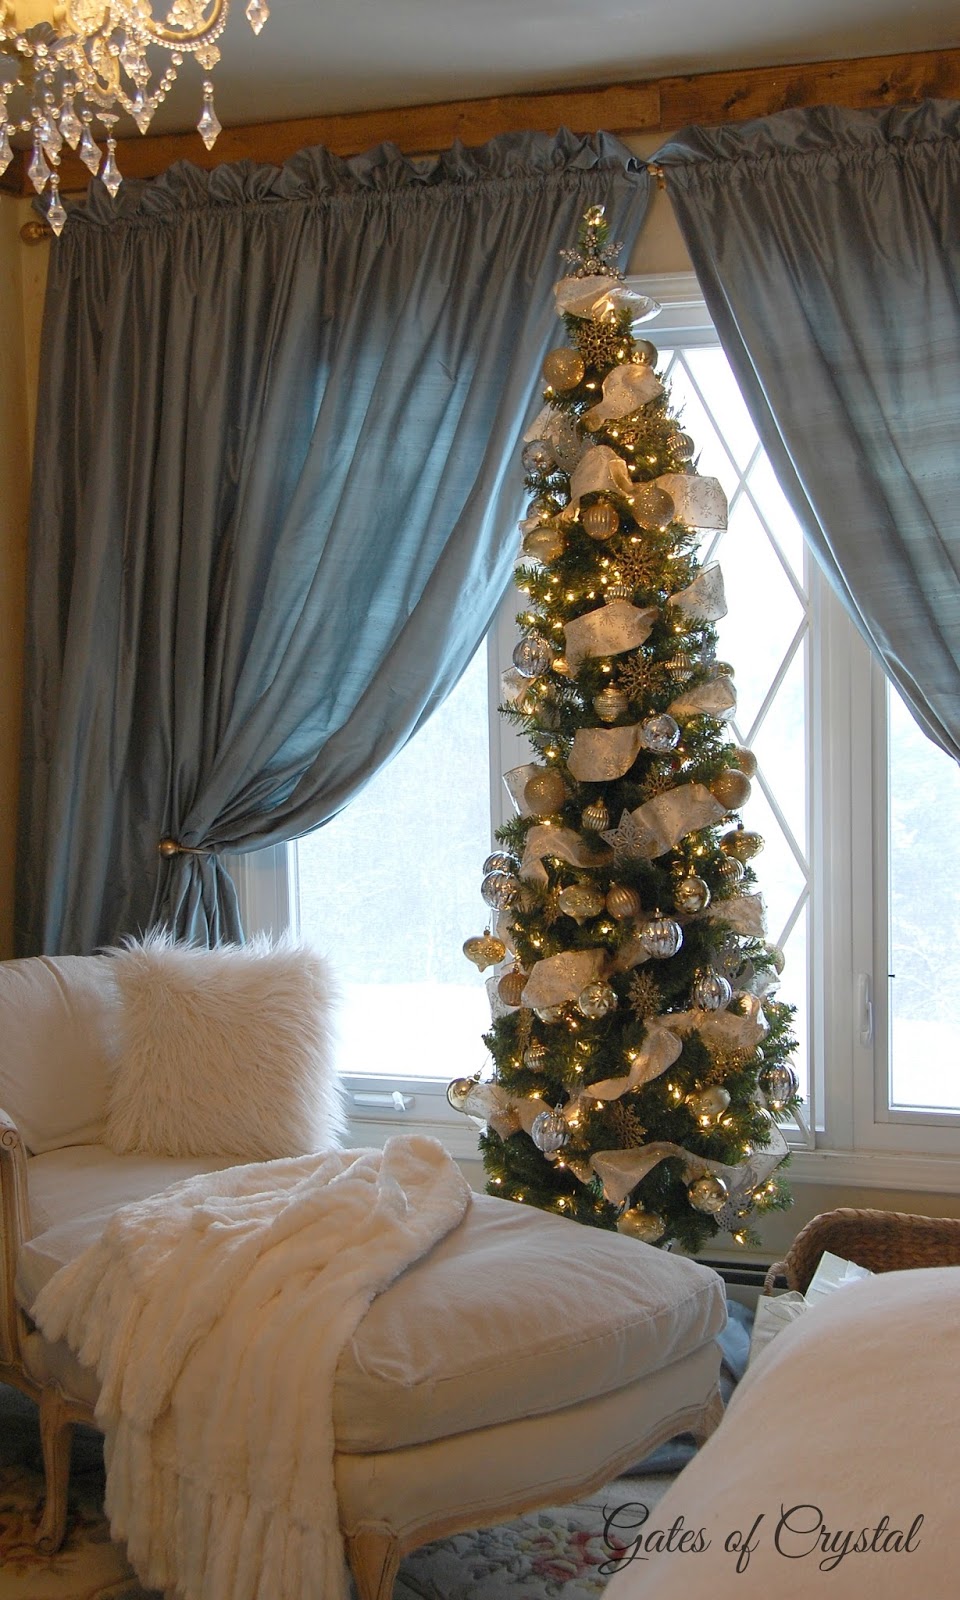
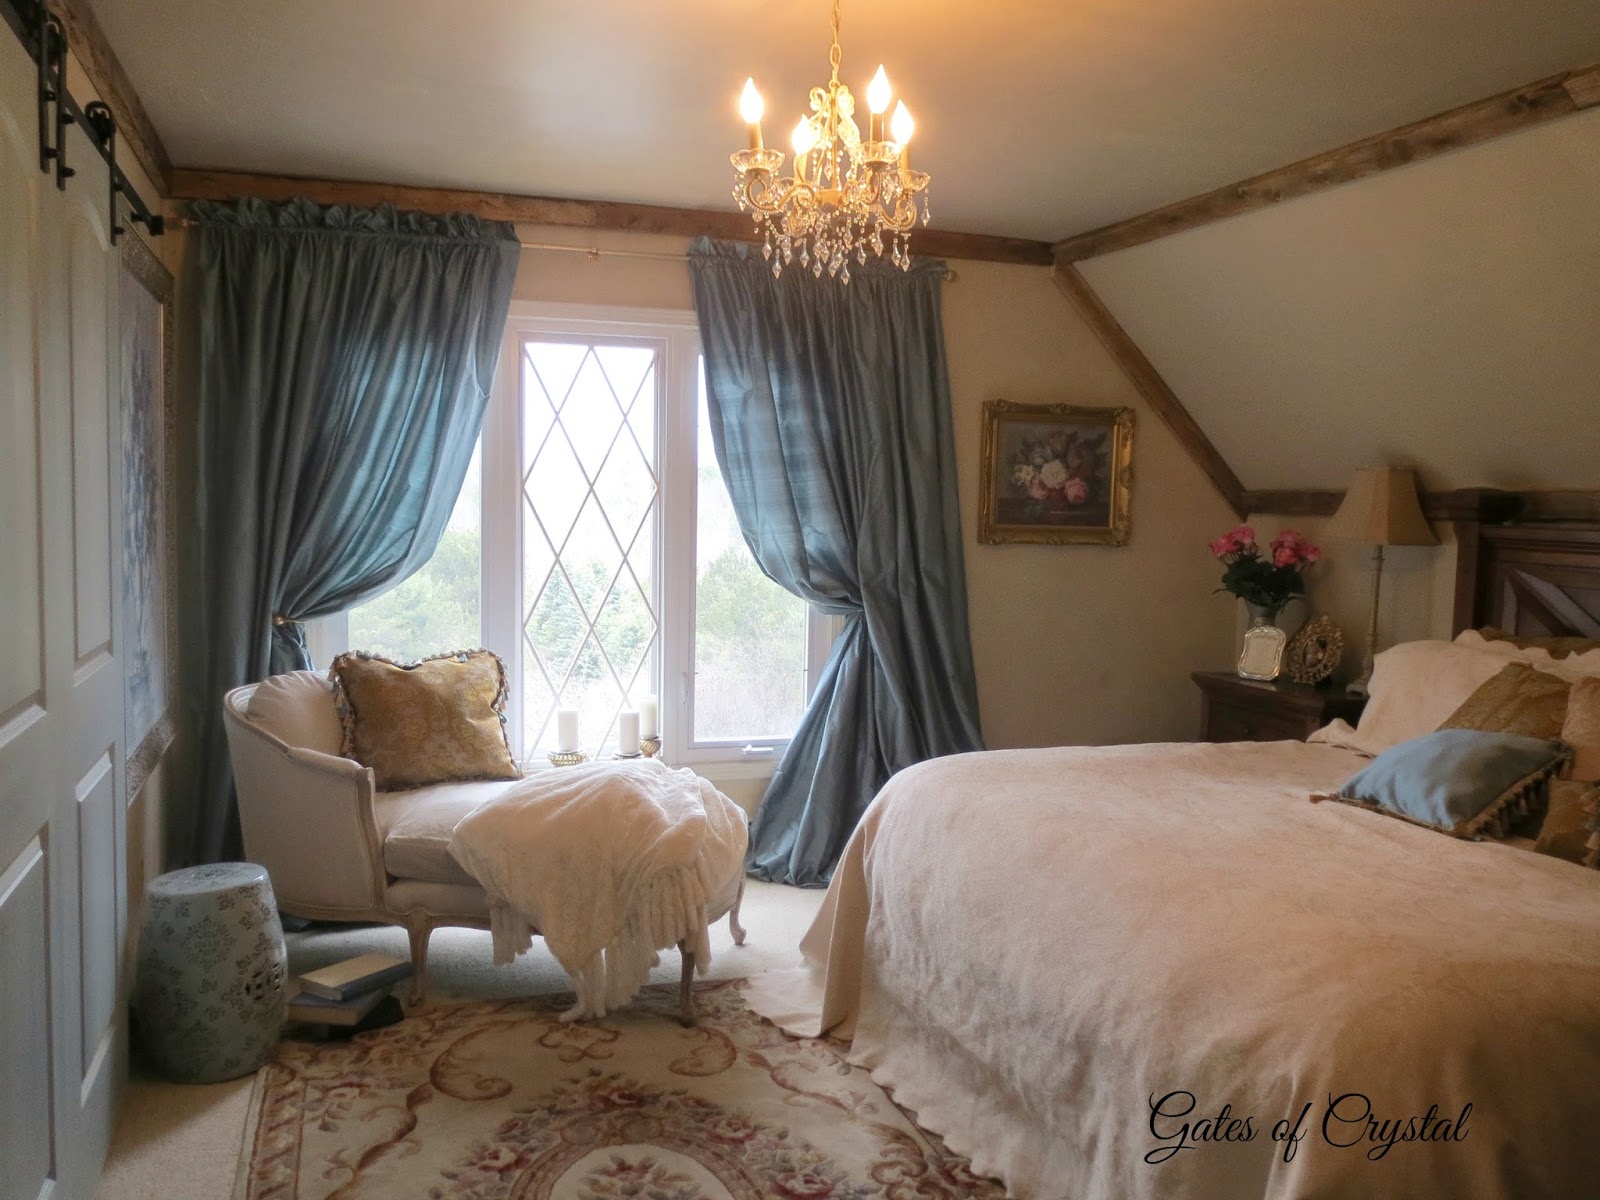
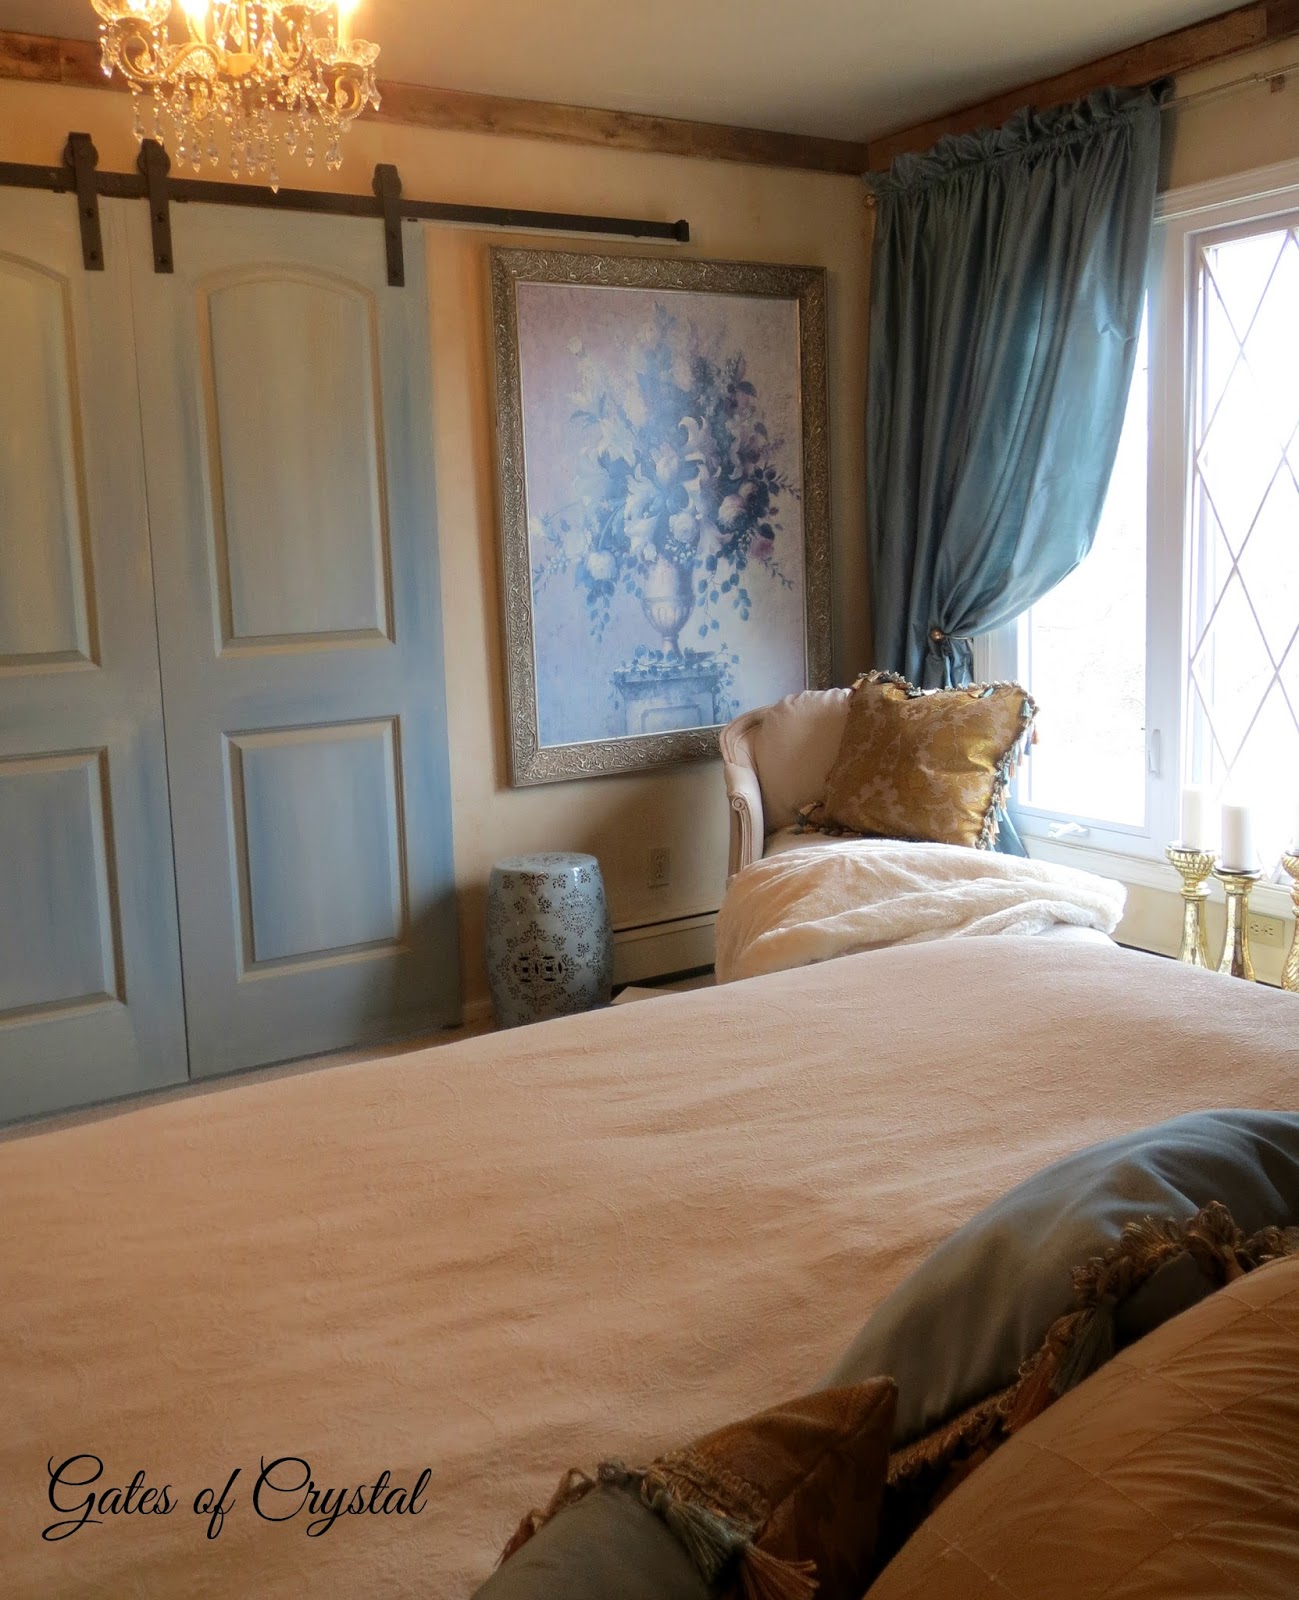
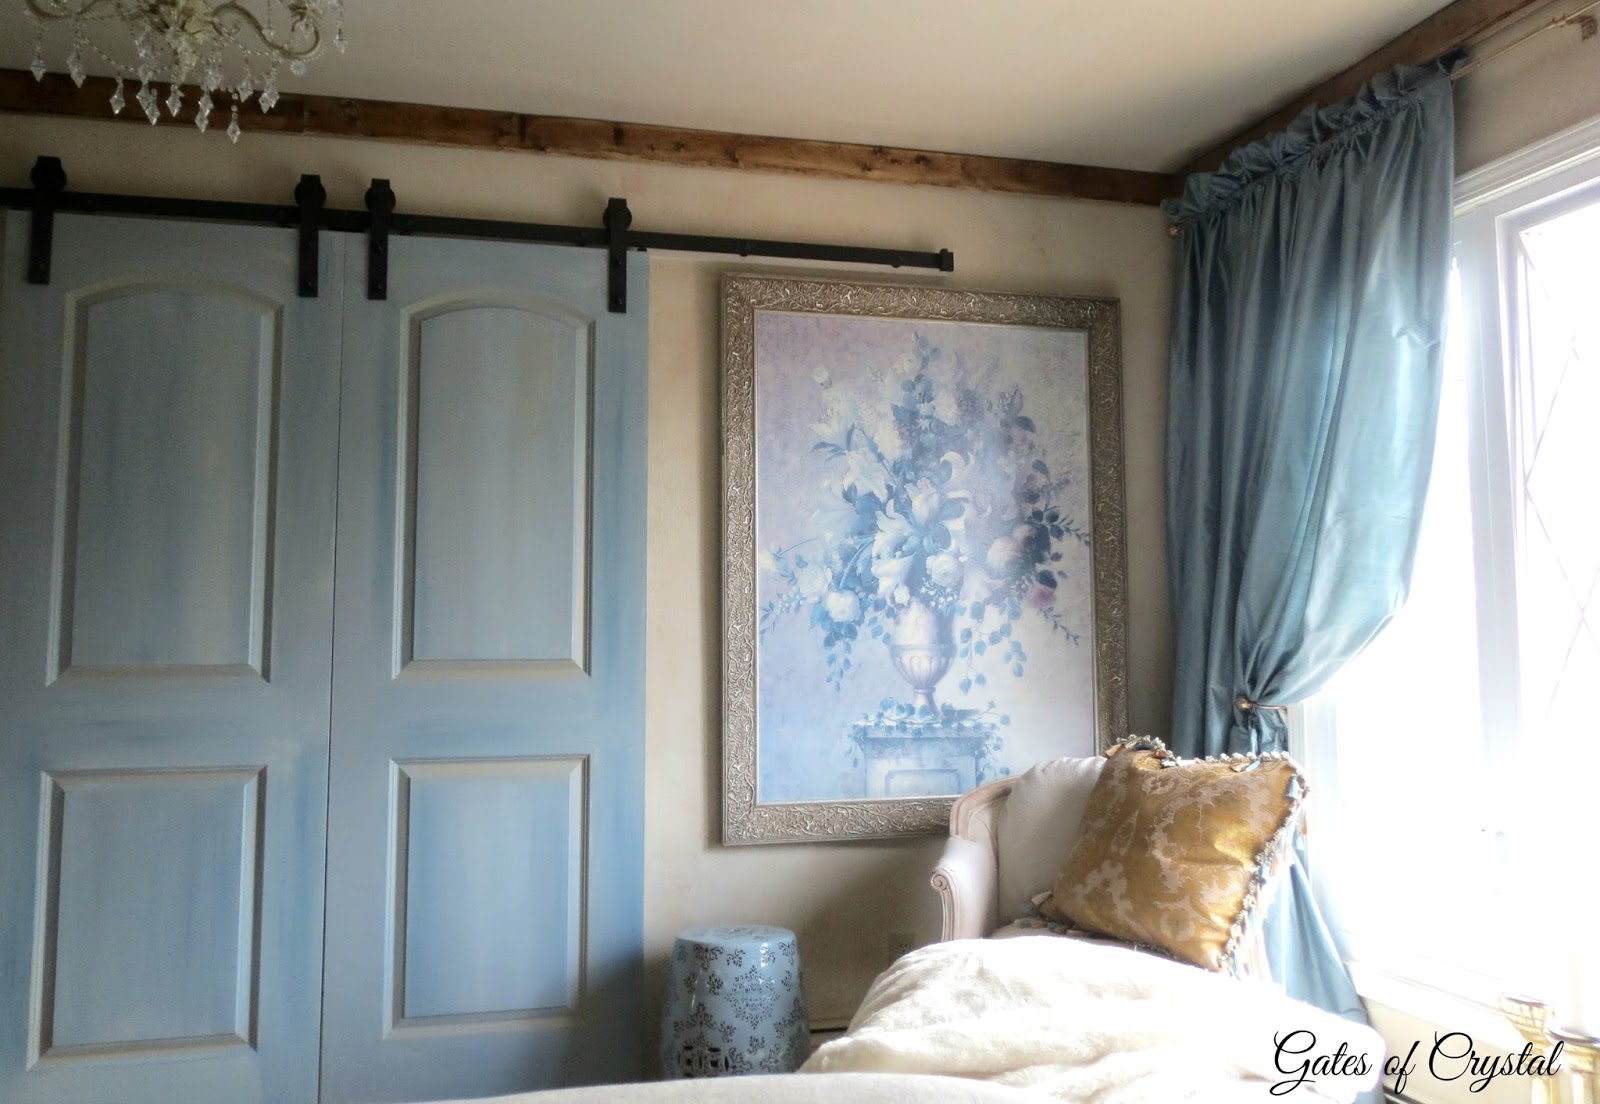
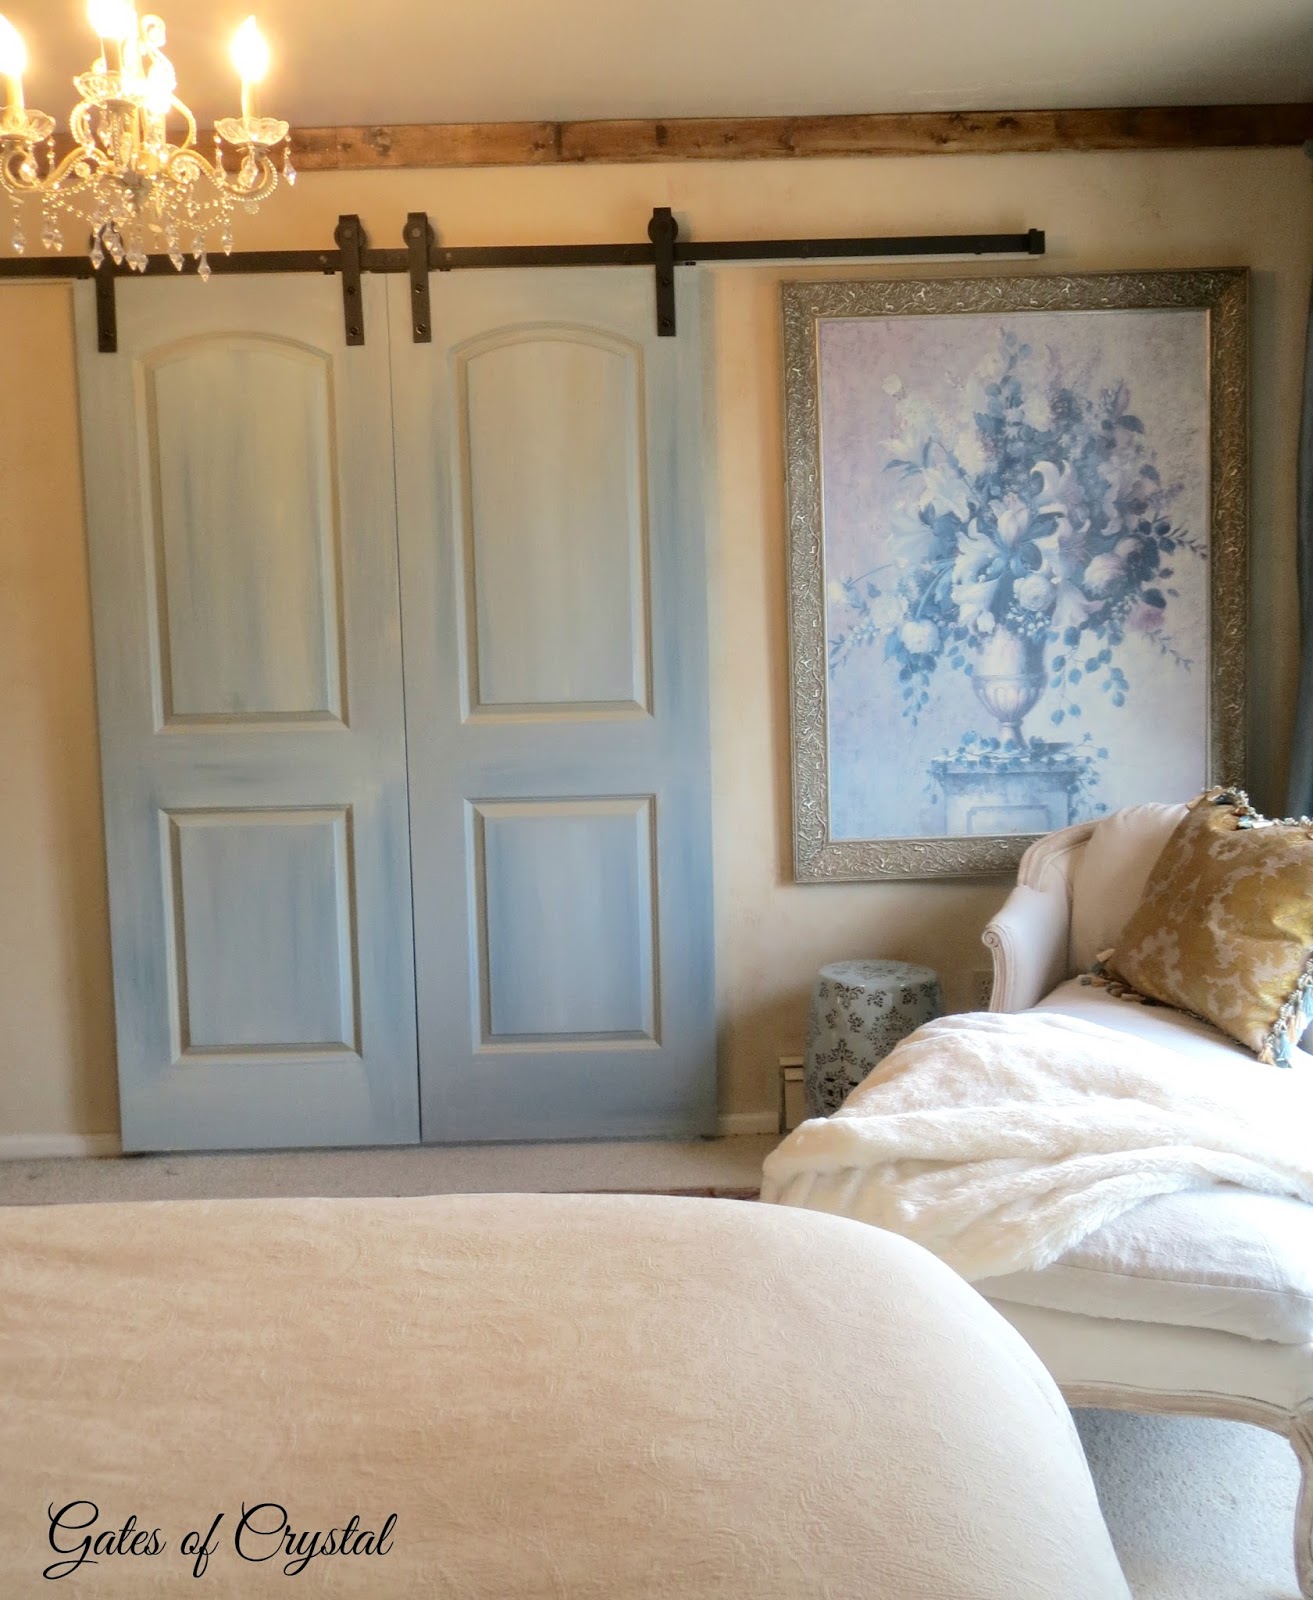
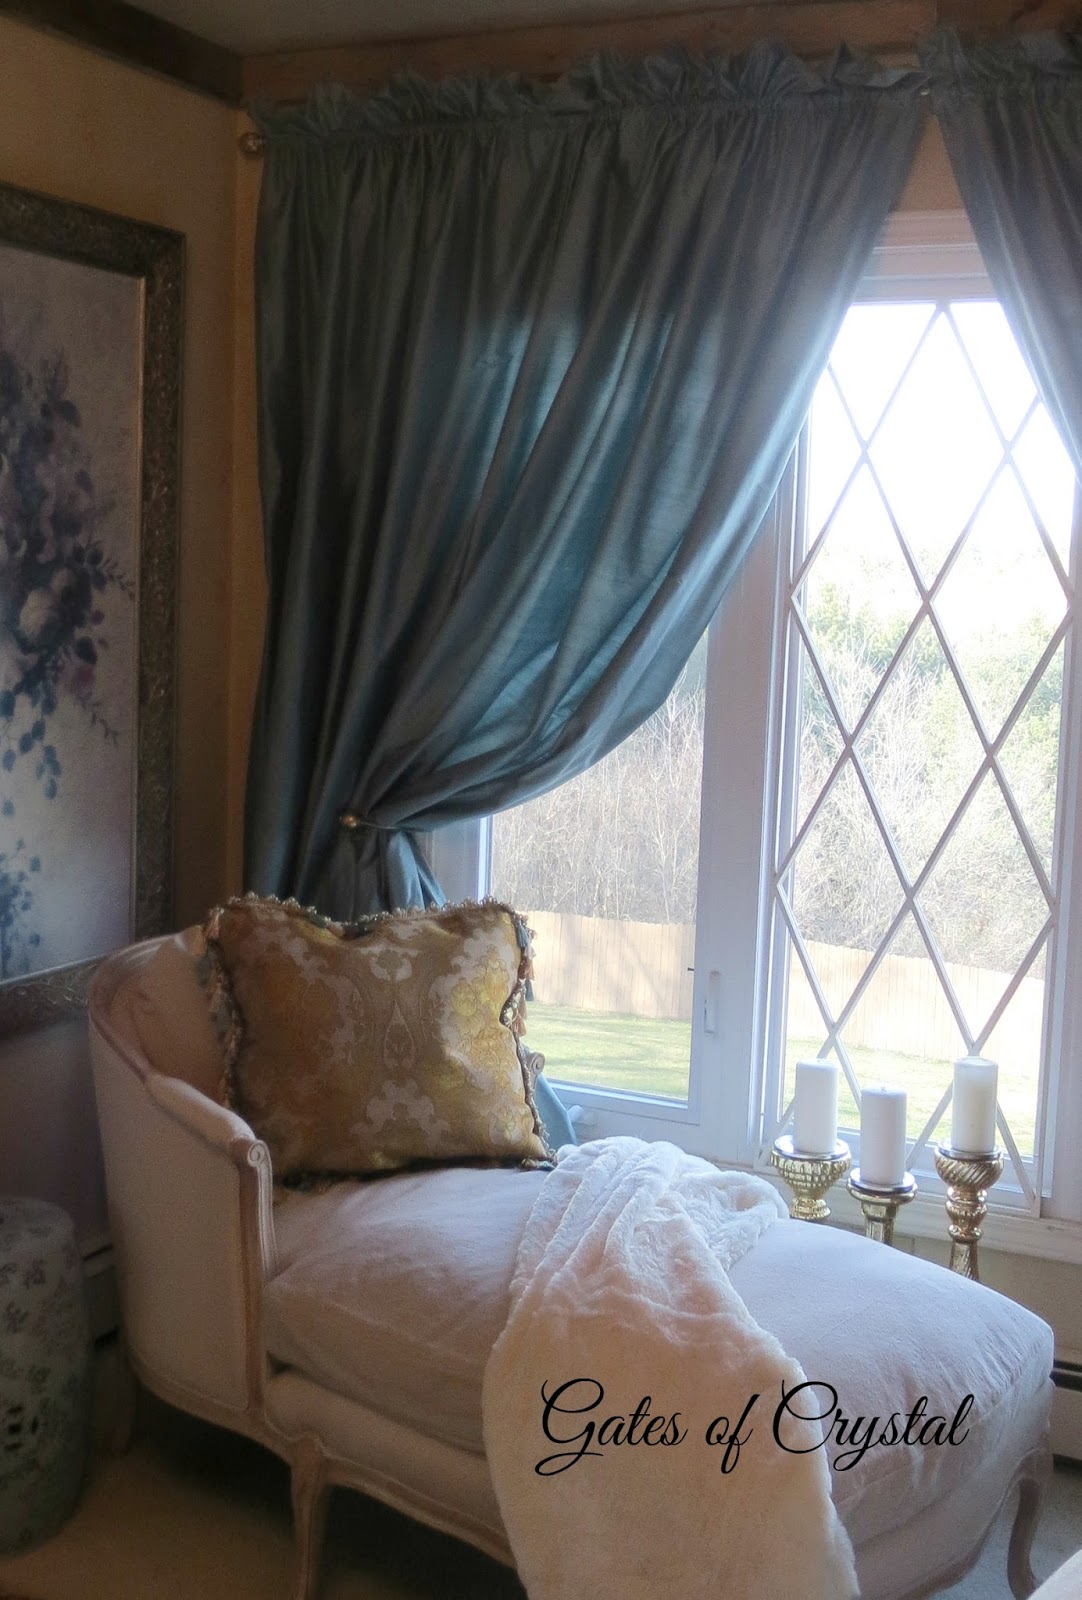
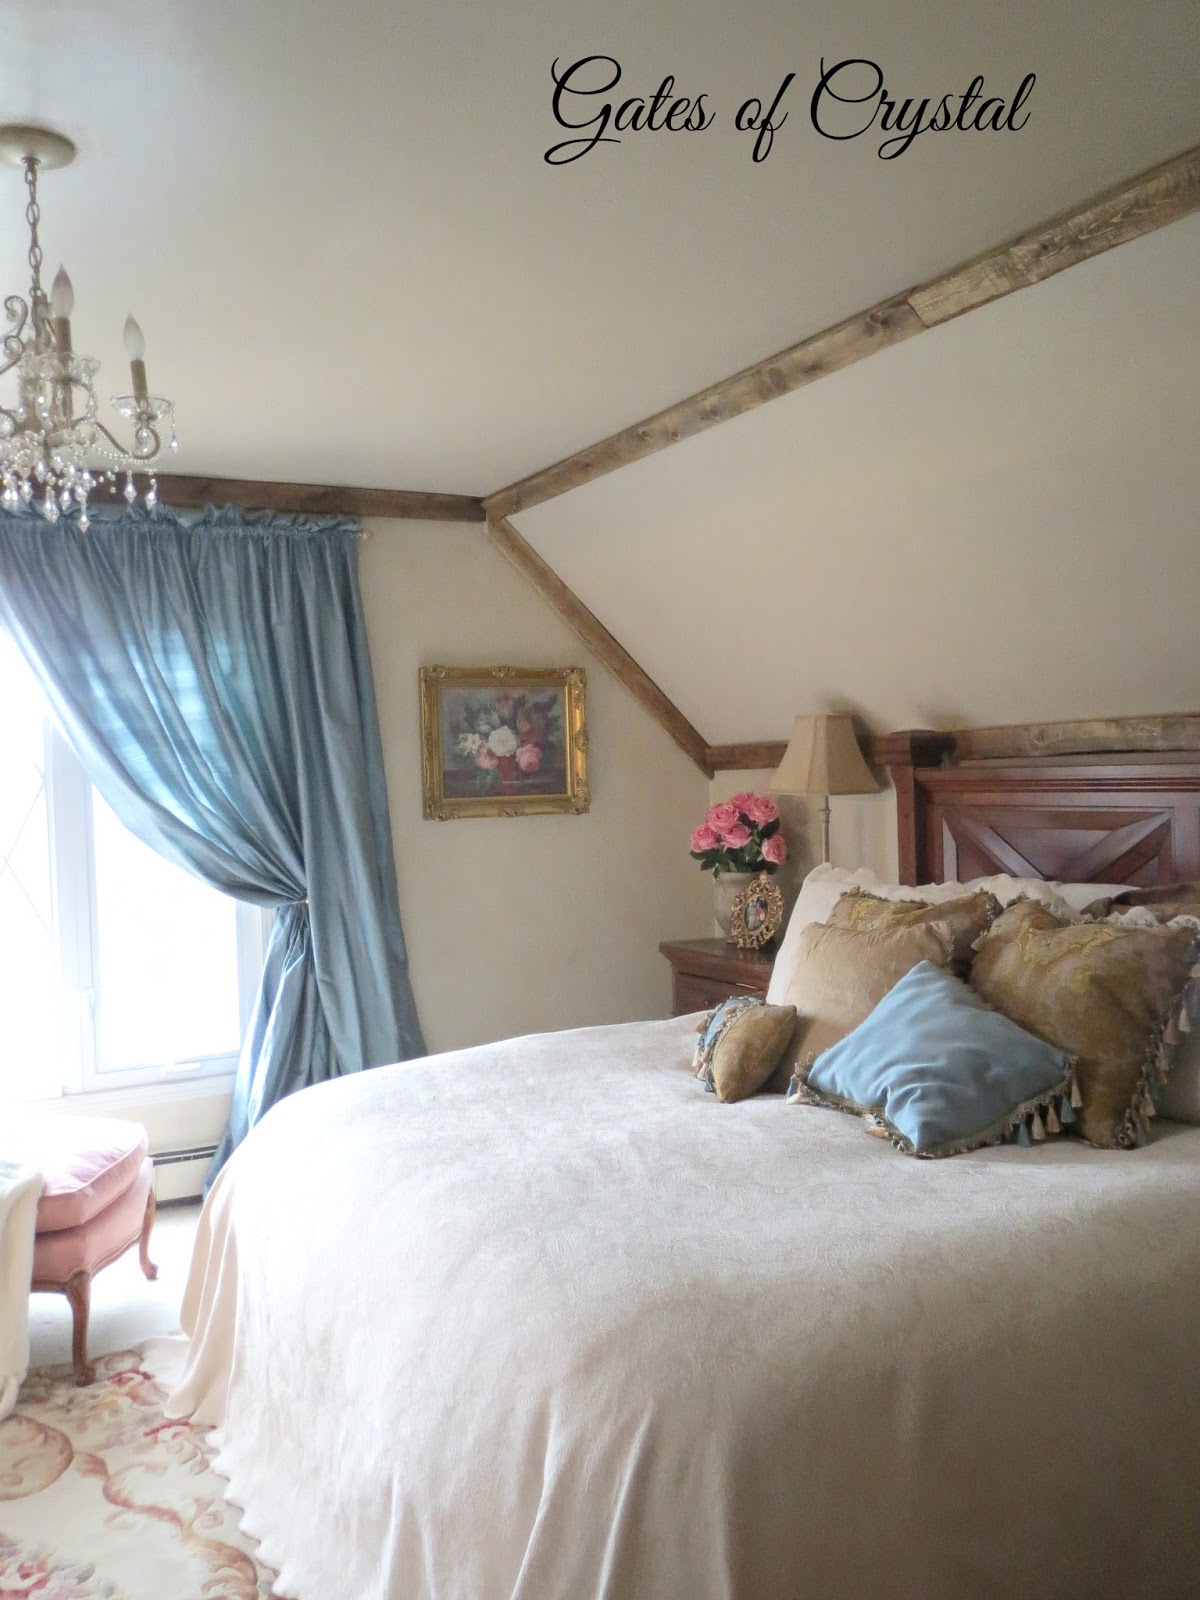
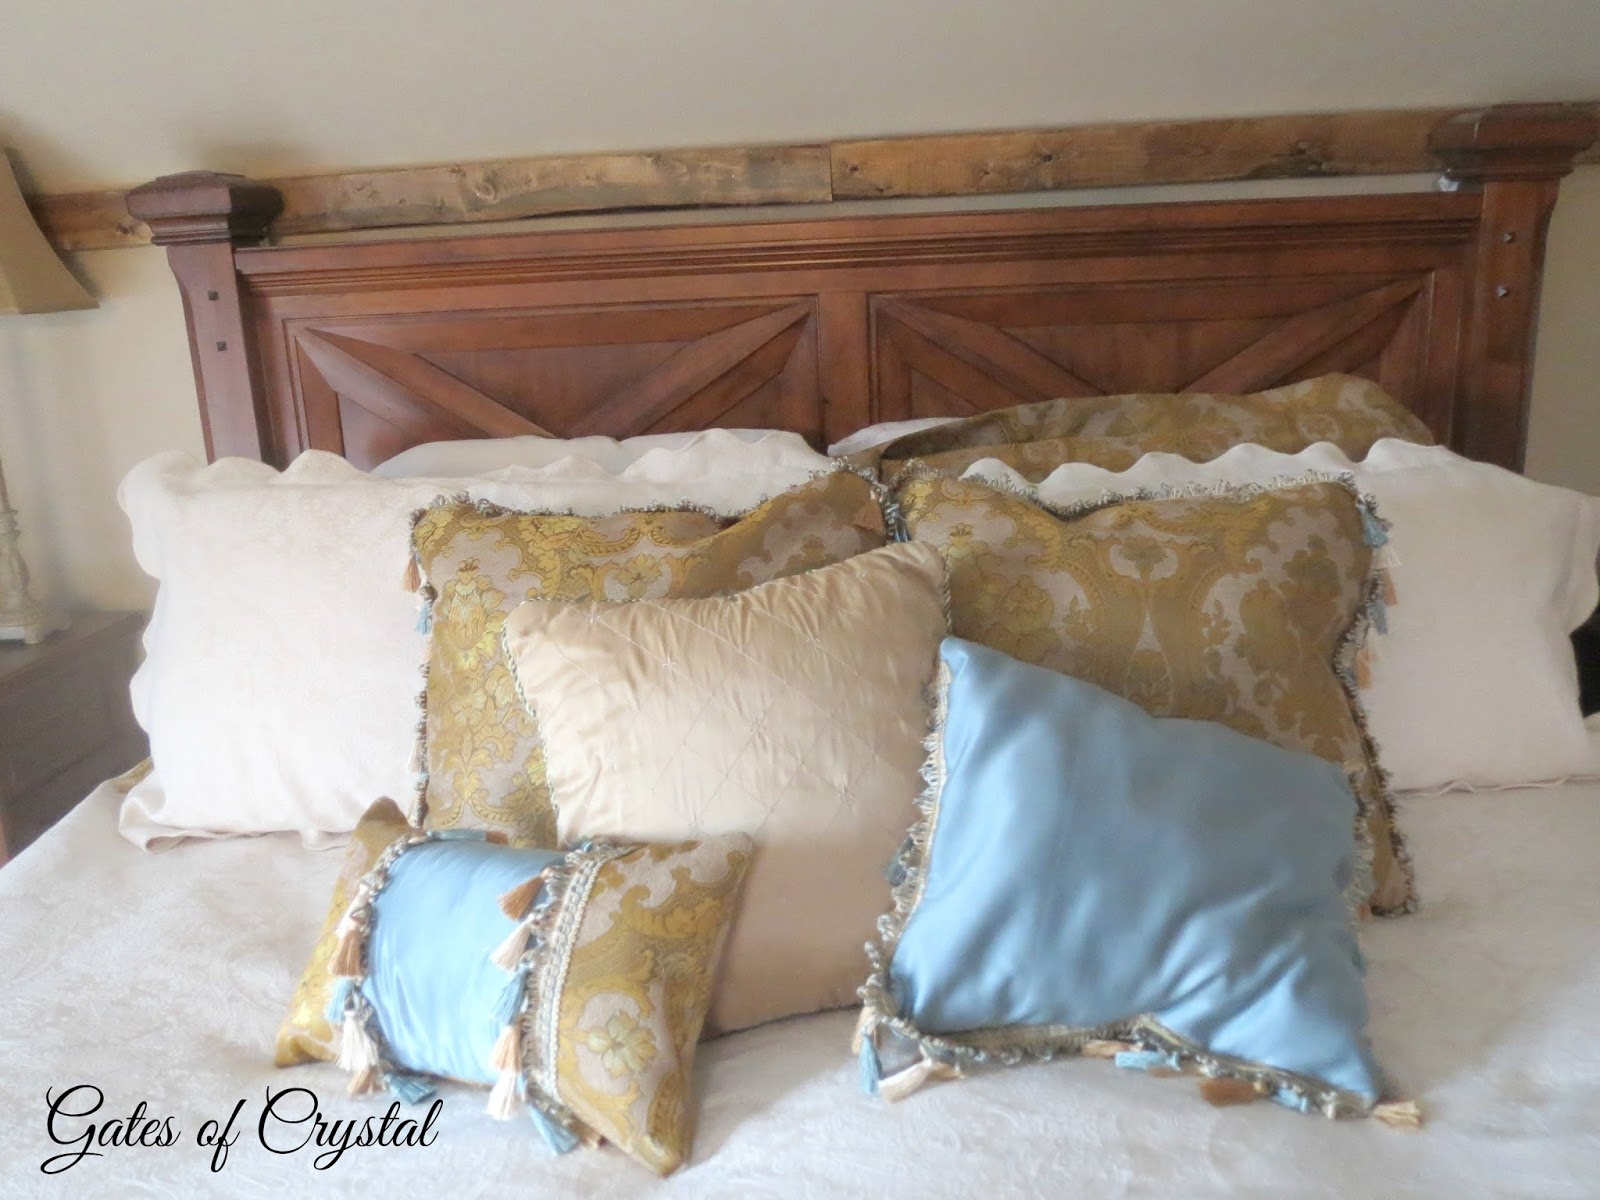
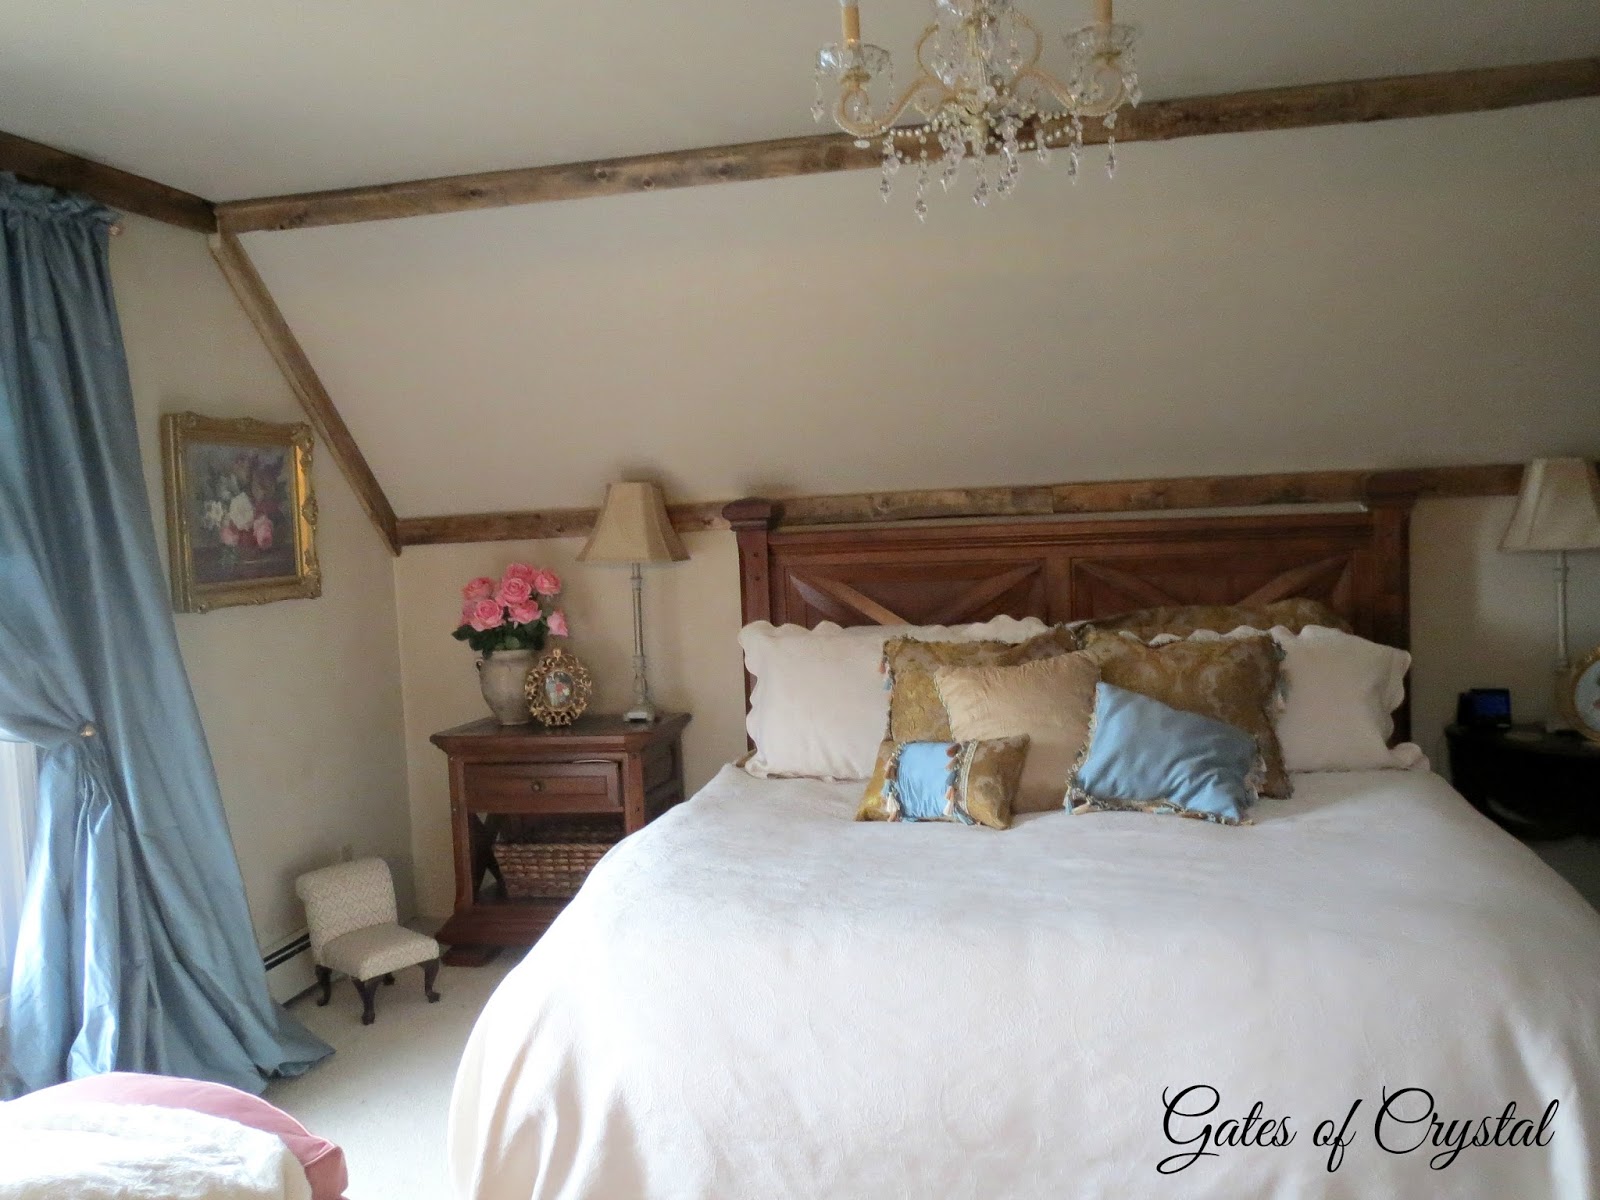
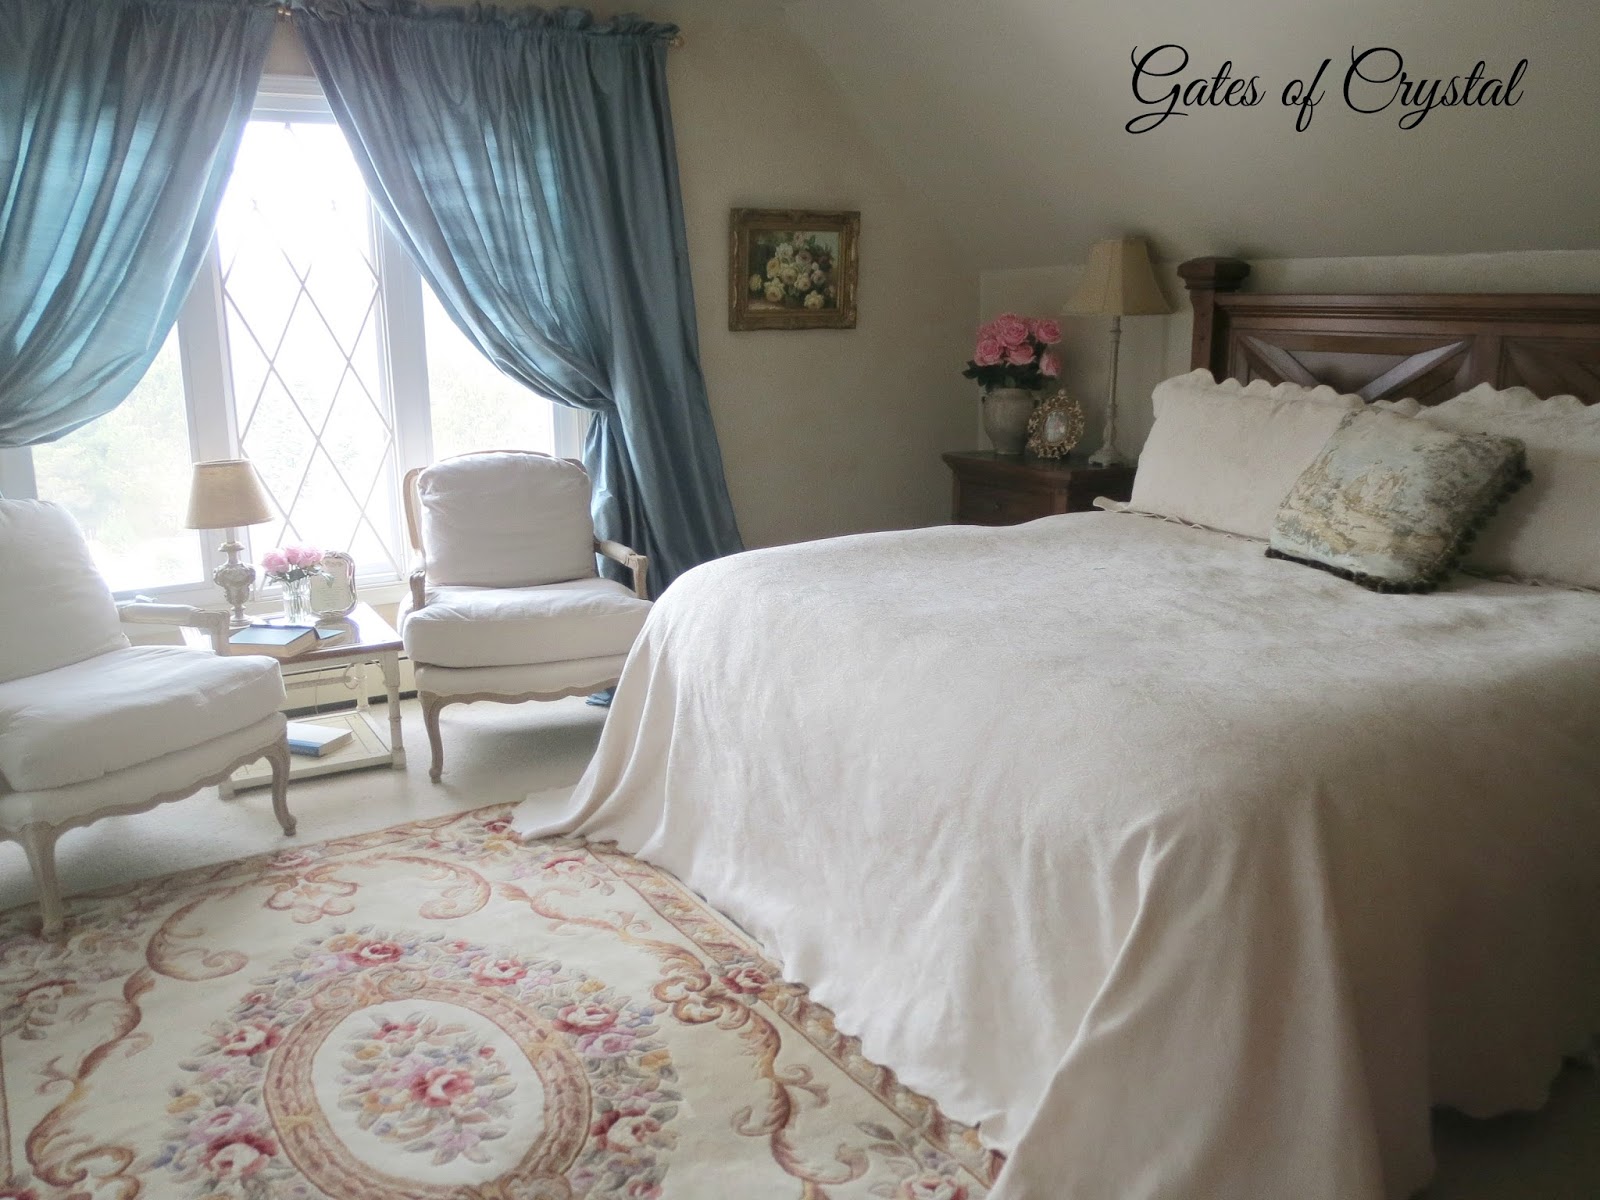
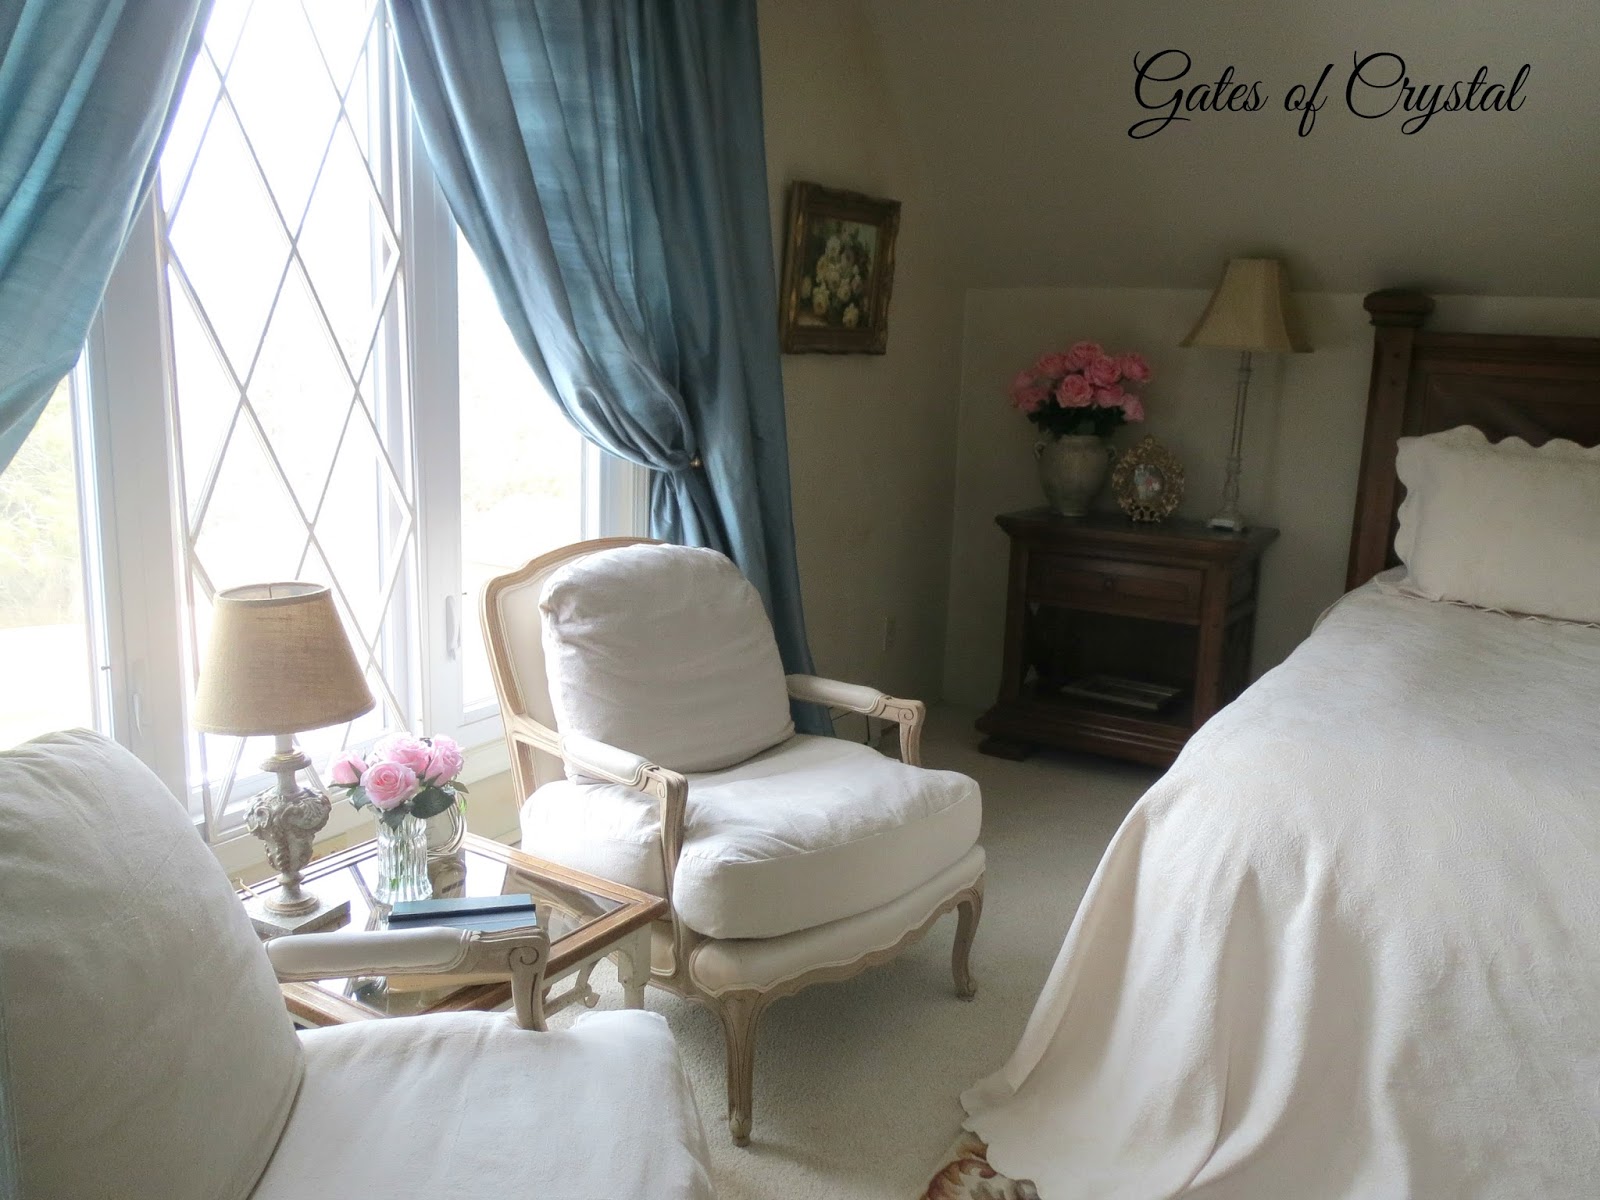
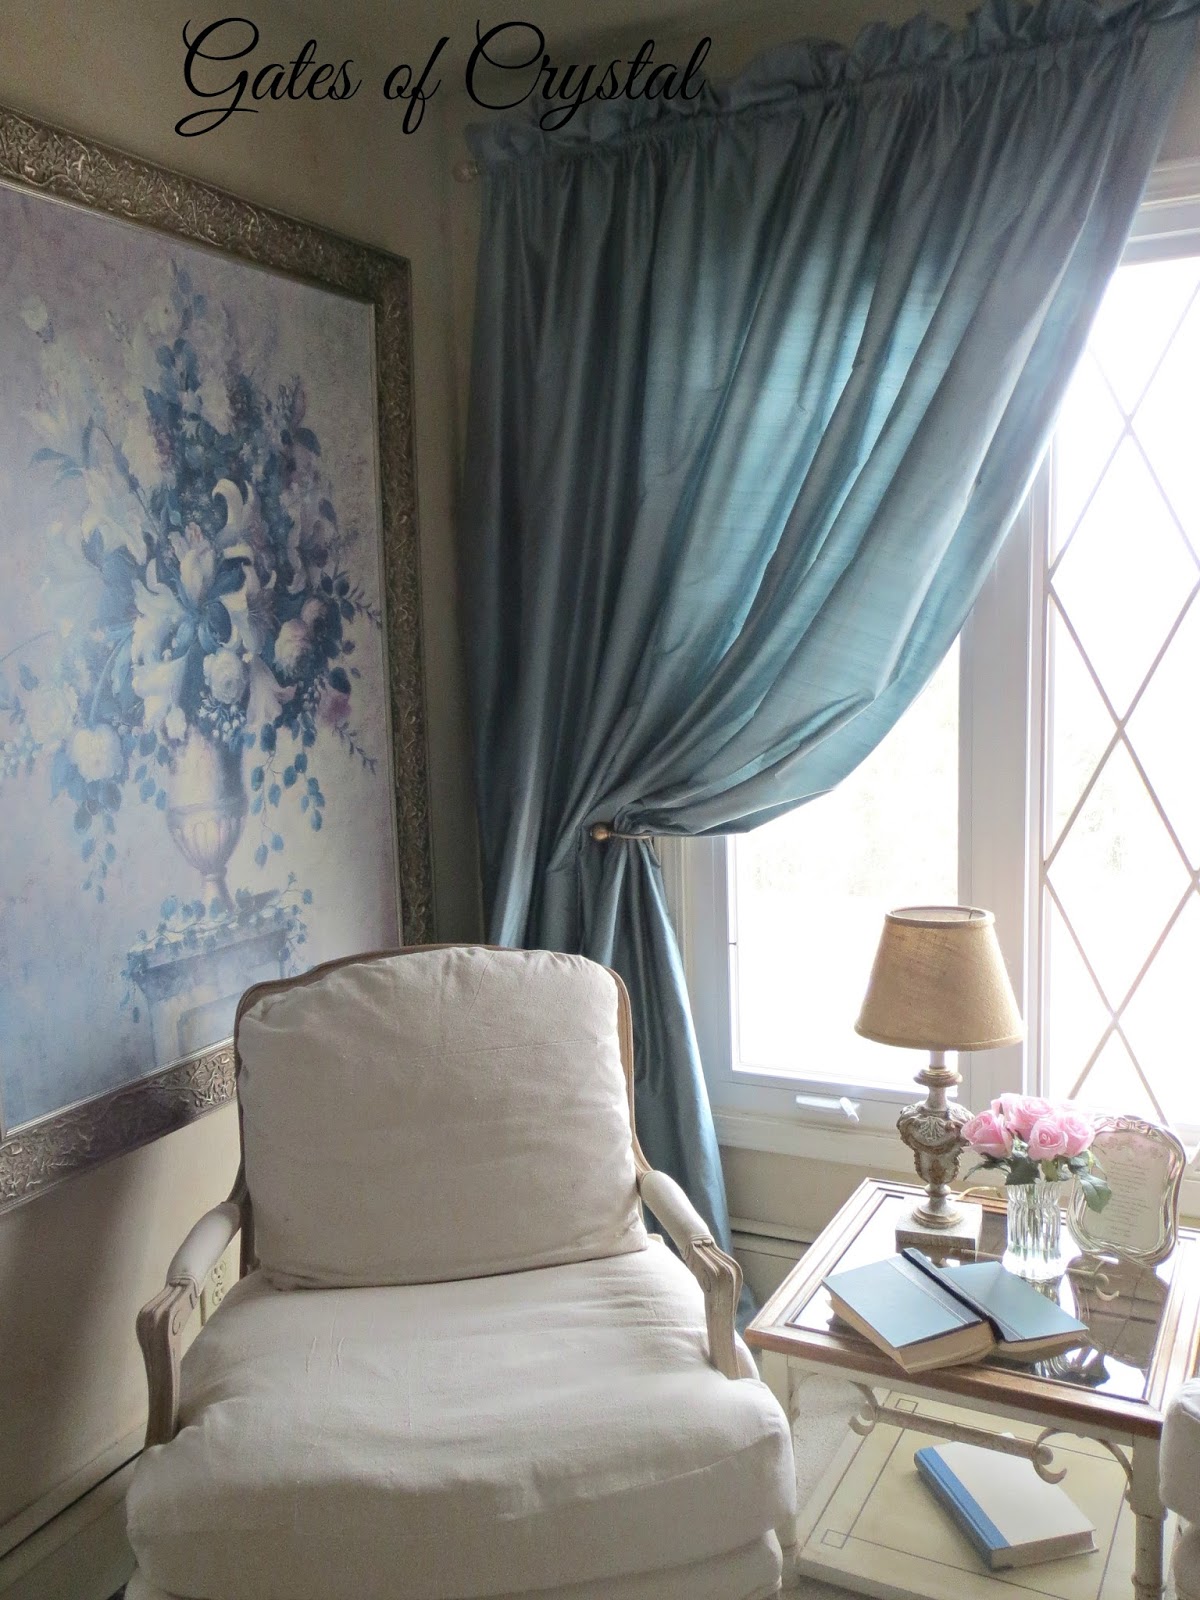
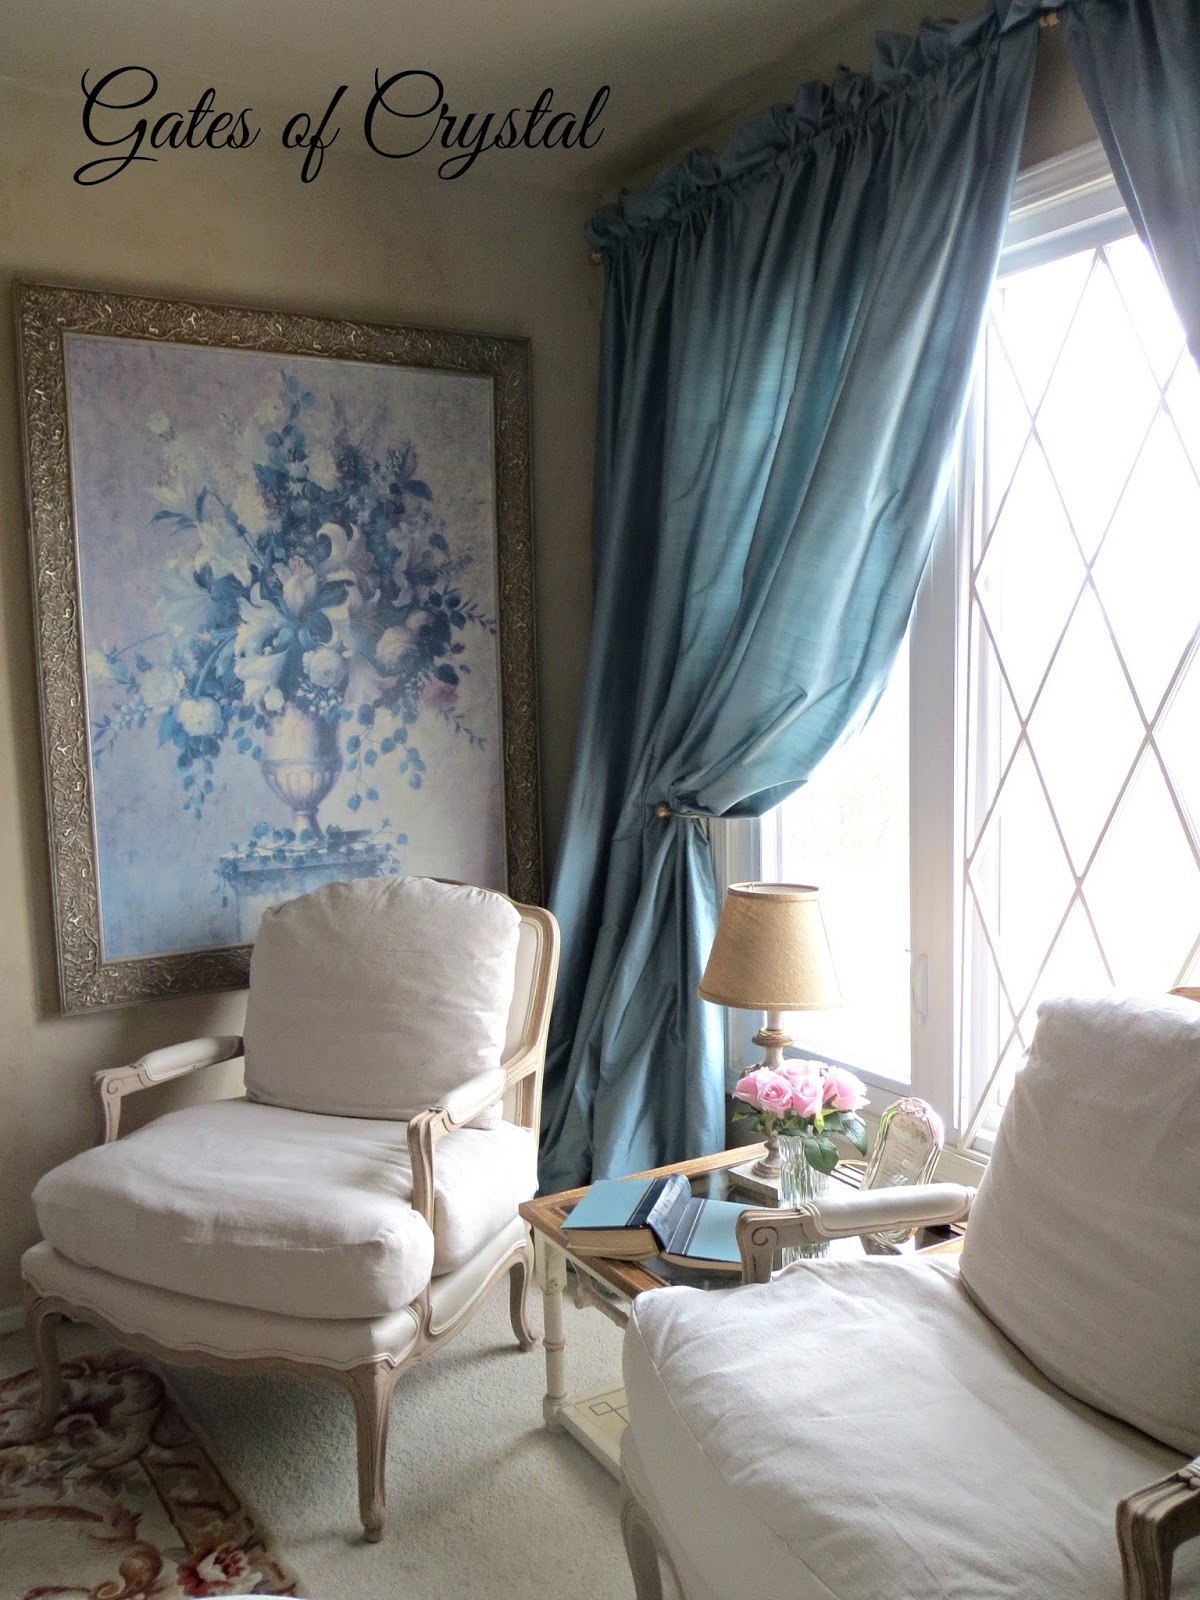
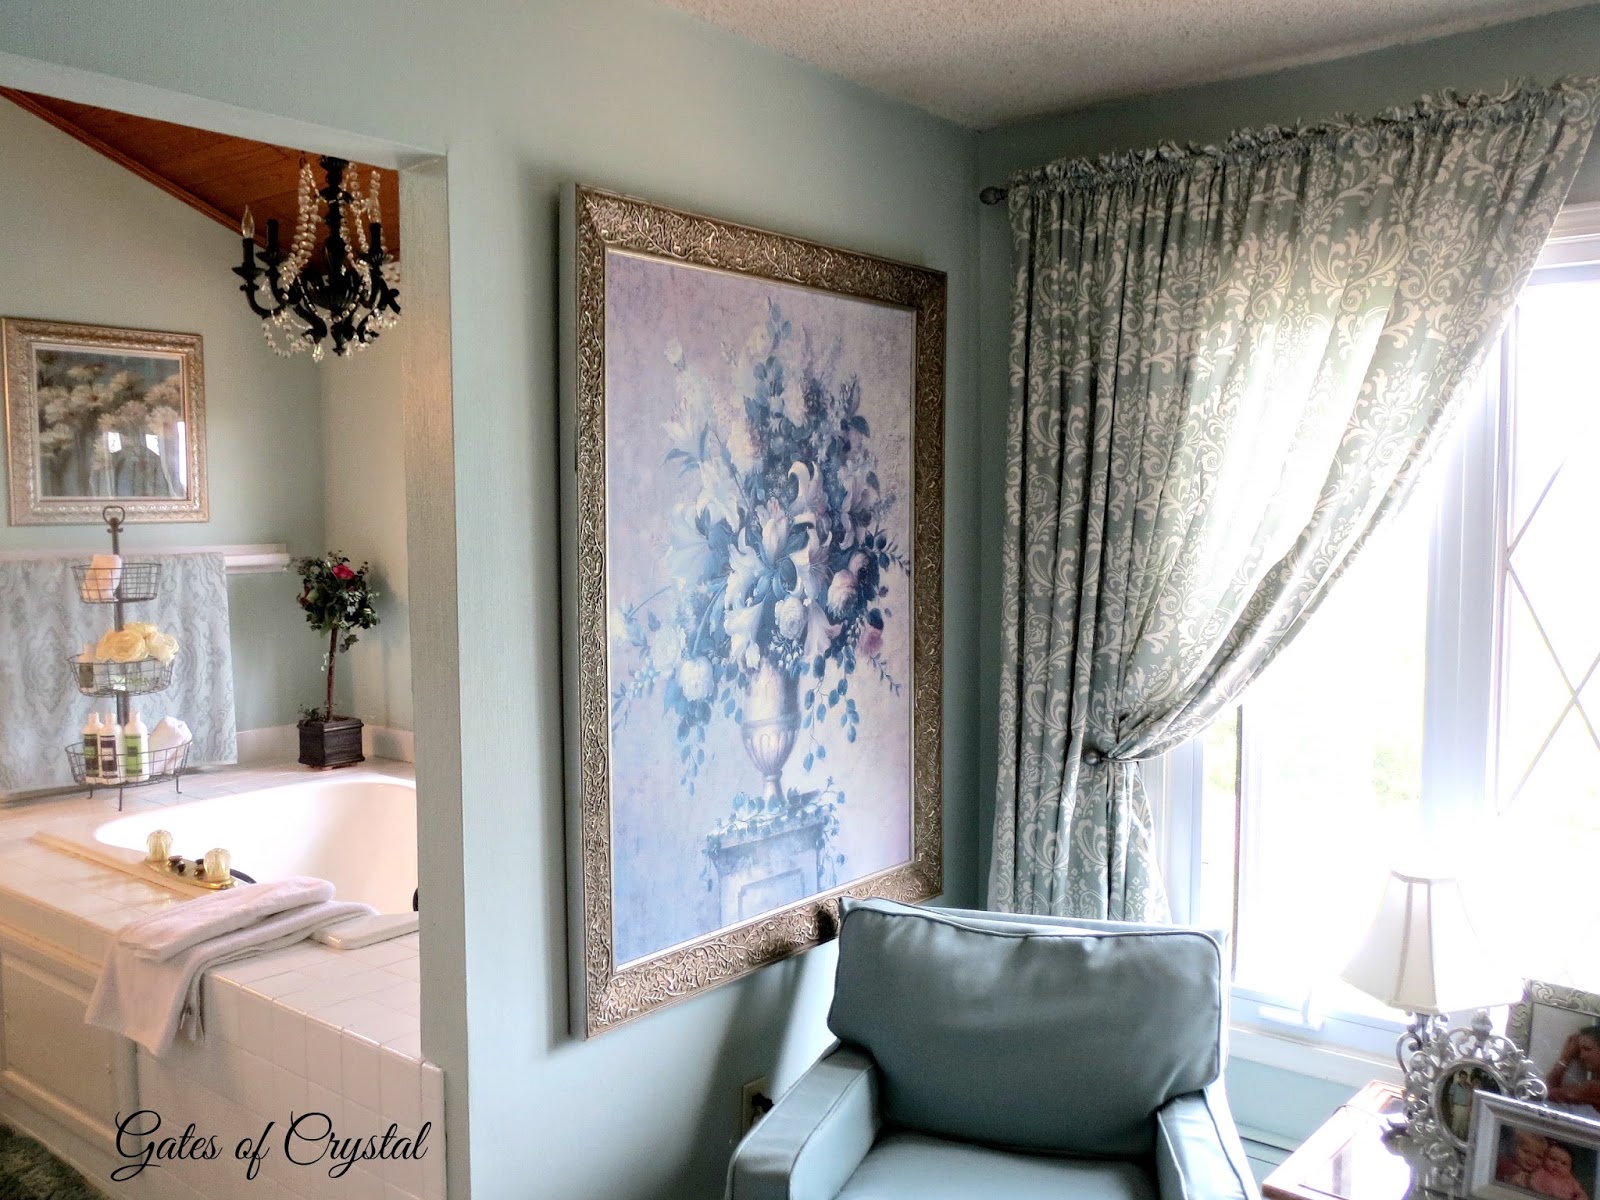
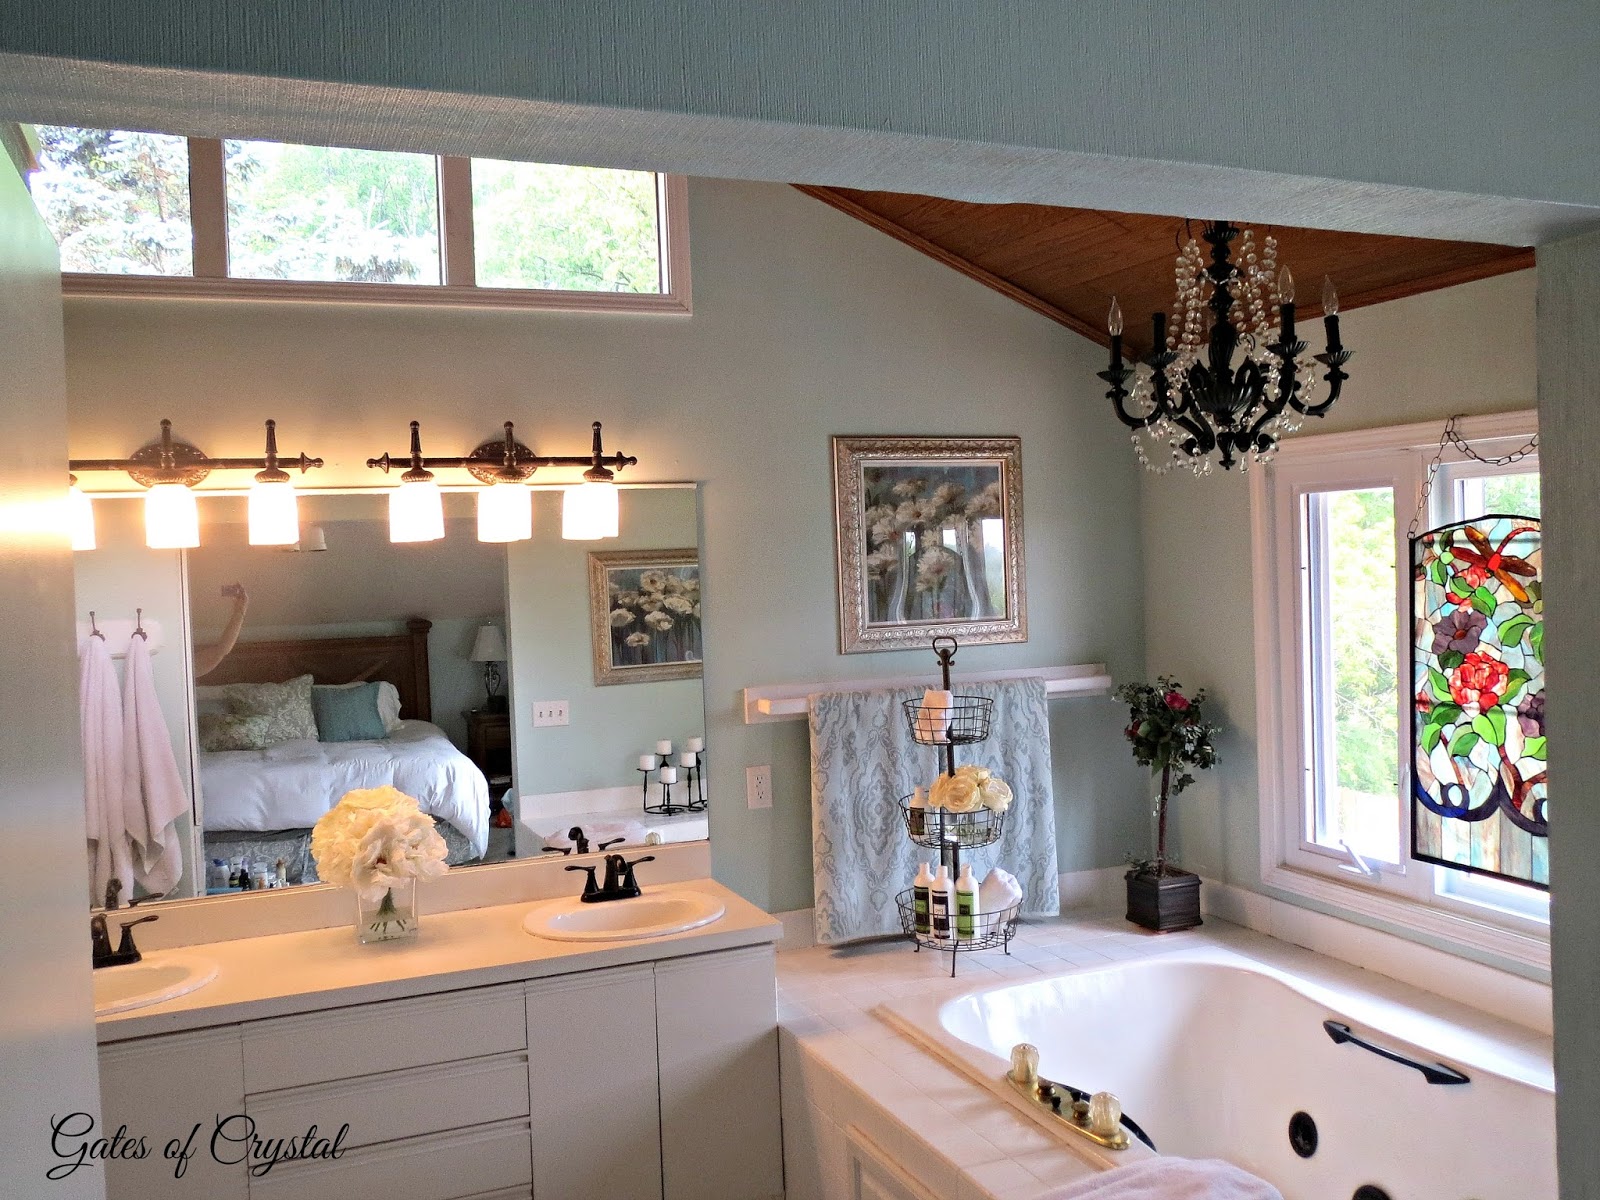
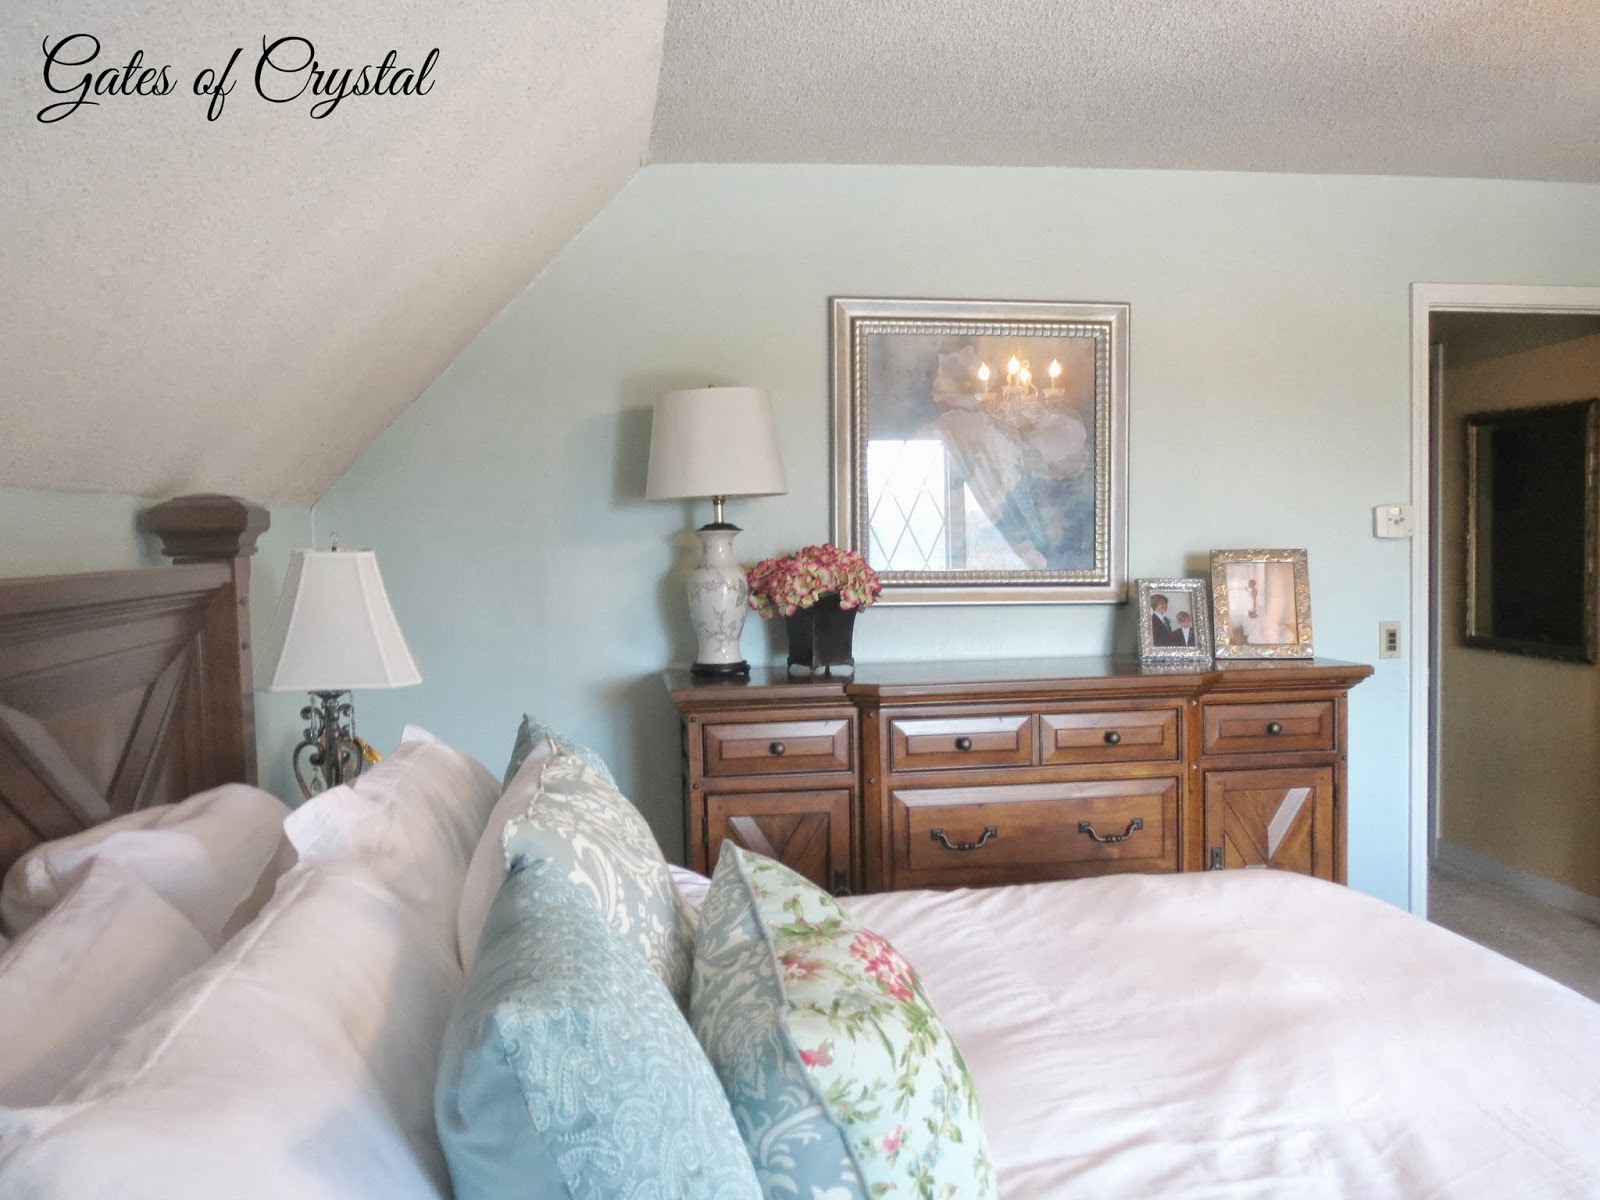
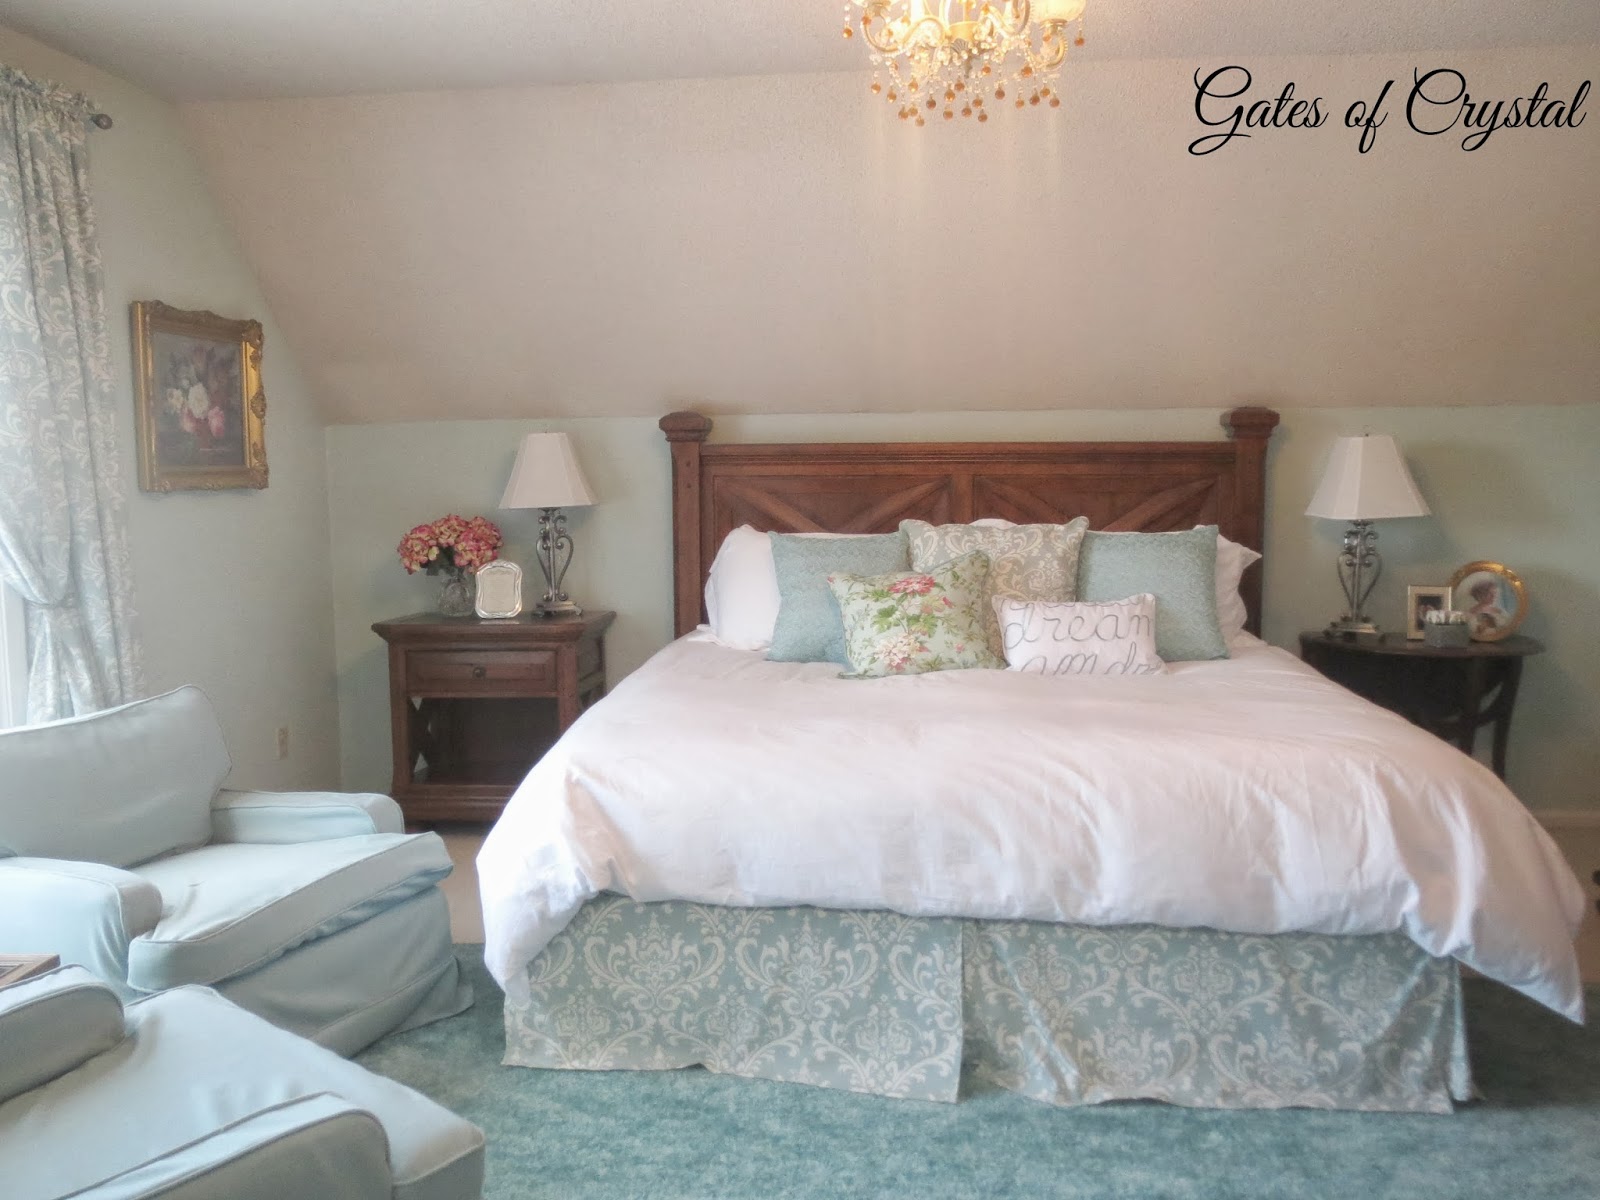
But in the meantime, I decided I would like to change our bedroom.  I redecorated it a few years ago when I was transitioning out of my reds and golds but I went too 'contemporary' and not enough French Country and I haven't liked it.

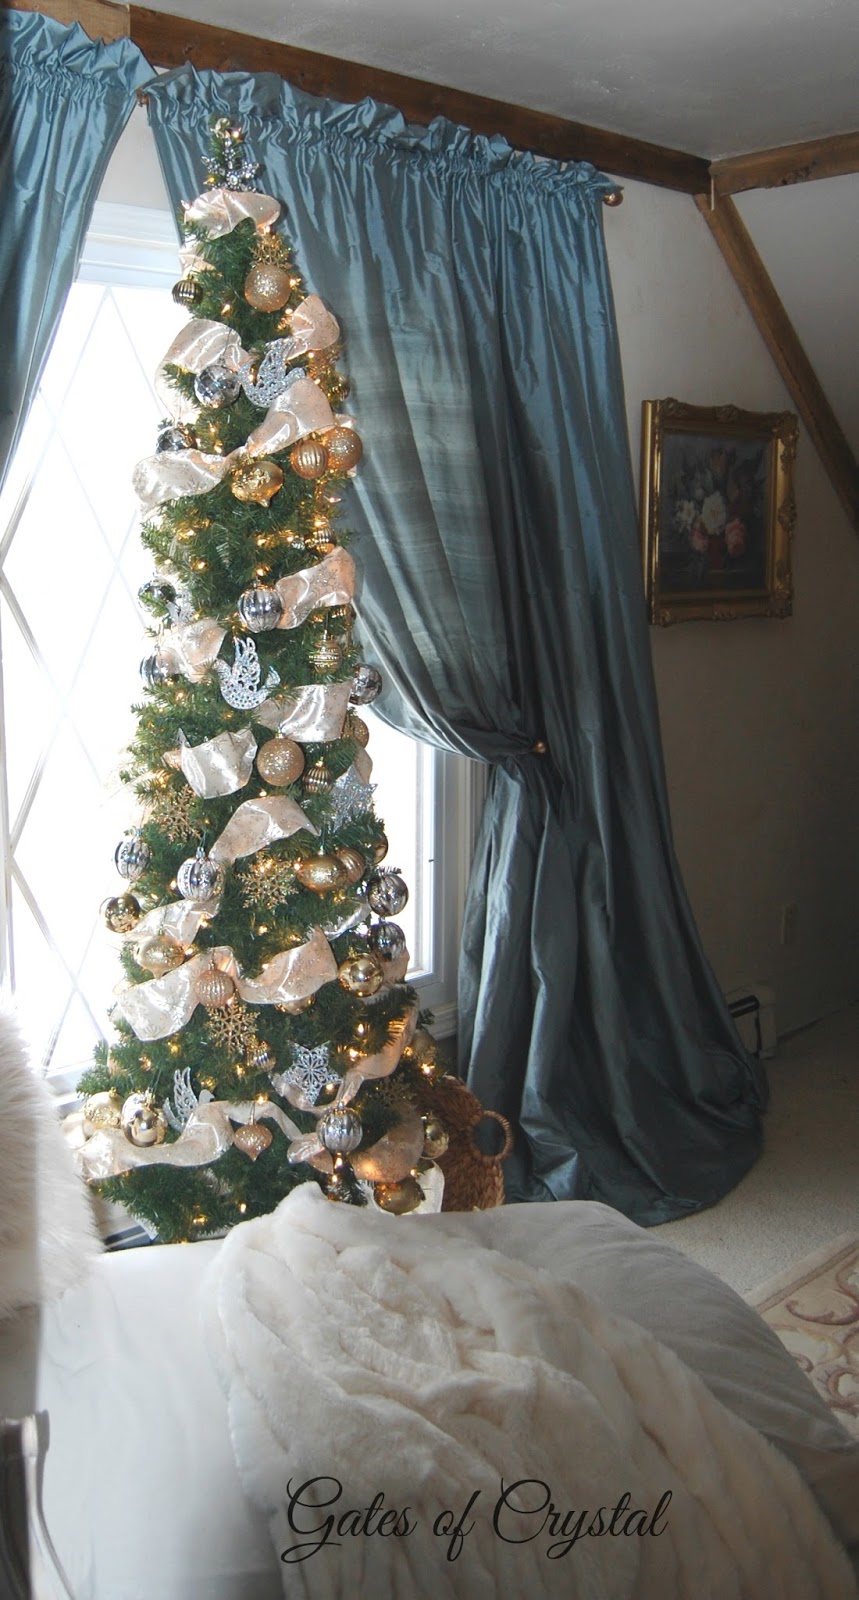
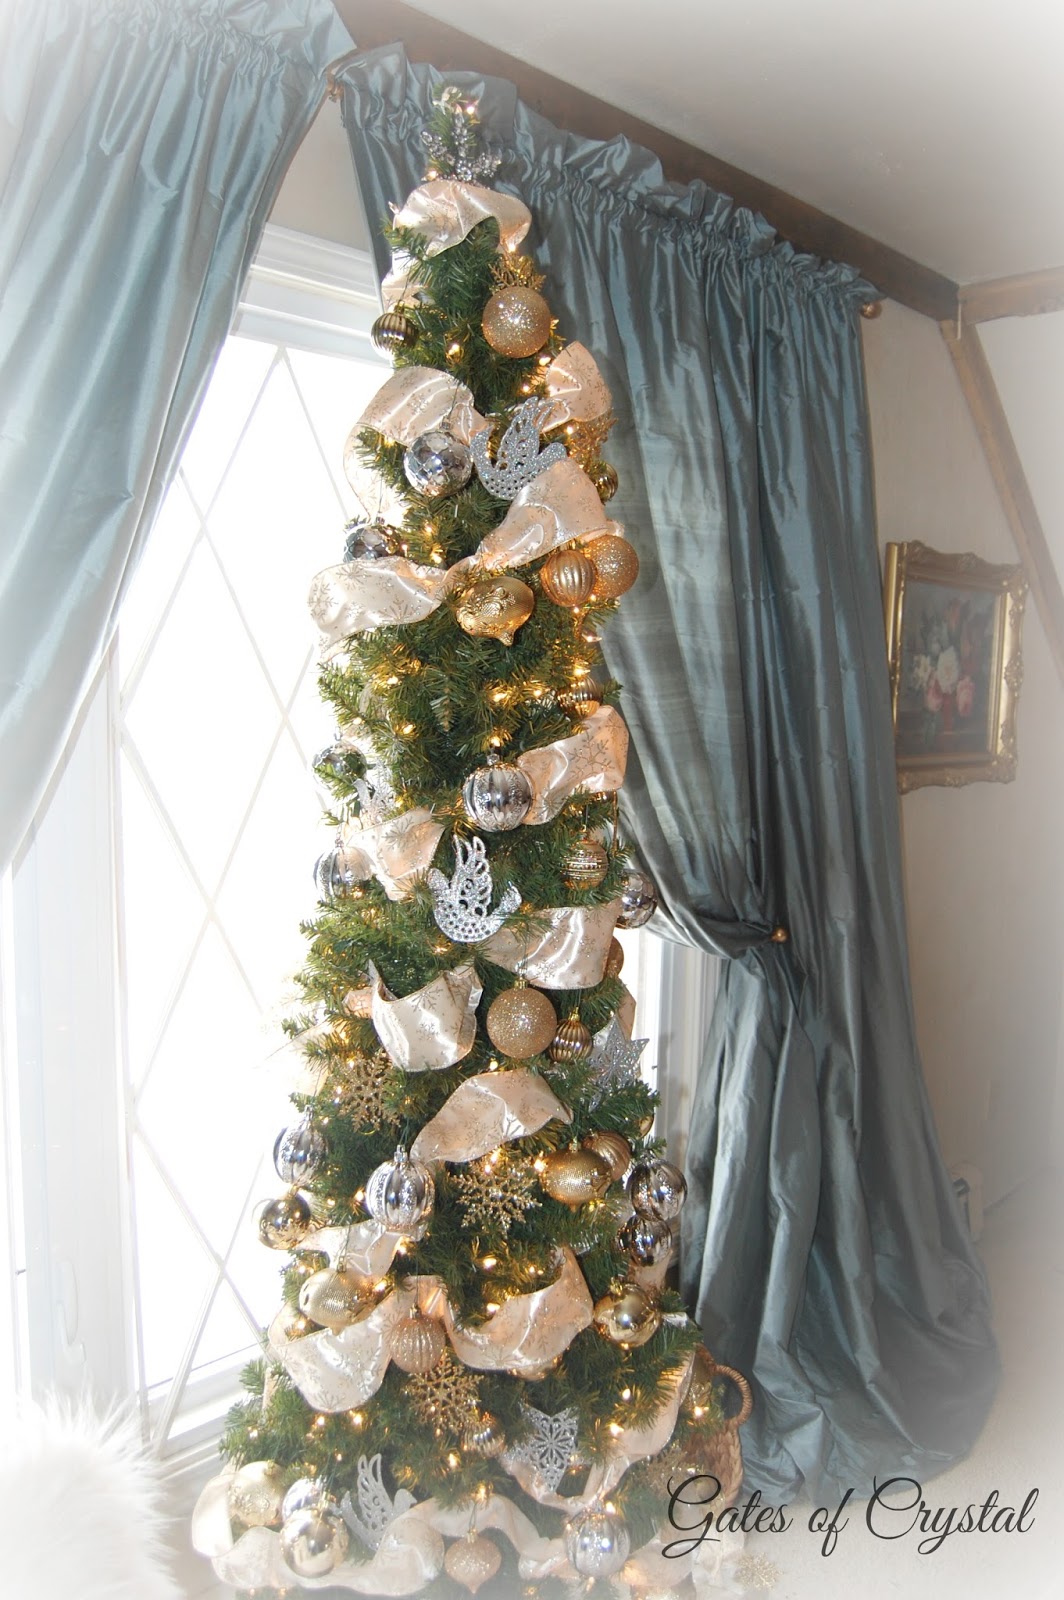
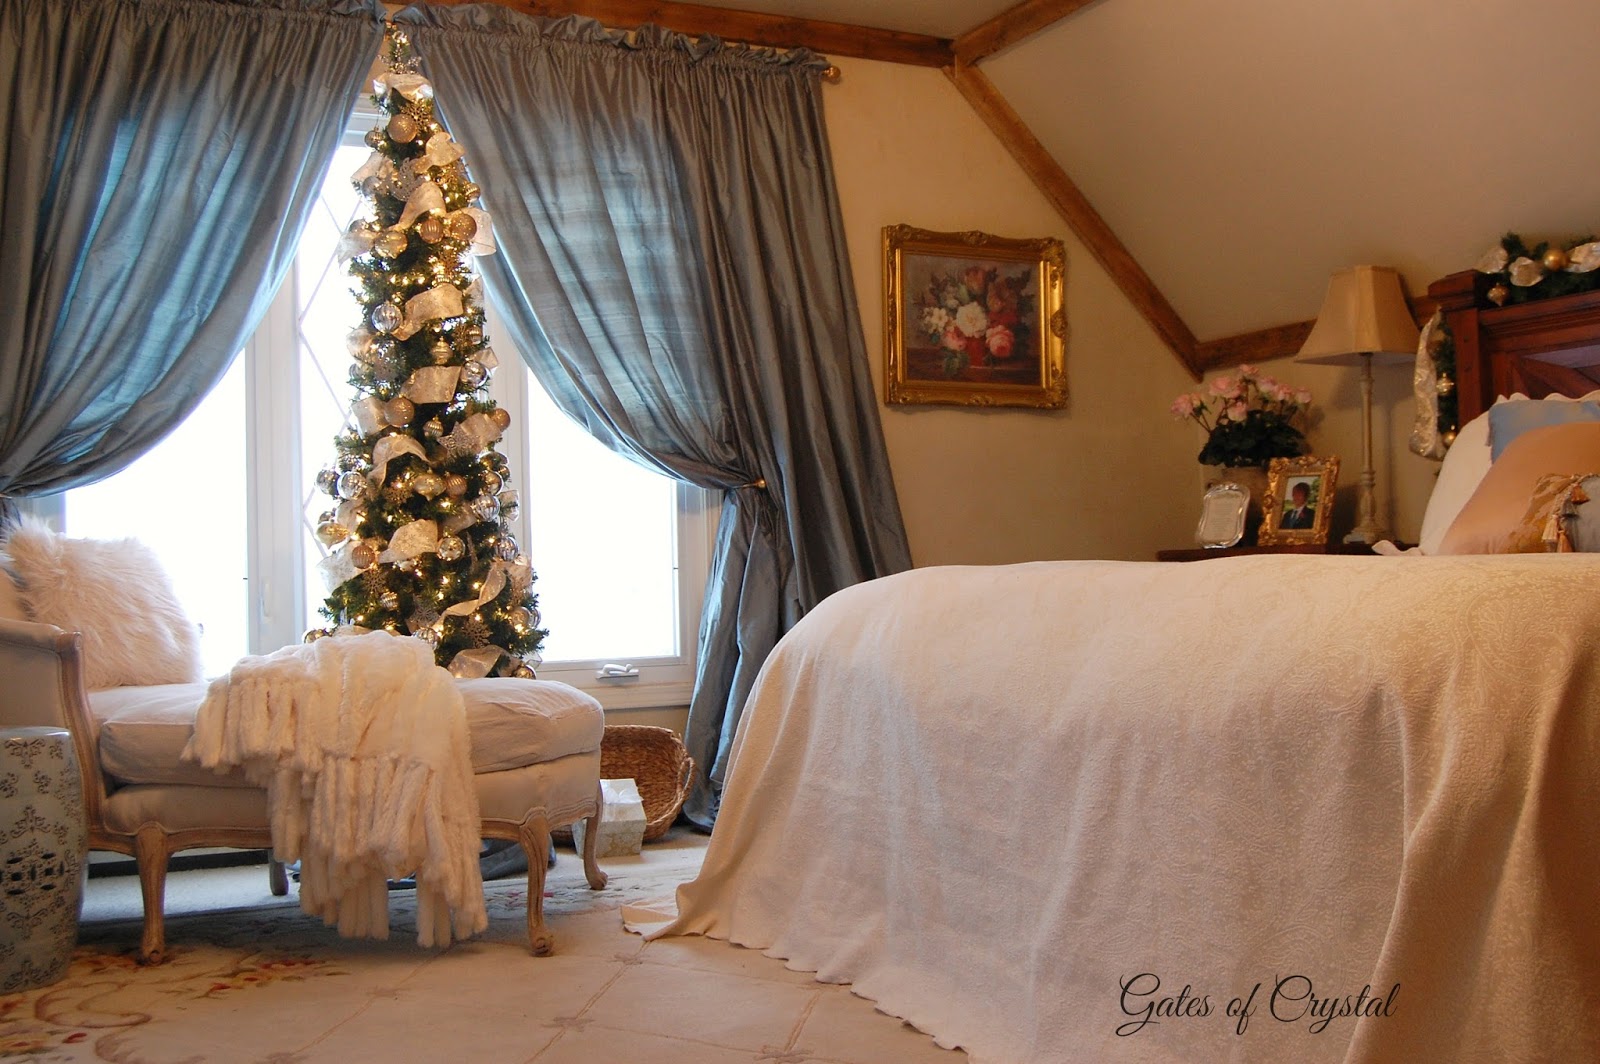
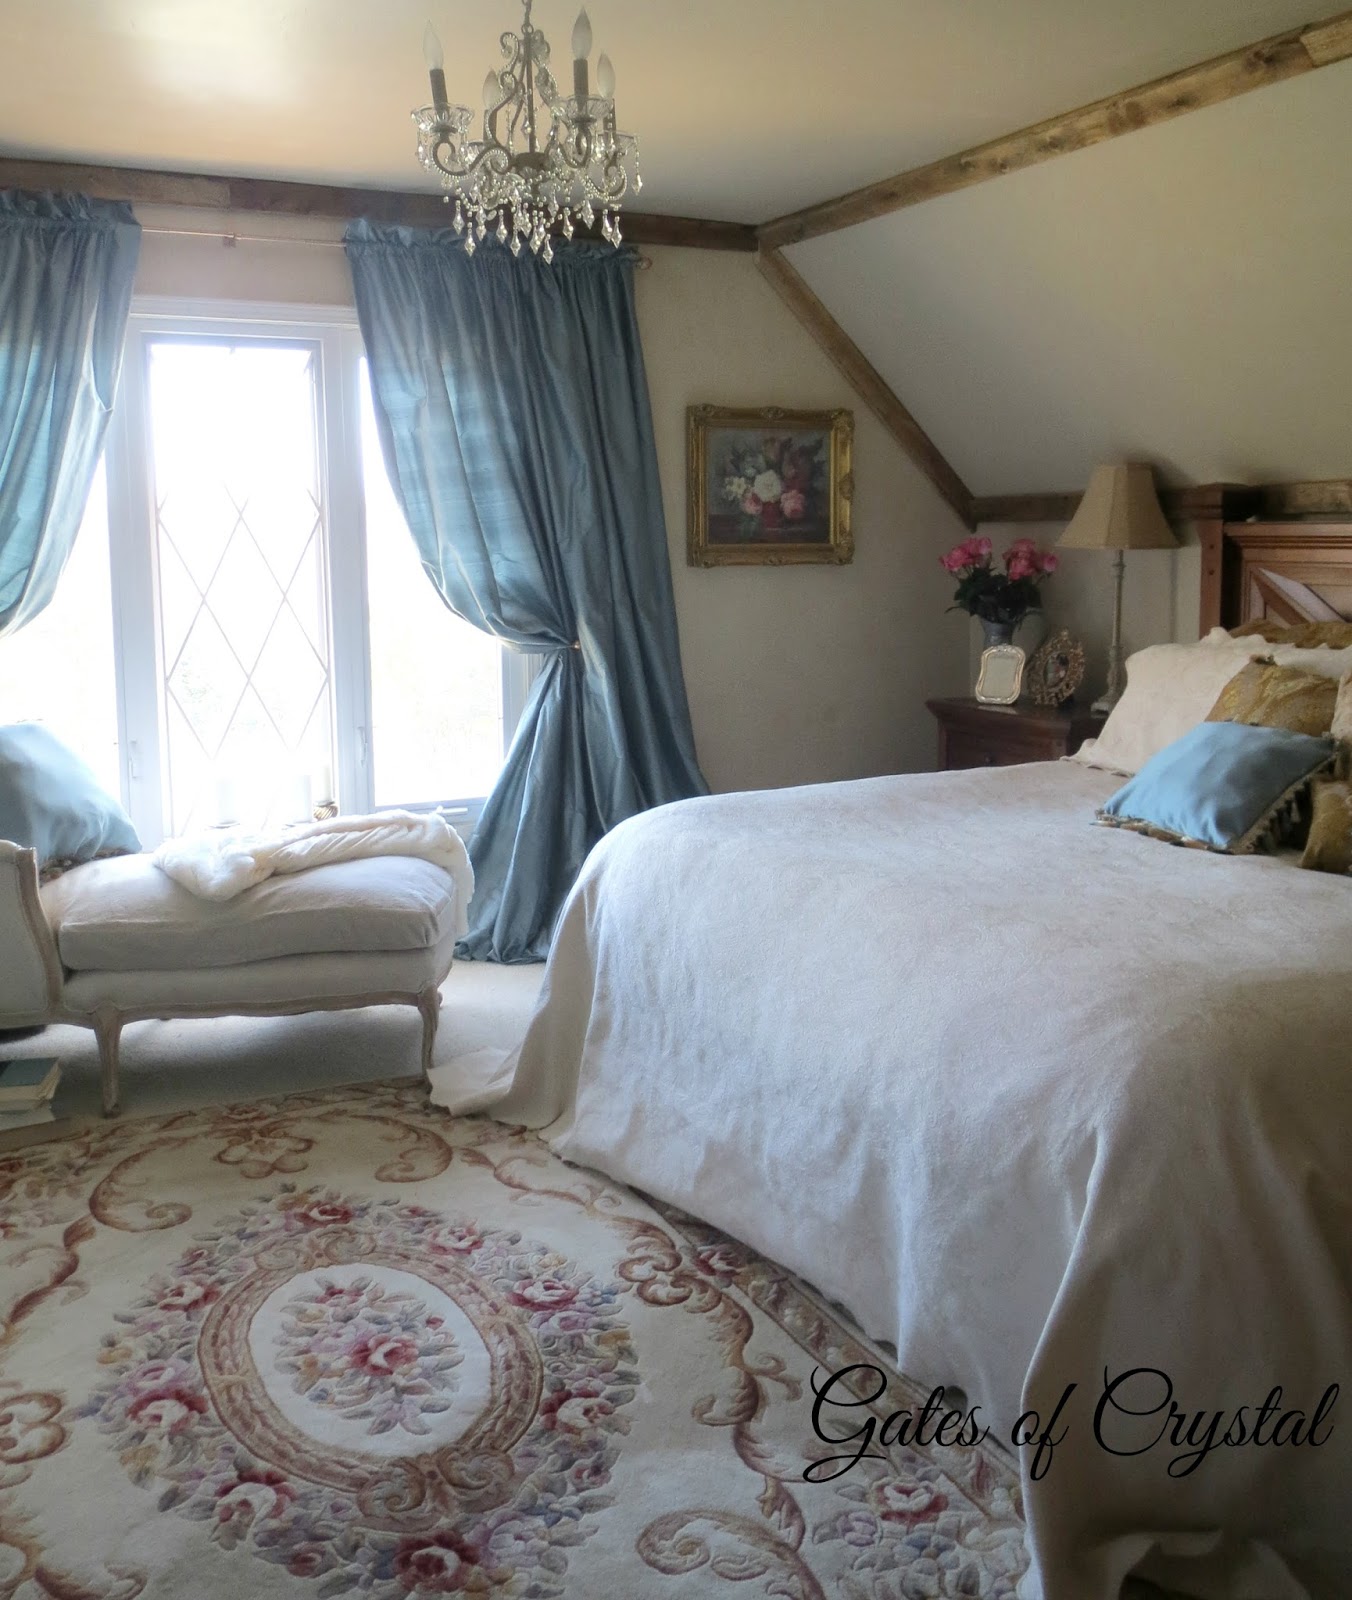
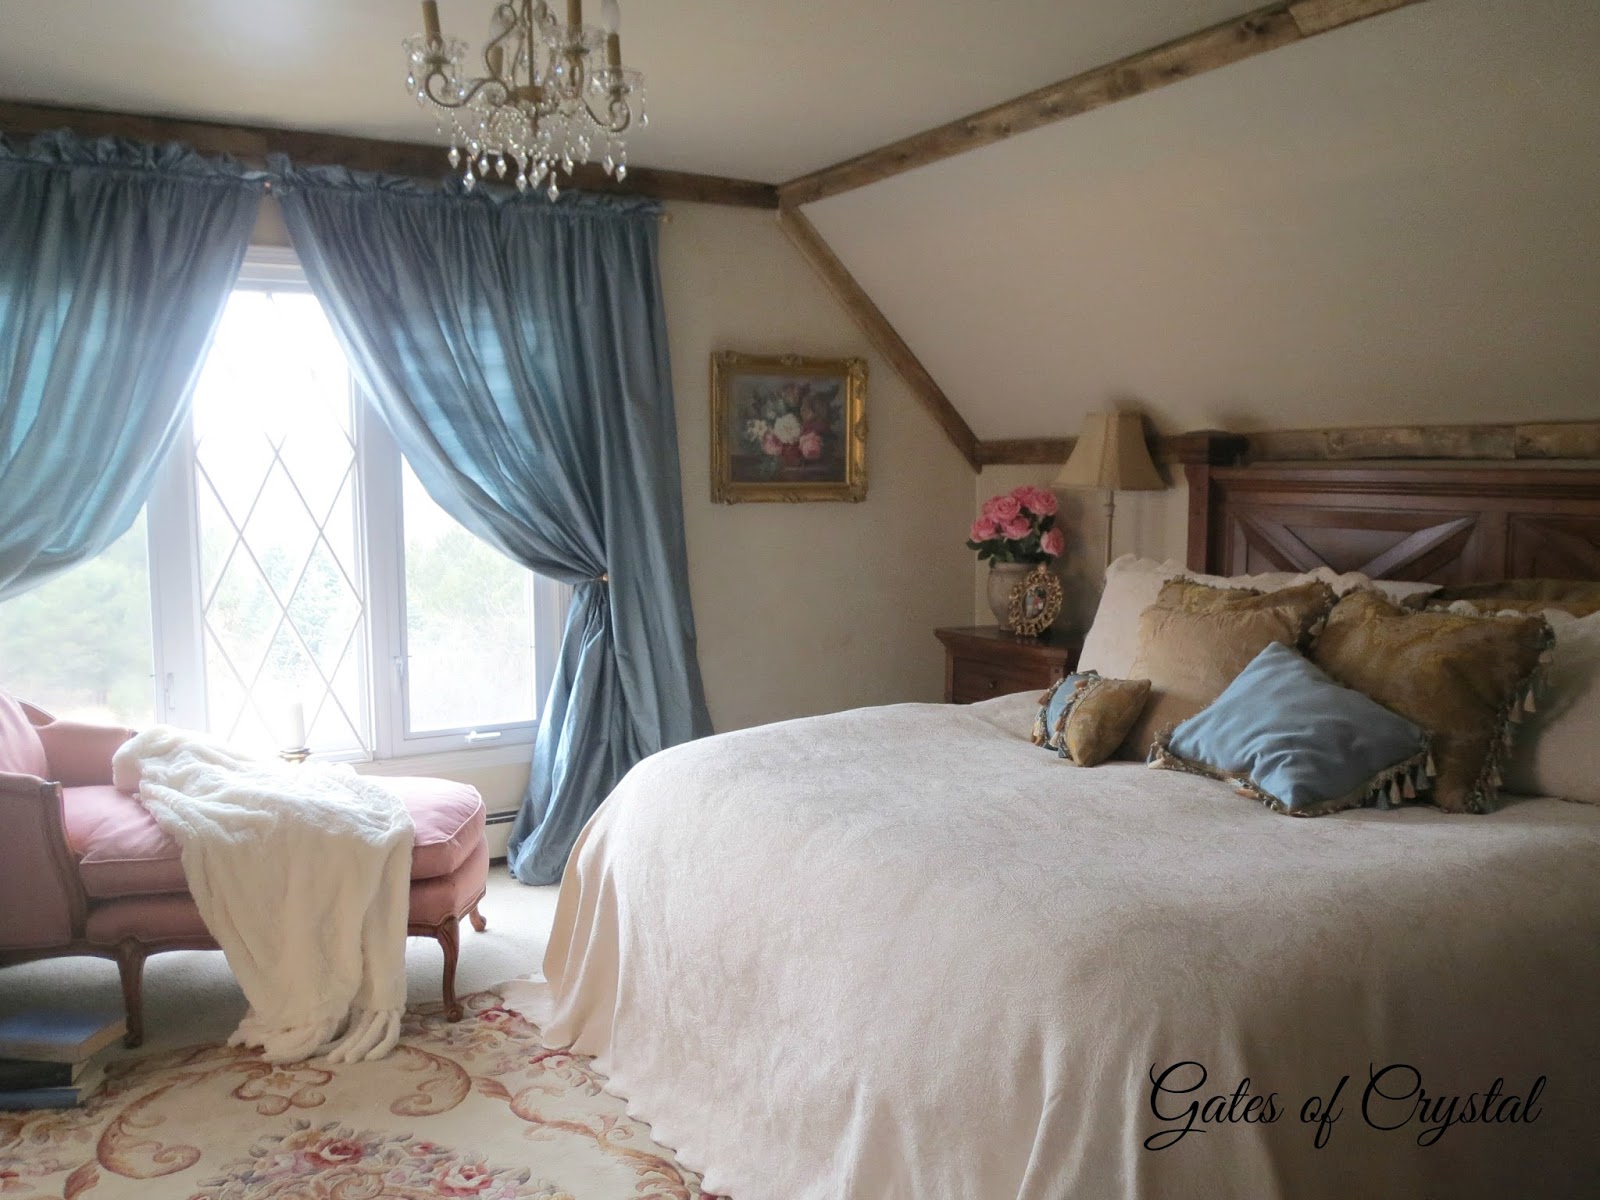
I made the drapes and the dust ruffle in this room and they are going to my daughter.  She and her husband bought a house last year so she's been a great person to 'donate' to! I will repurpose the dust ruffle into a matching valance and she's planning on using these in her home school/play room.

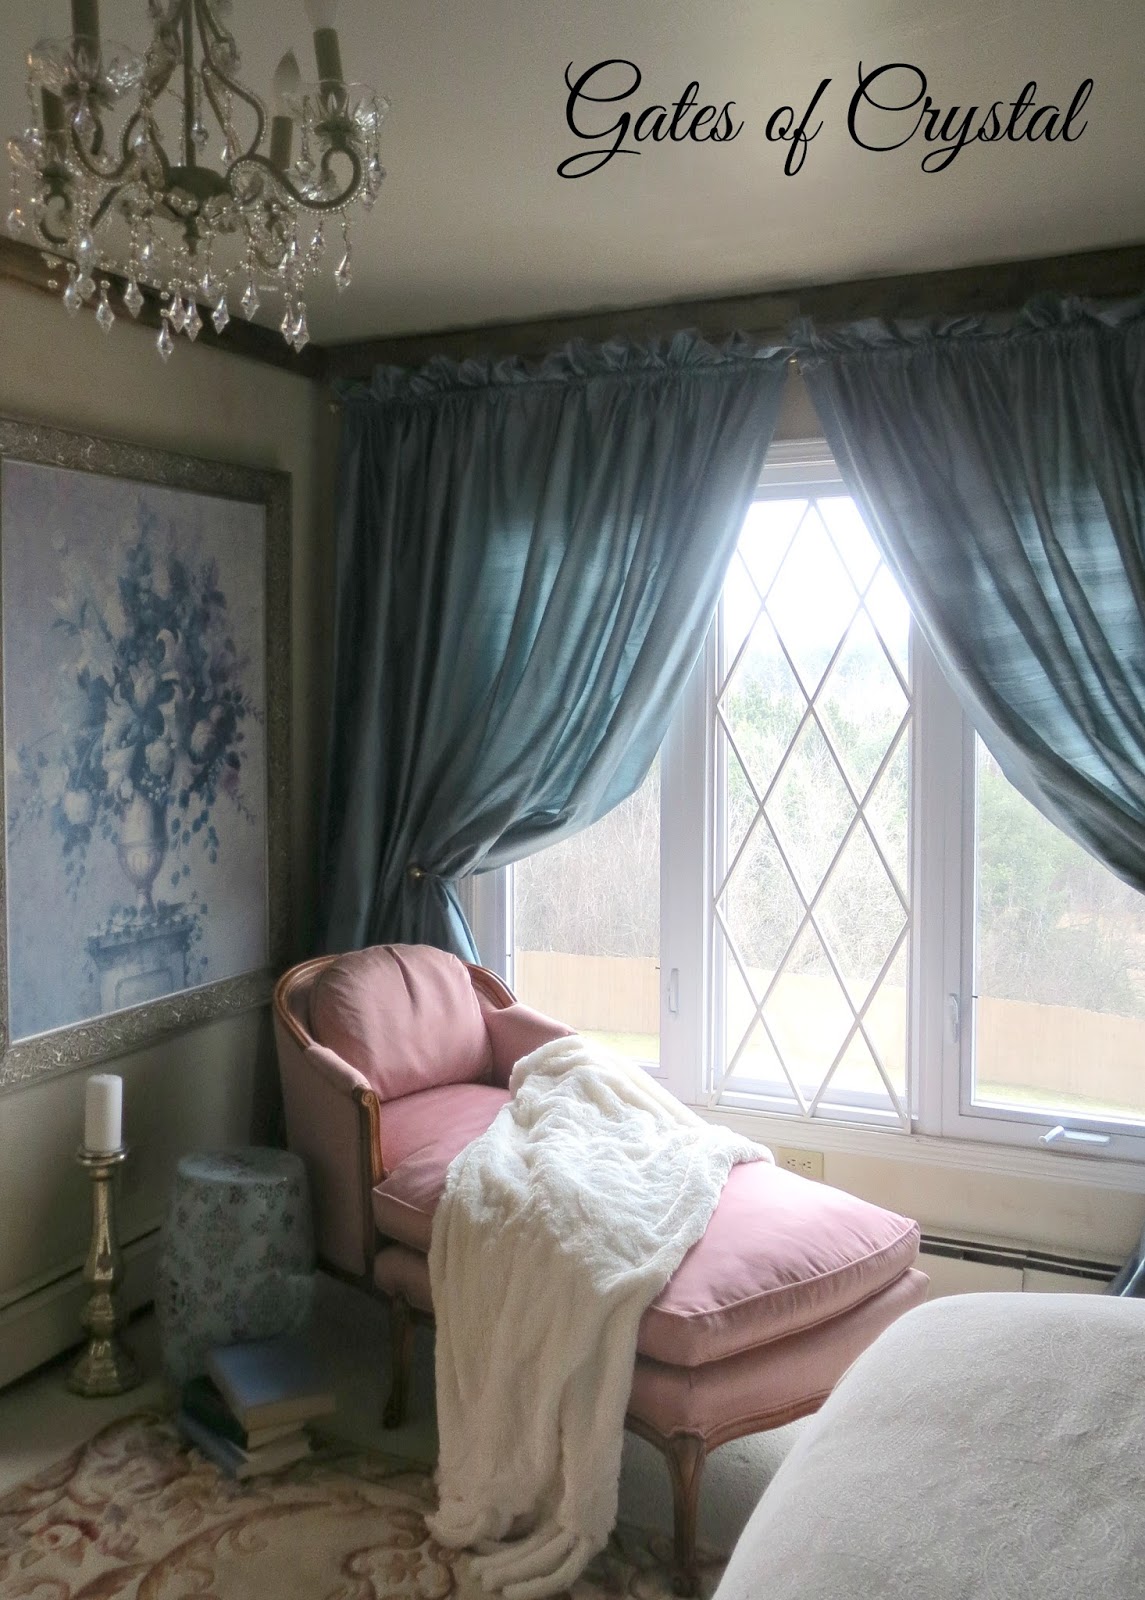
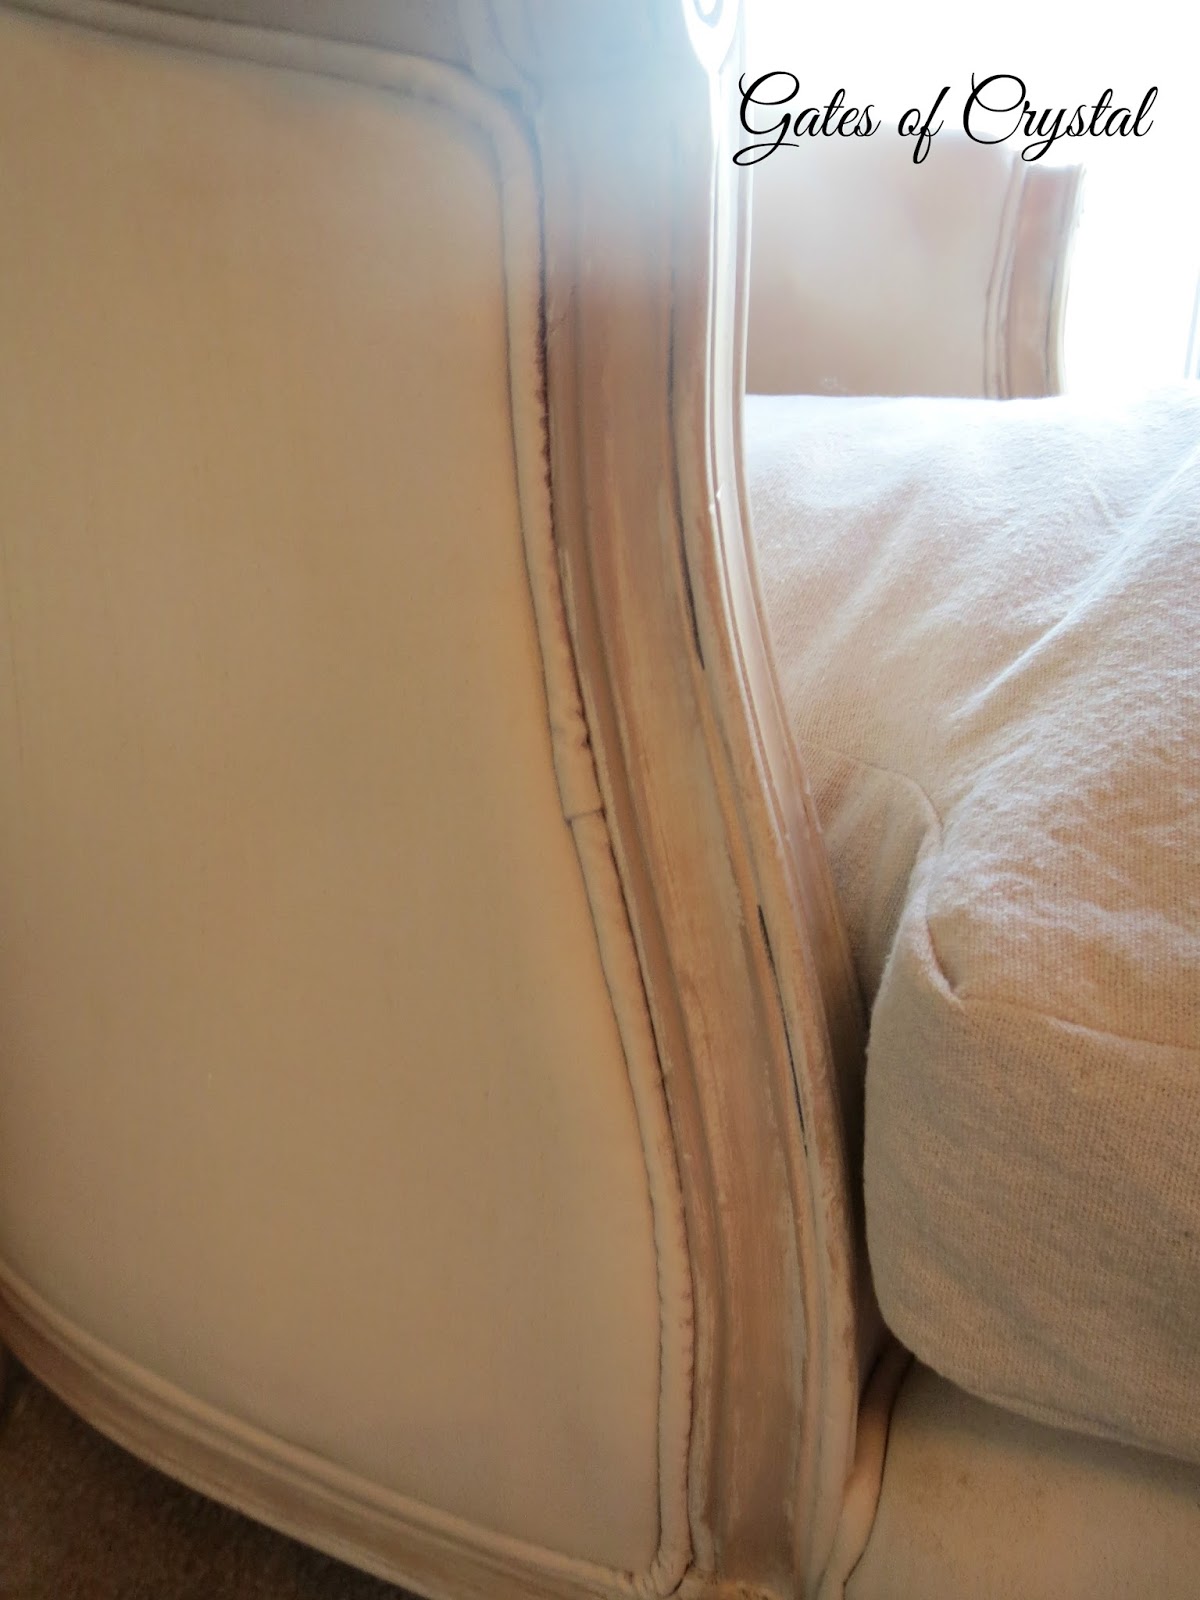
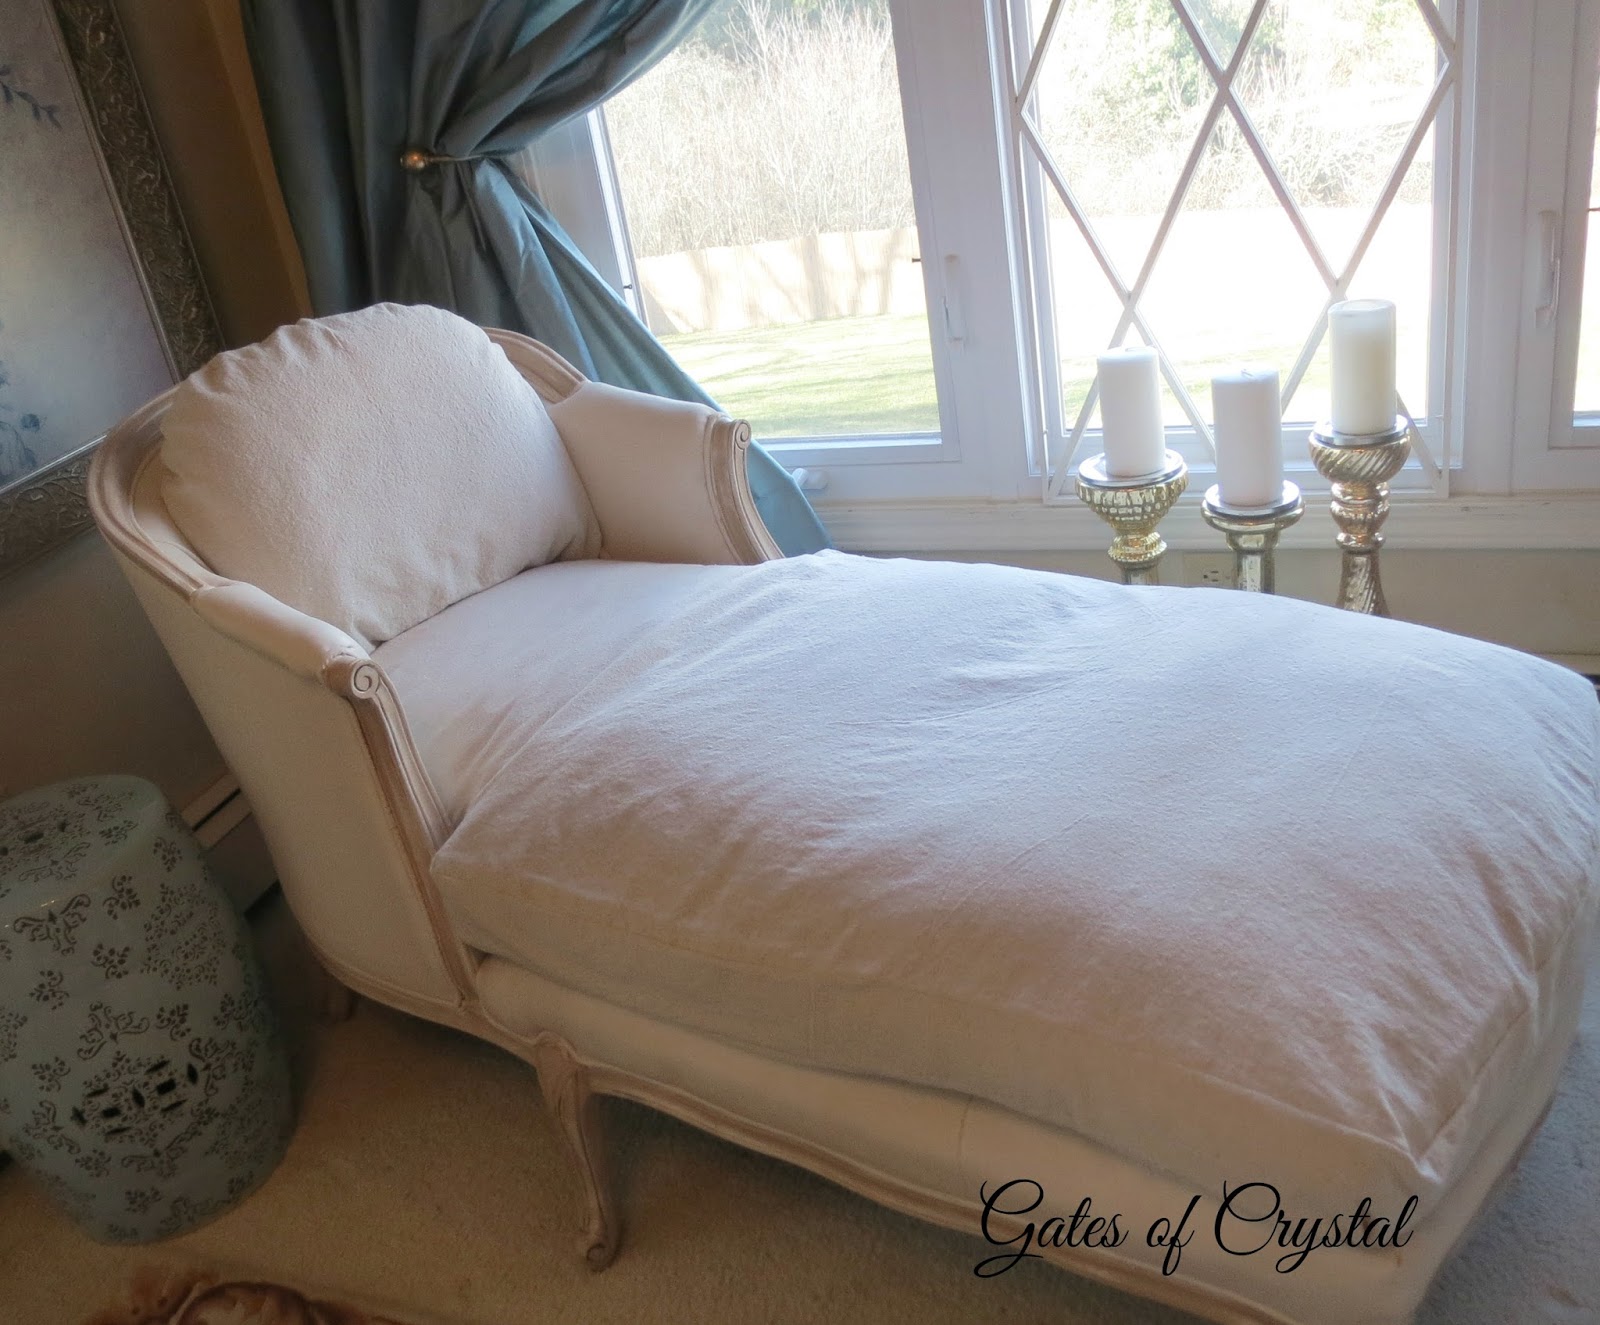
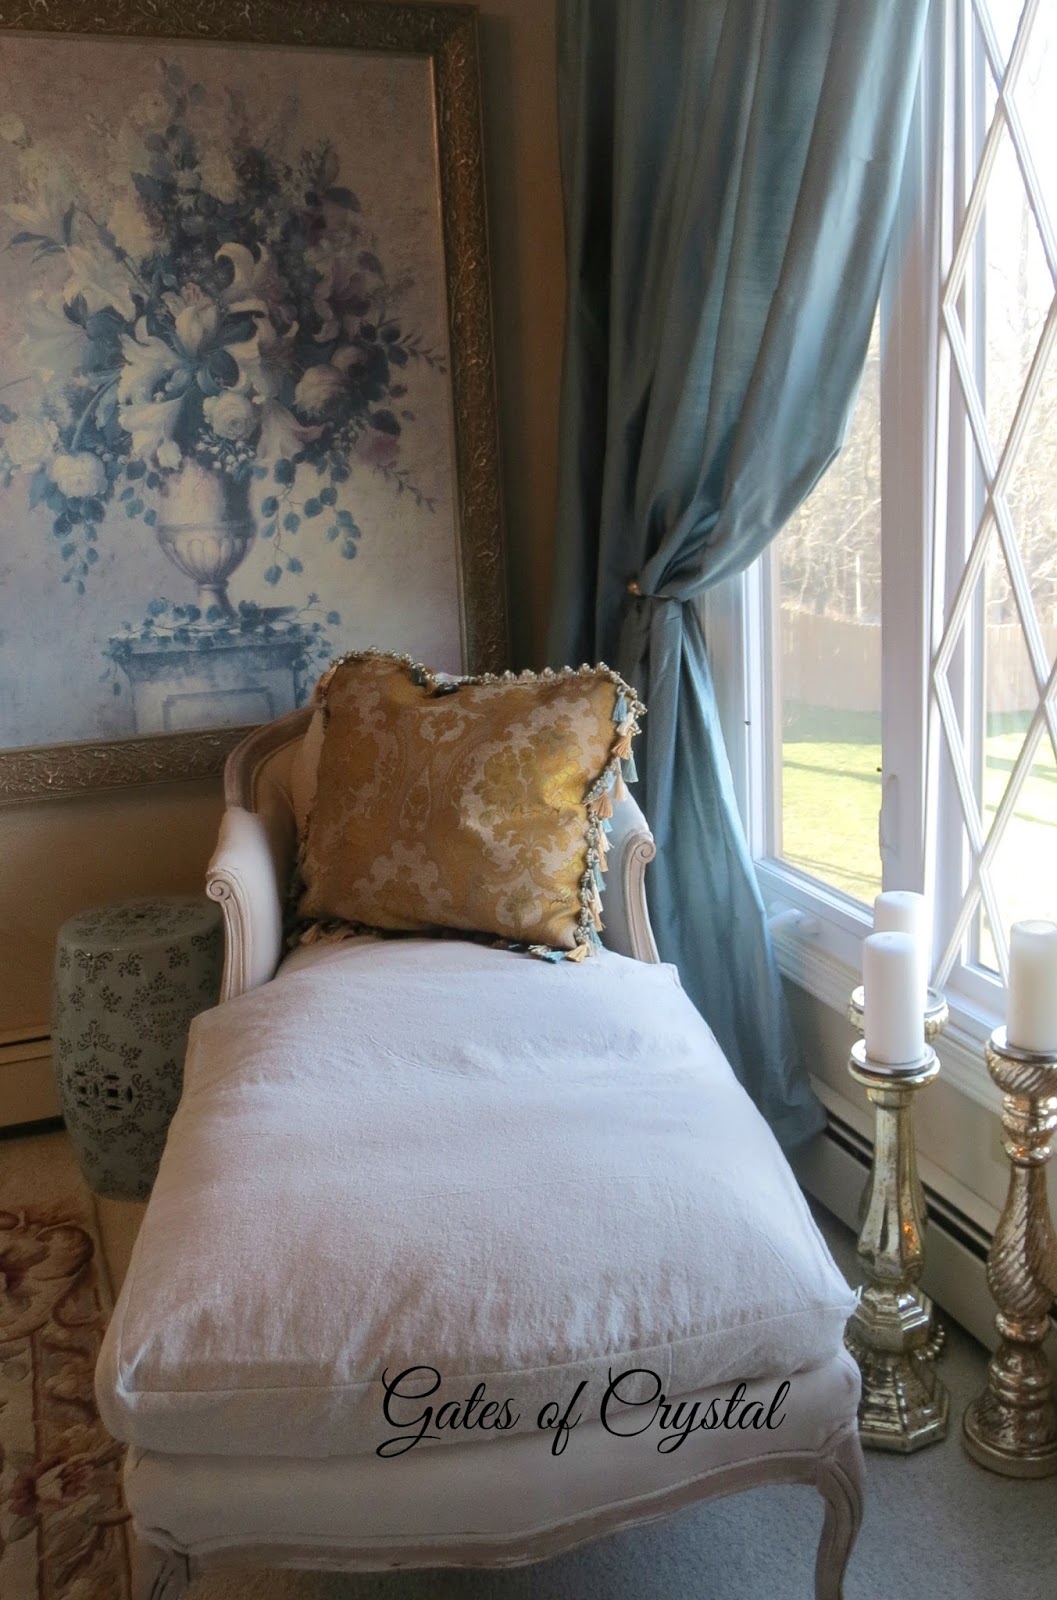
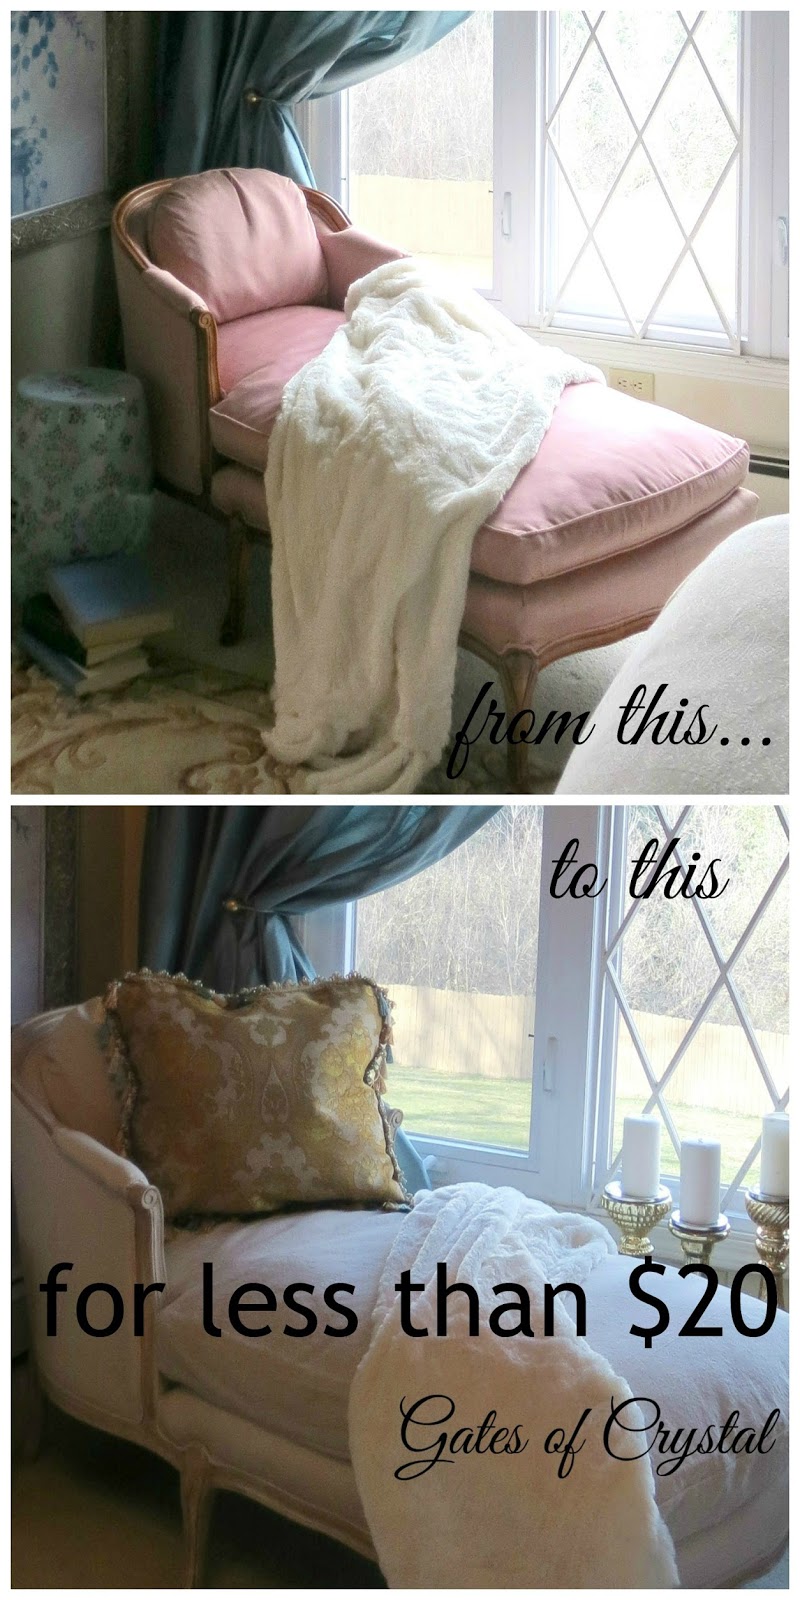
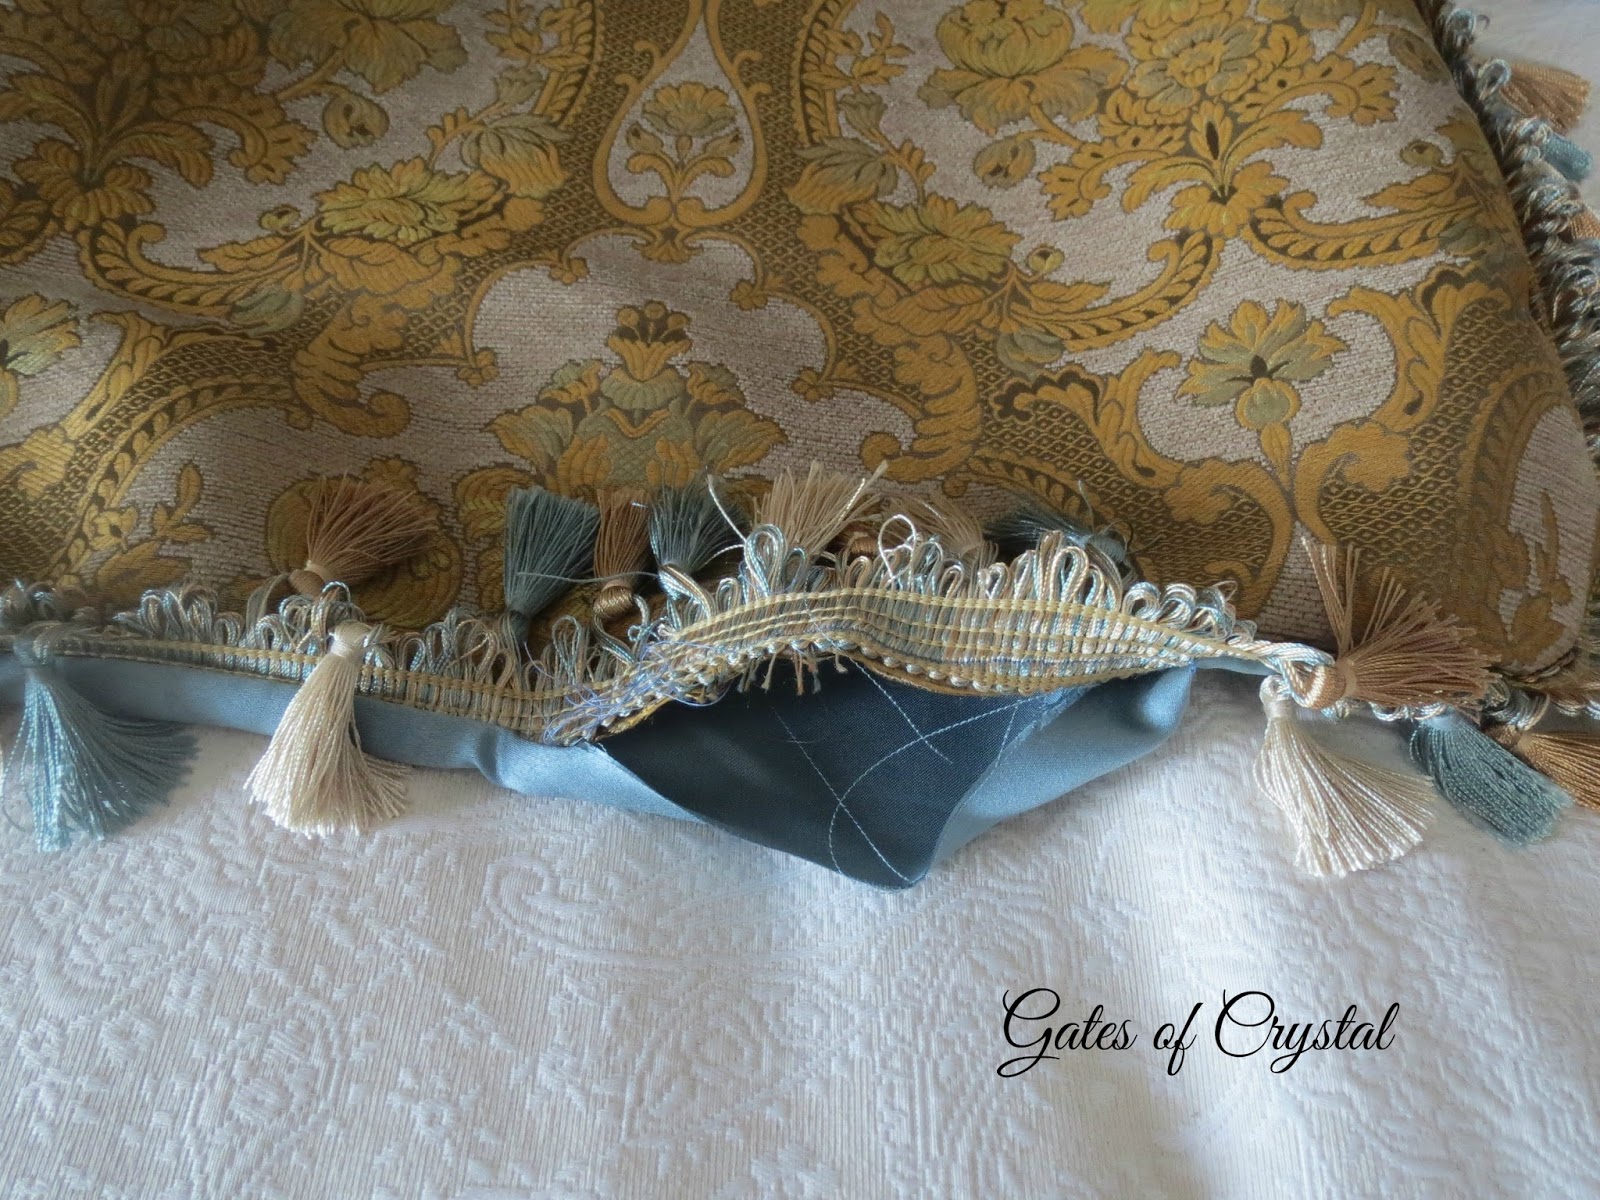
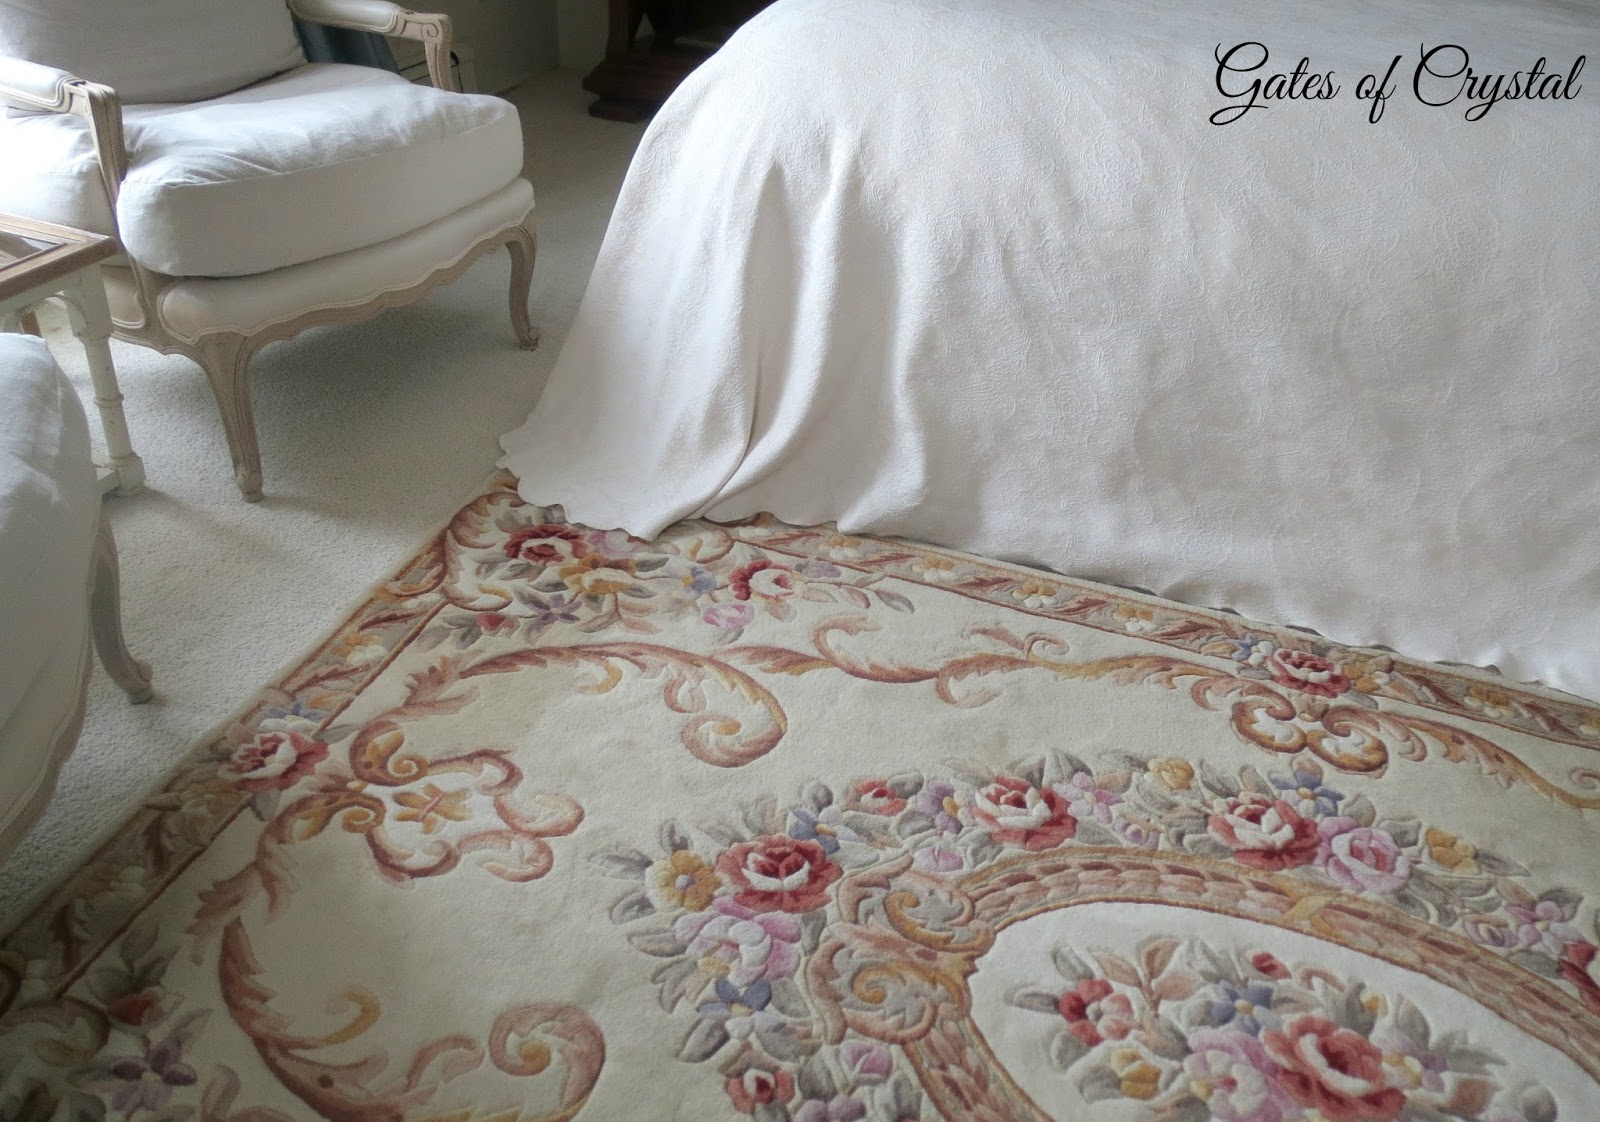
We've also given her this rug and put another in our room since this photo.  I am hoping to find some new chairs for our bedroom and give her these since I slipcovered them to match.

 But here's the awful truth...
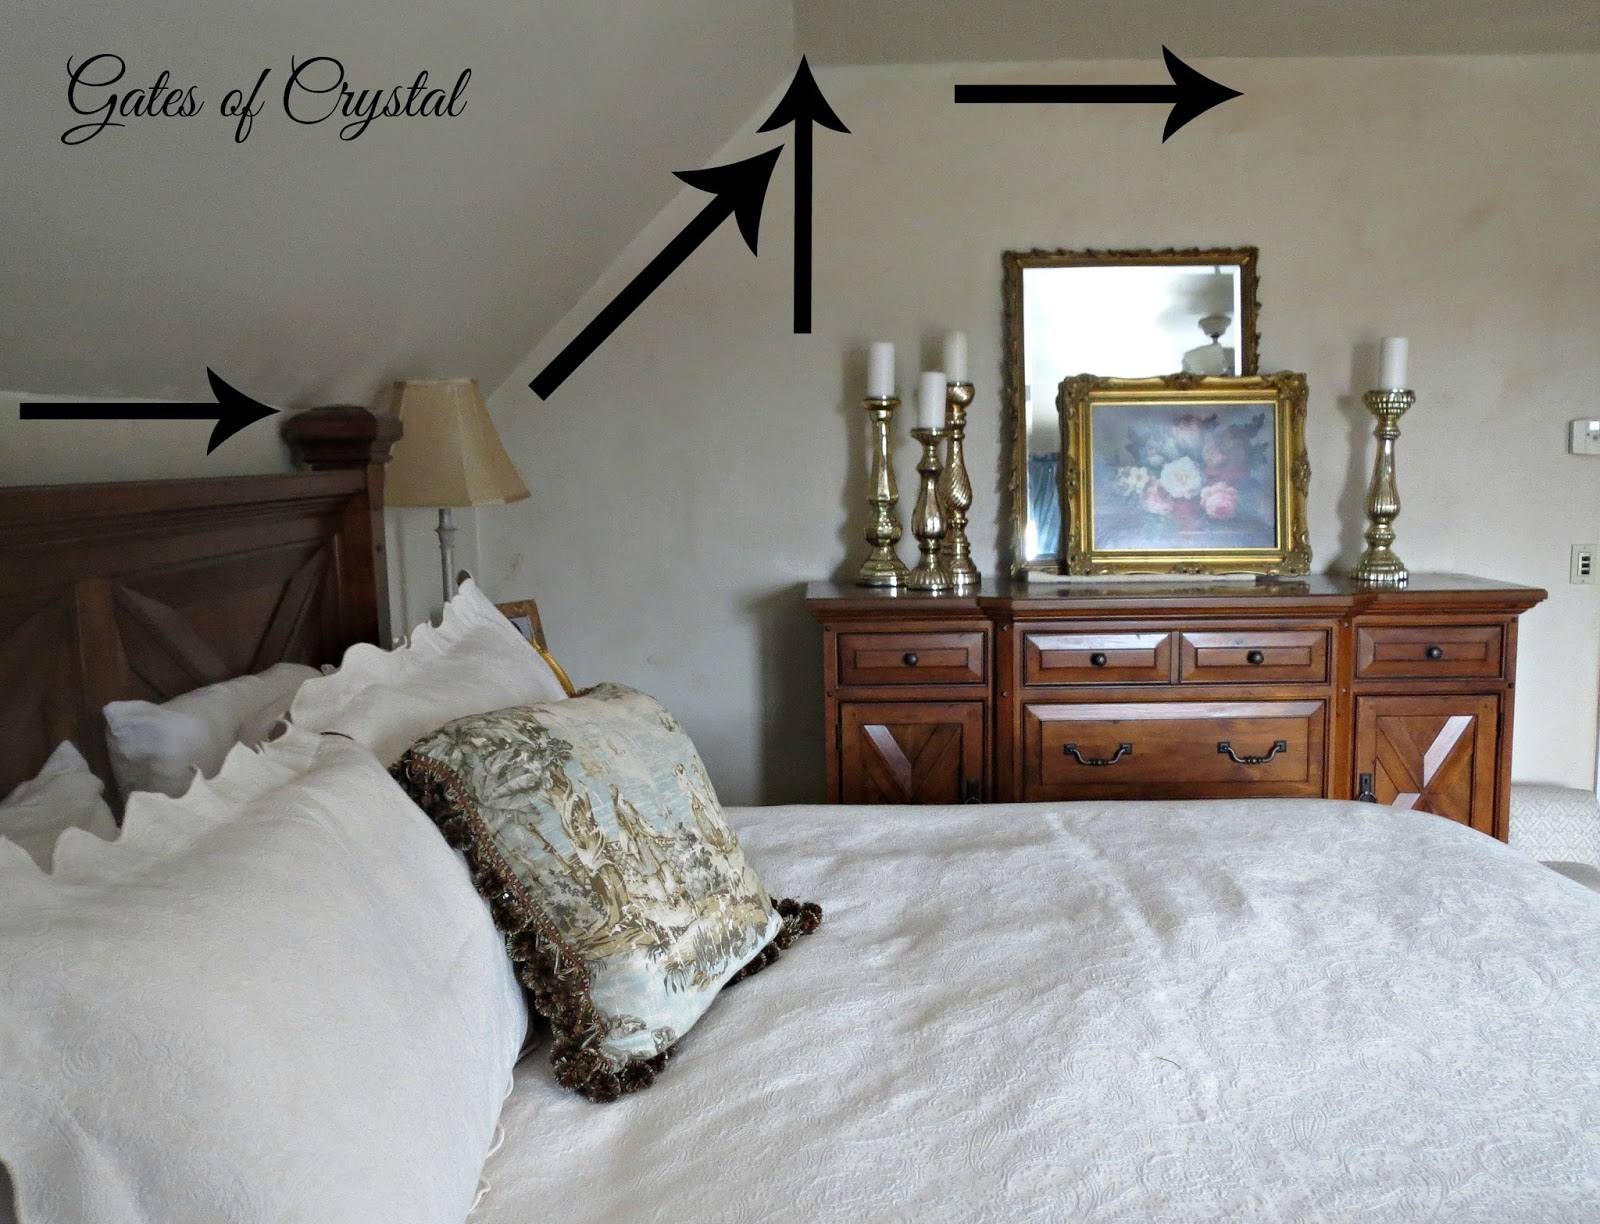
 We've lived in our house for twelve years now and all of our bedrooms have popcorn ceilings.
 If you look closely at these pictures, you can tell.  I'm just embarrassed to confess this.
 And I decided that before I did another thing, I was going to remove them.

If you read my other blog, Summits of Rubies, you know that I have been on a 40 day Word fast.  So when my mind starts to overflow with all the reading I'm doing, I'm scraping my ceilings!

I don't want to say it's the worst job I've ever done, but I honestly think it's the messiest!  But I have a goal.

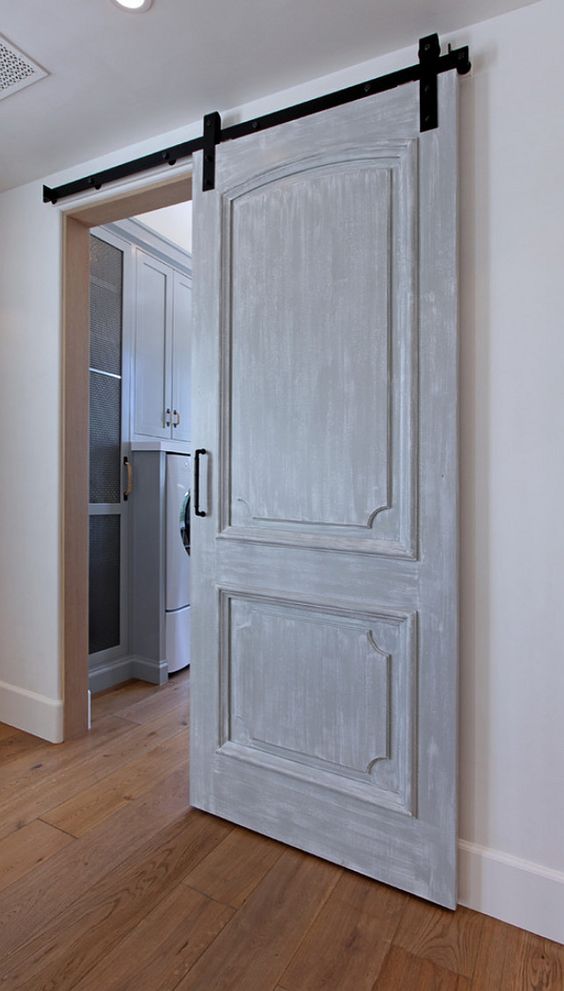
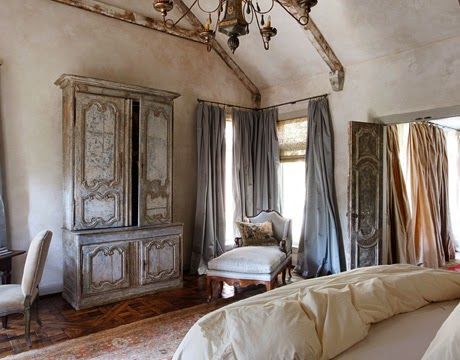
These are my inspiration pictures.
Babs Watkins
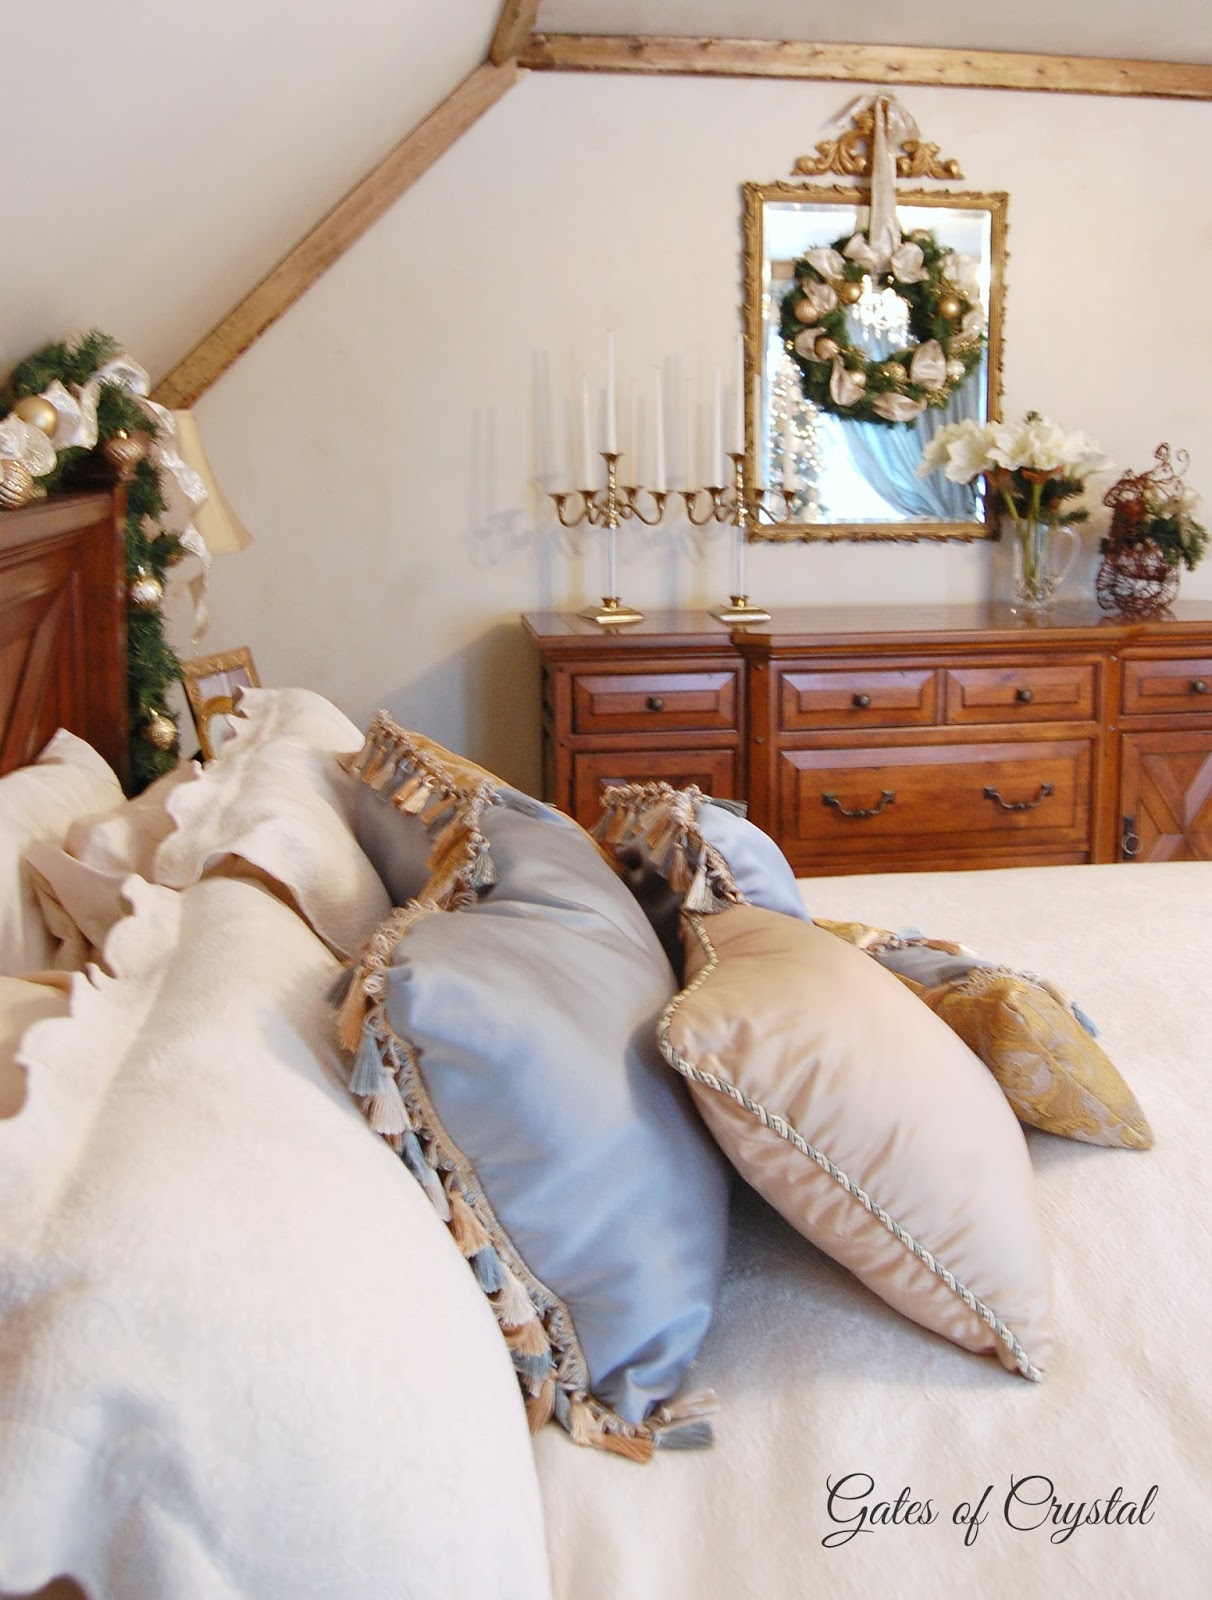
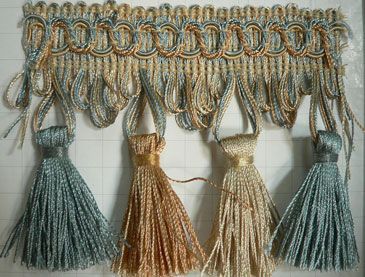
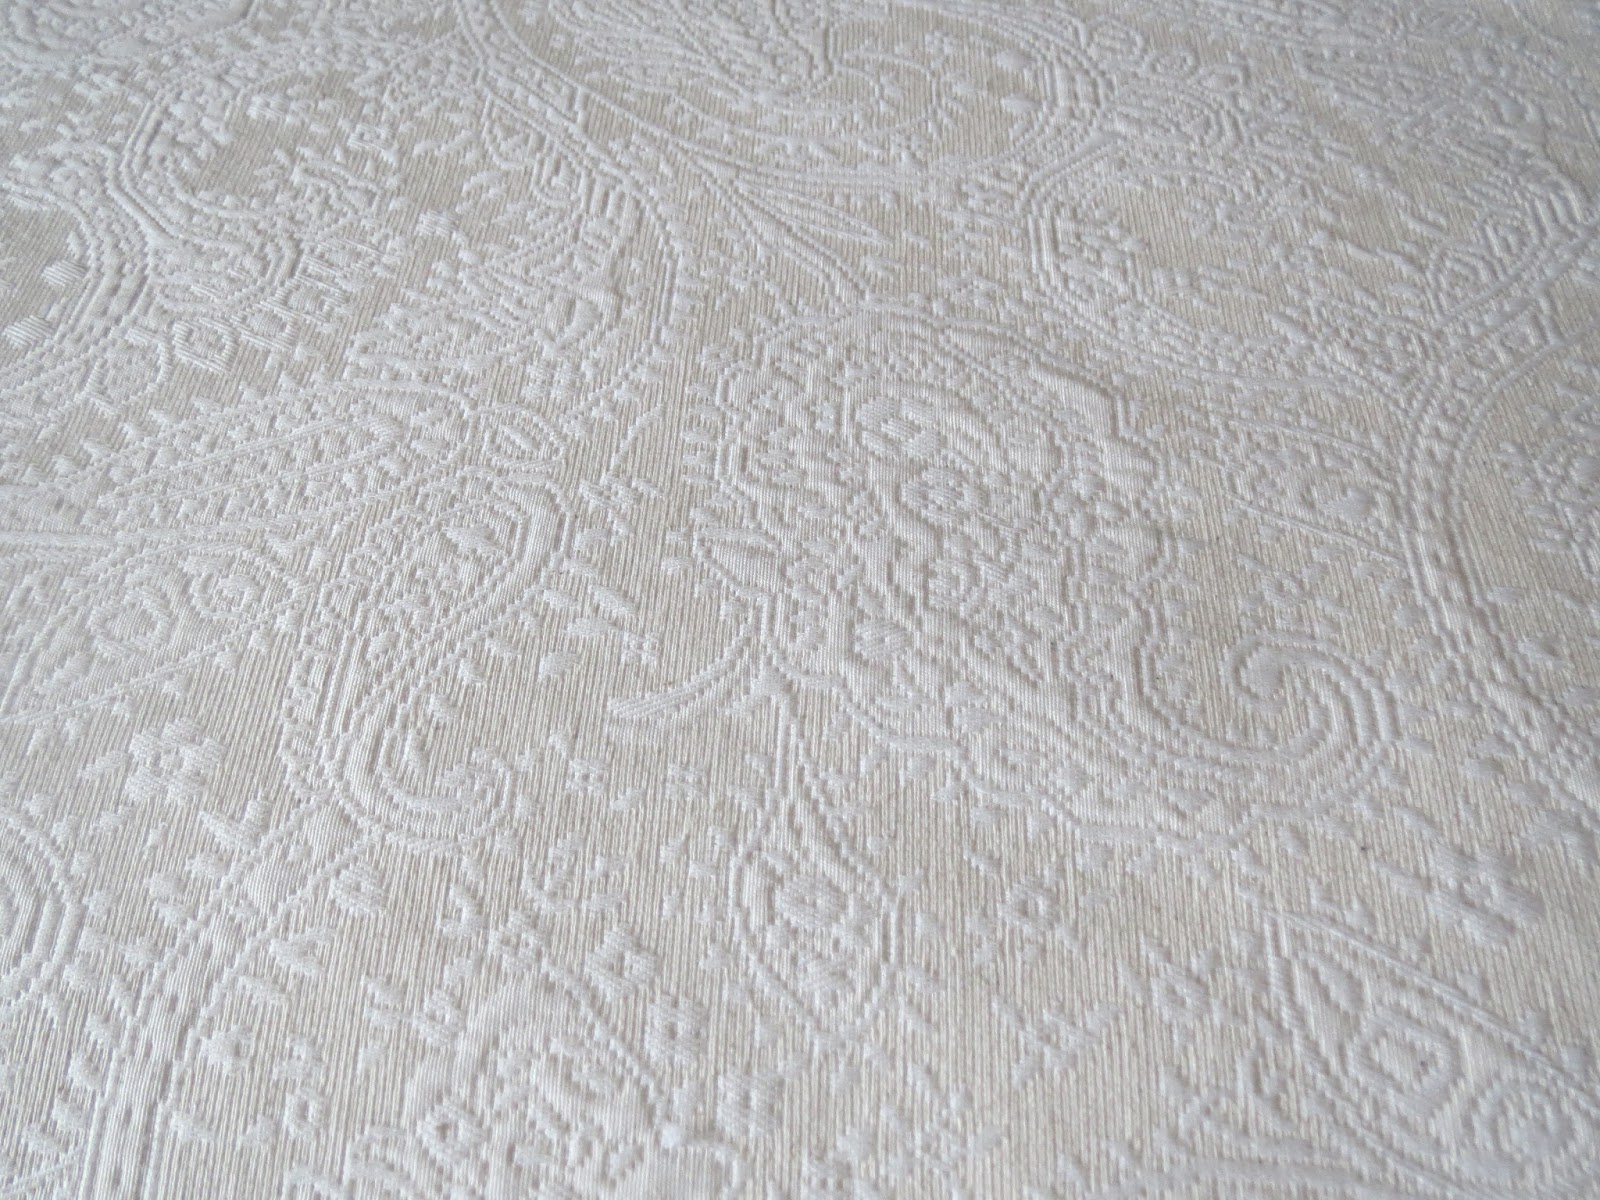
I've bought new bedding in a neutral instead of pure white and some beautiful faux silk in 'Bluestone' to make new drapes. The color and texture is very similar to the above picture. The walls are also going to a neutral and then....

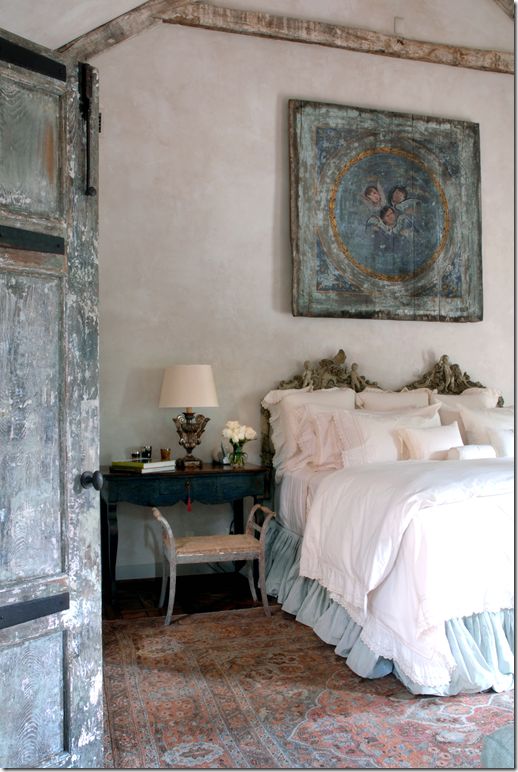
Eleanor Cummings/Cote de Texas

...my husband said we can some rustic 'boards to emphasize the slope of the ceiling.  That's the part I'm really excited about!
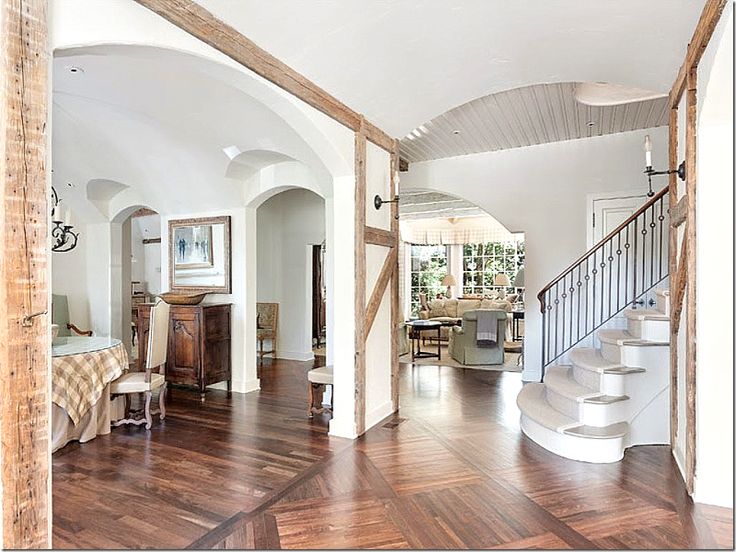
Cote de Texas
I've cleared about two-thirds of the ceiling and will try to get it finished tomorrow.  Then I plan on painting the ceiling and walls and sewing the drapes.  Then I need my sweet husband to help me with the boards.

So, stay tuned and stay warm!  I'll keep you updated as I go!

love and blessings~

 "Can you bind the chains of the Pleiades,Or loose the cords of Orion? "Can you lead forth a constellation in its season,And guide the Bear with her satellites ? "Do you know the ordinances of the heavens,Or fix their rule over the earth? "Can you lift up your voice to the clouds,So that an abundance of water will cover you? "Can you send forth lightnings that they may goAnd say to you, 'Here we are'? "Who has put wisdom in the innermost beingOr given understanding to the mind ? "Who can count the clouds by wisdom,Or tip the water jars of the heavens..." Job 38:31-17
Standard