Hi Friends!
I hope you and your family had a beautiful Resurrection Sunday as we celebrated the life, death and resurrection of Jesus! I was so blessed to see social media filled with proclamations of Jesus. He is our hope, our joy and our life!
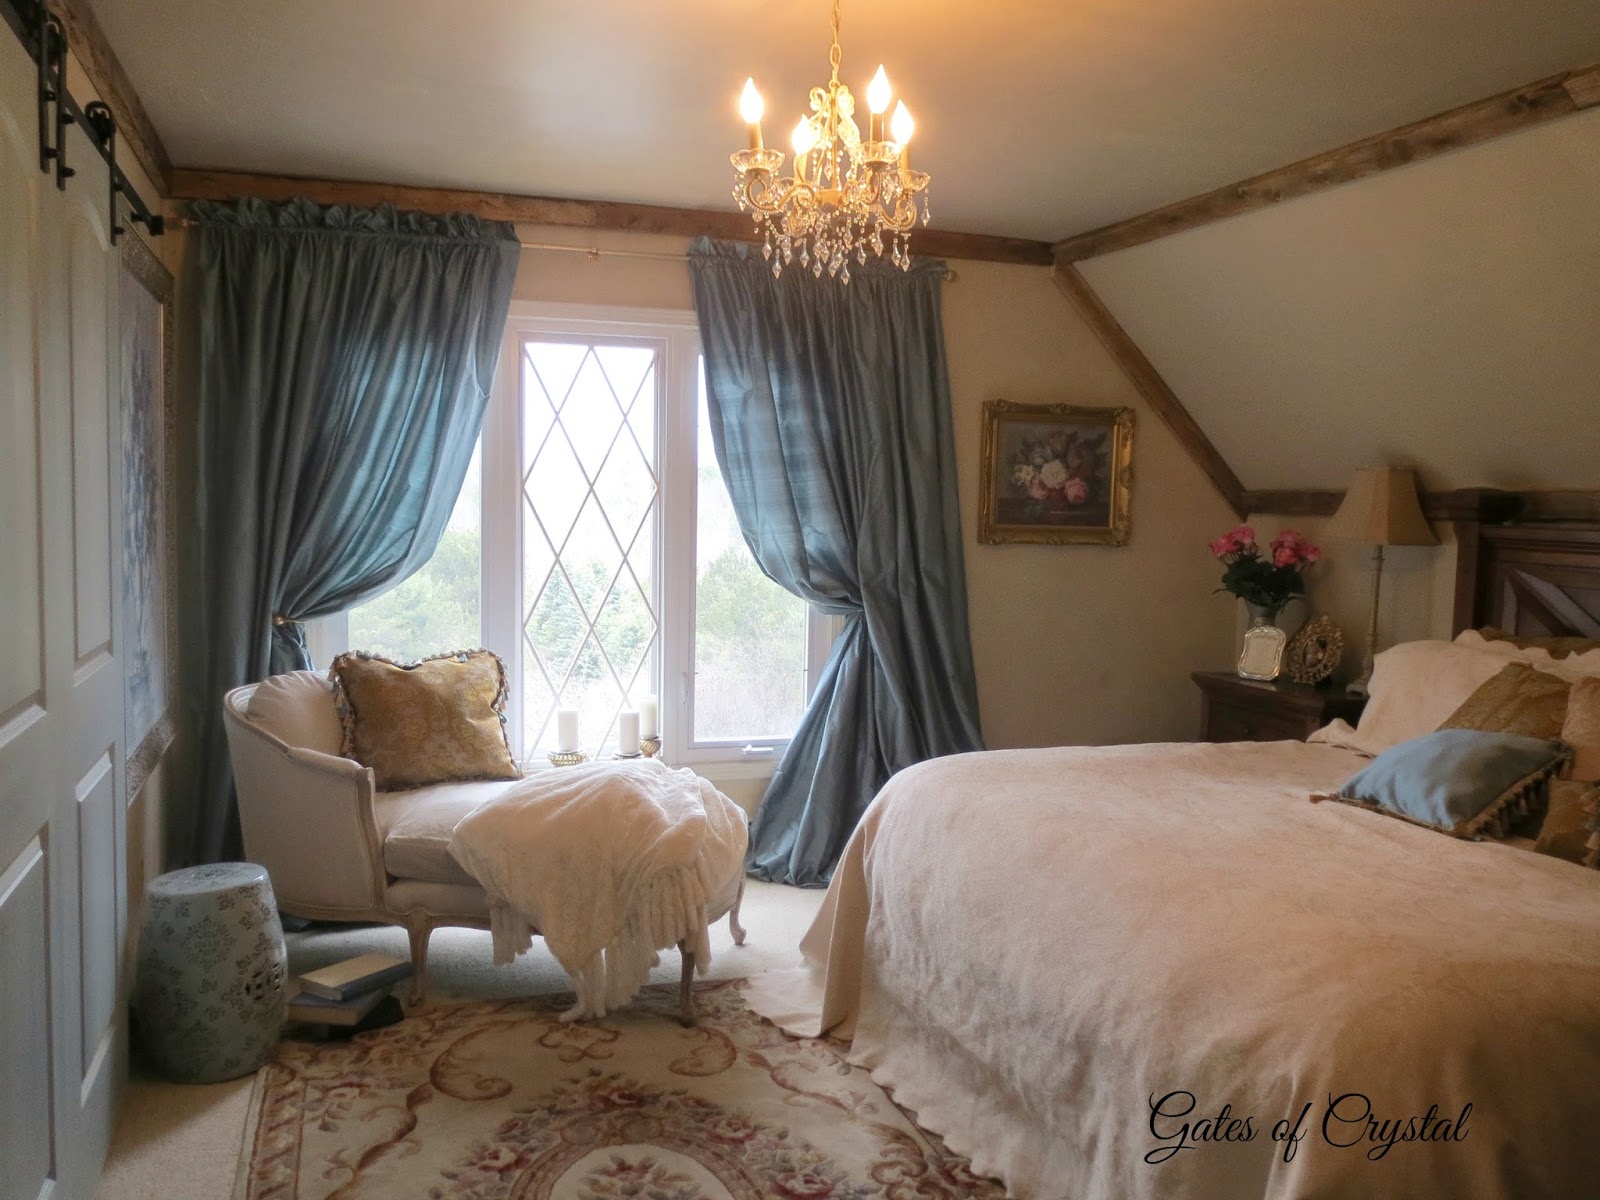
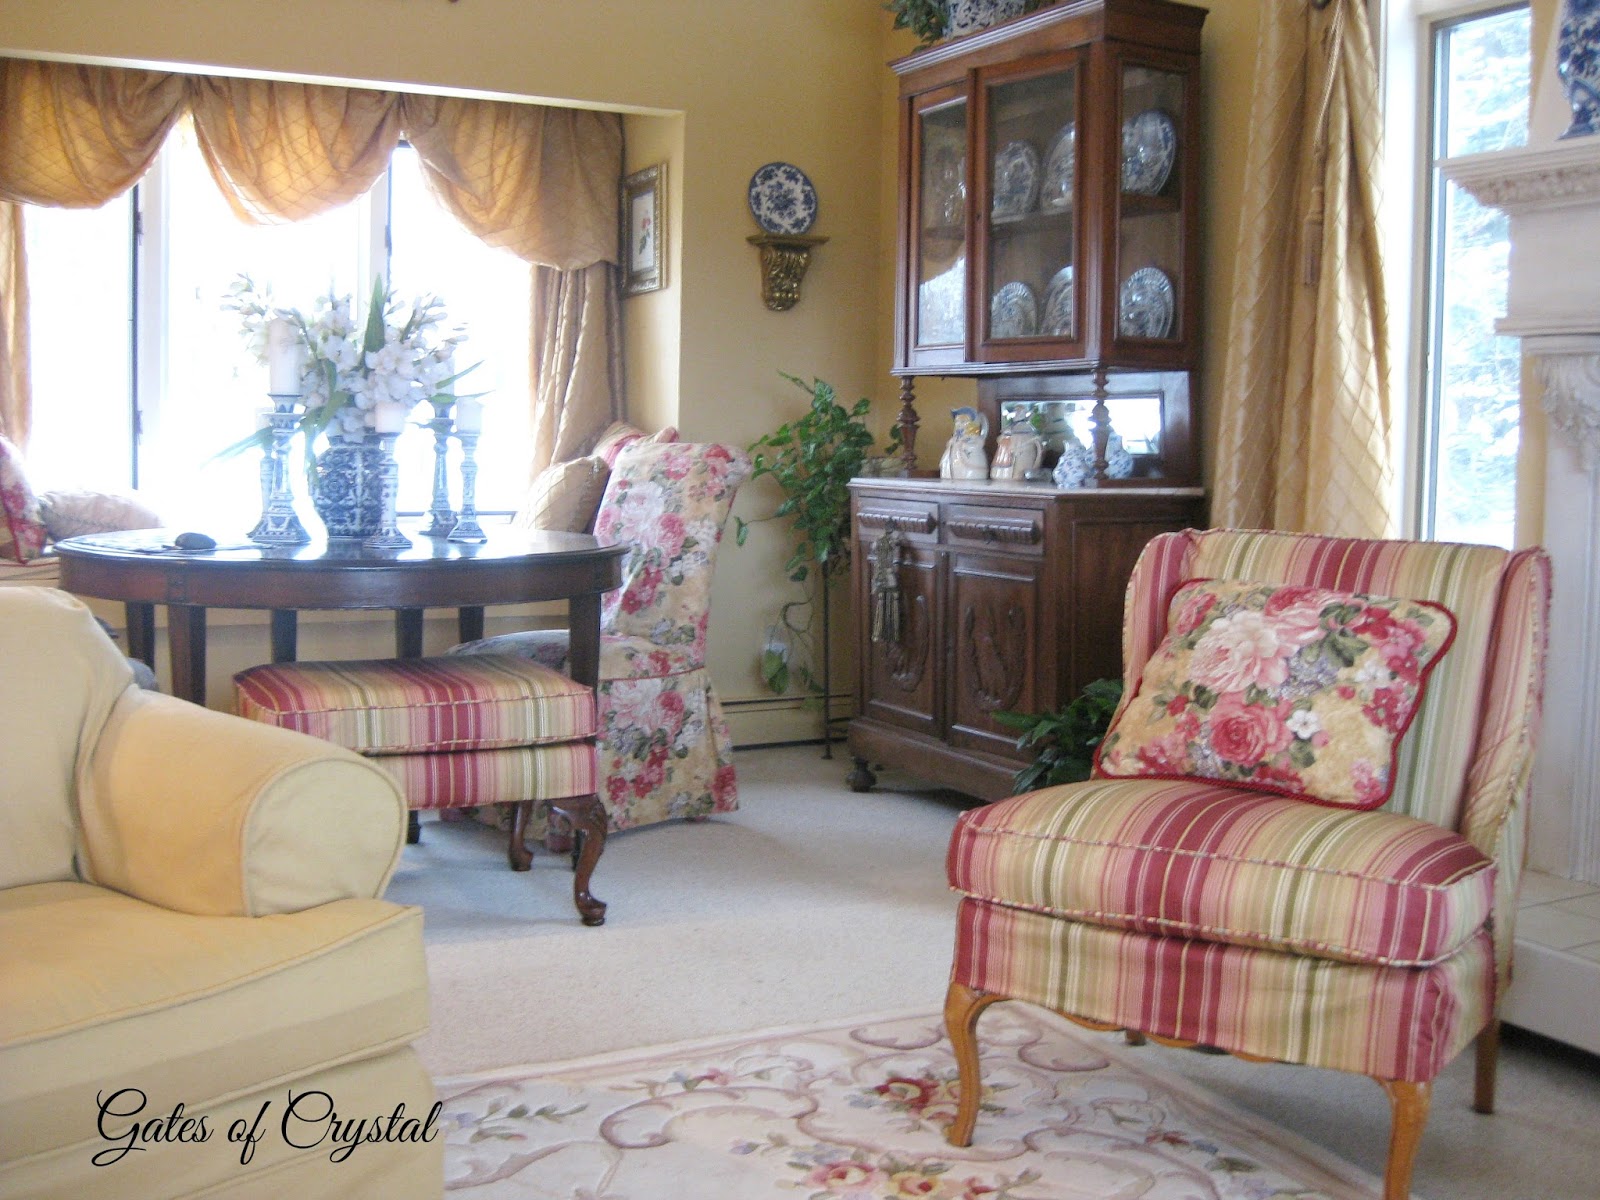
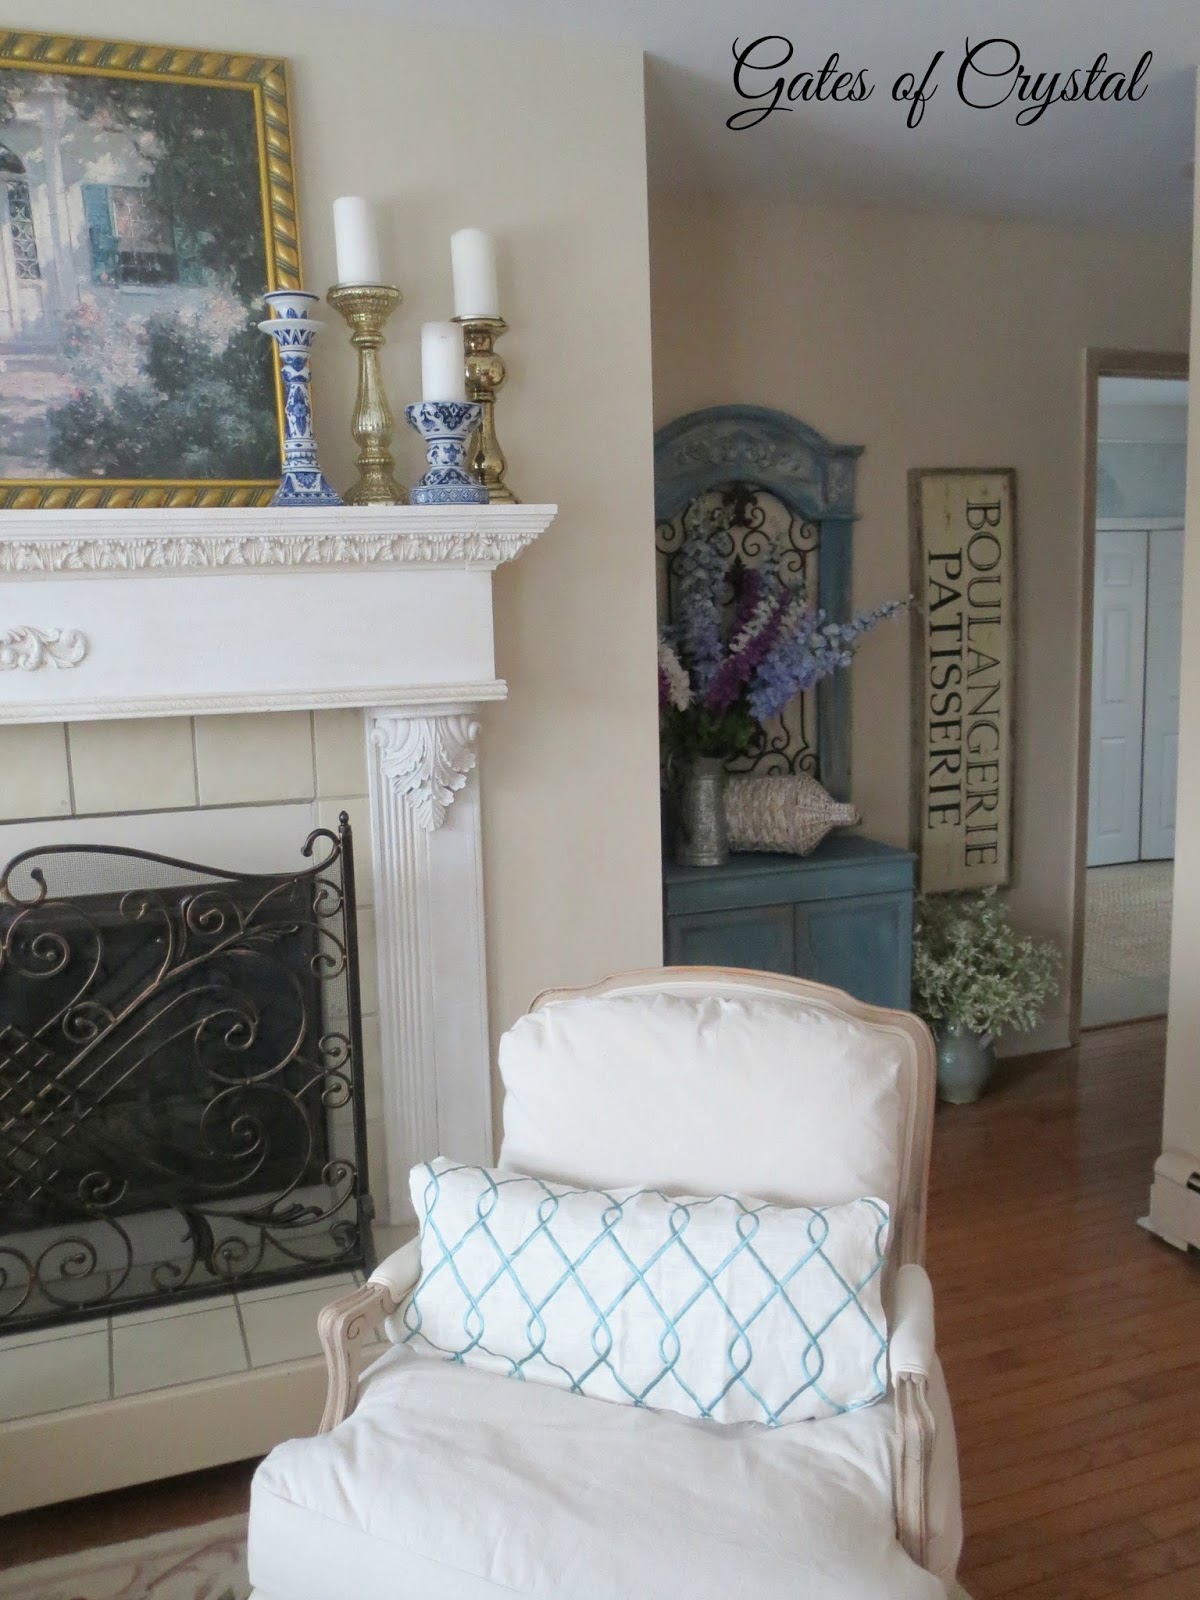
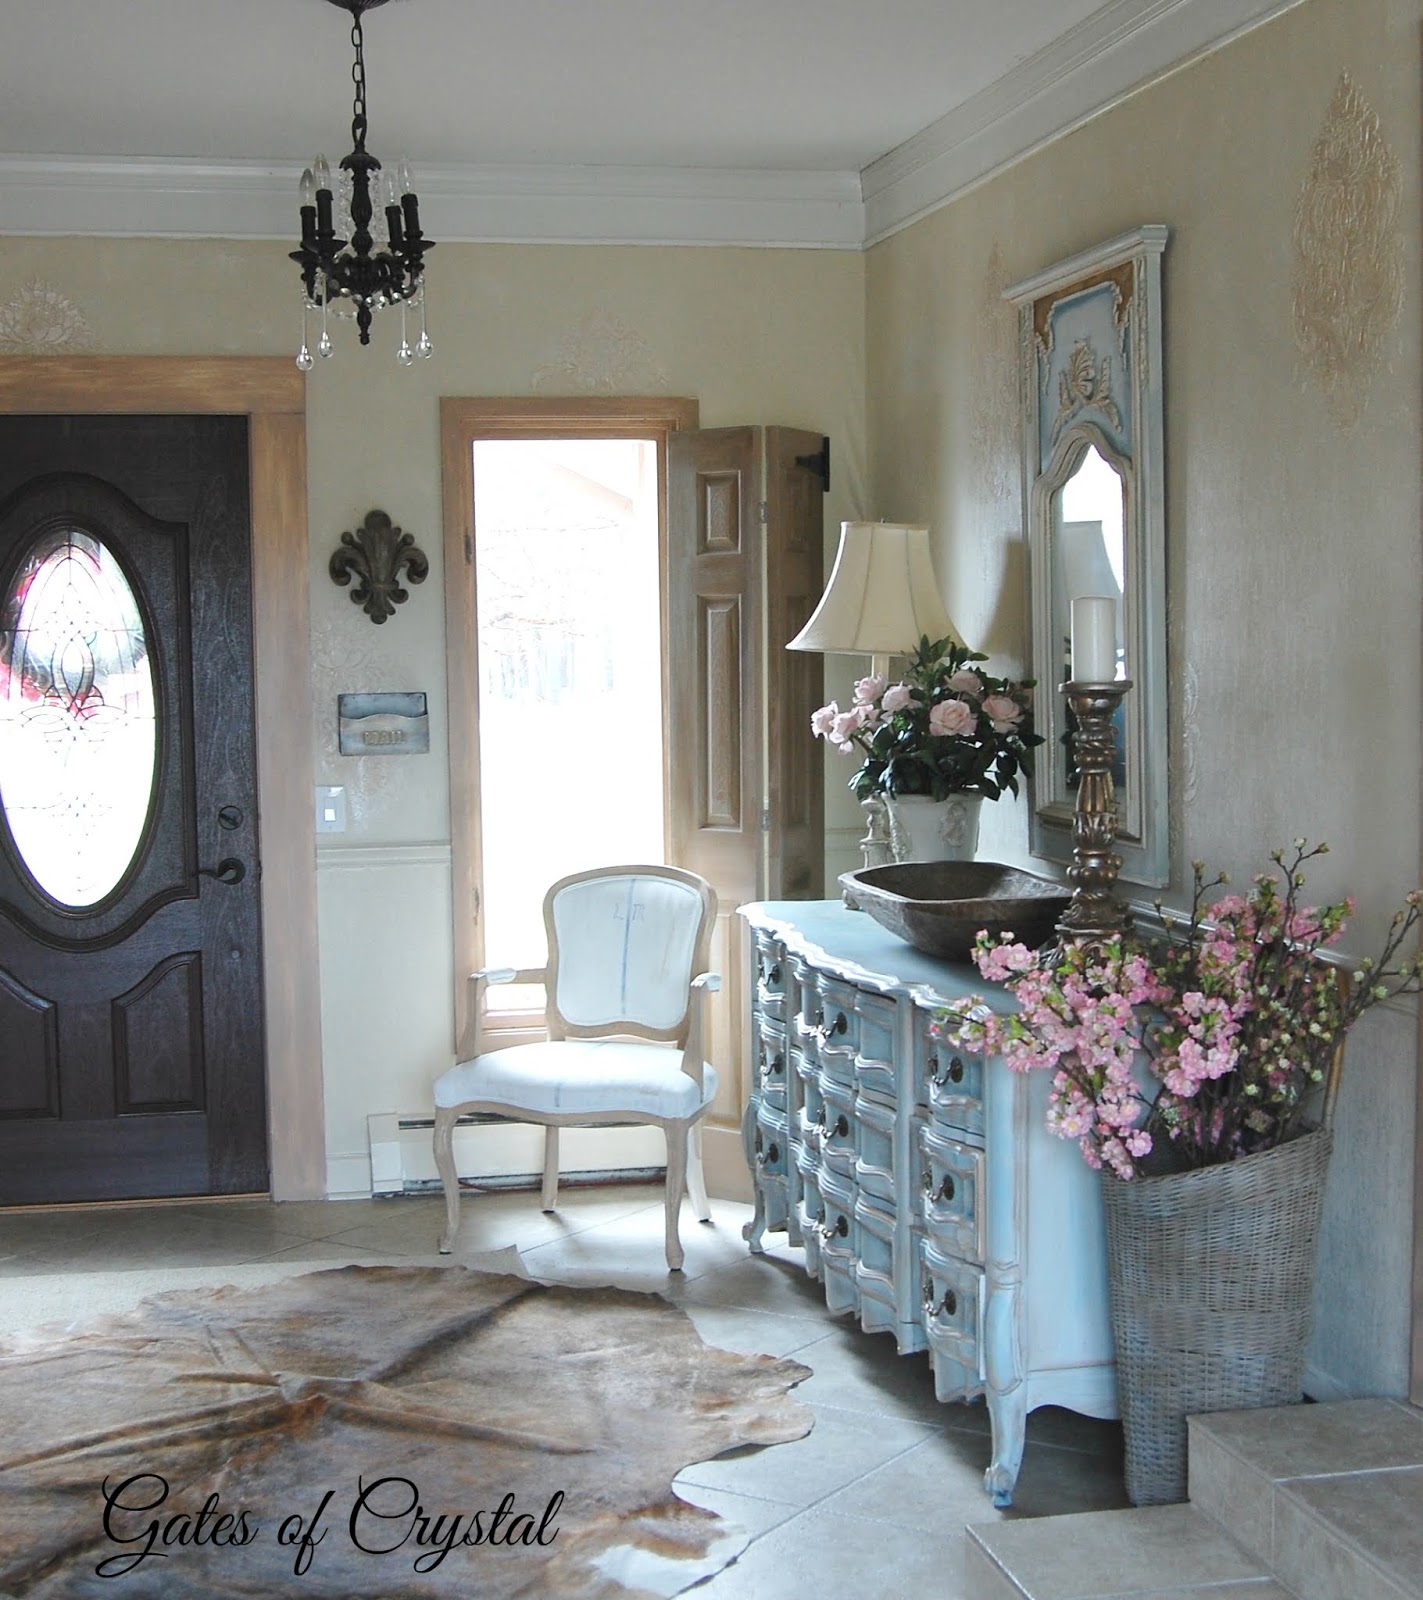
We had an extremely harsh winter here in Michigan this year. And one snowy, icy day I decided to redecorate our entry. I genuinely loved this room before but always felt it didn't flow as well with the rest of the house as I'd like. I wanted less Traditional and more French Country.
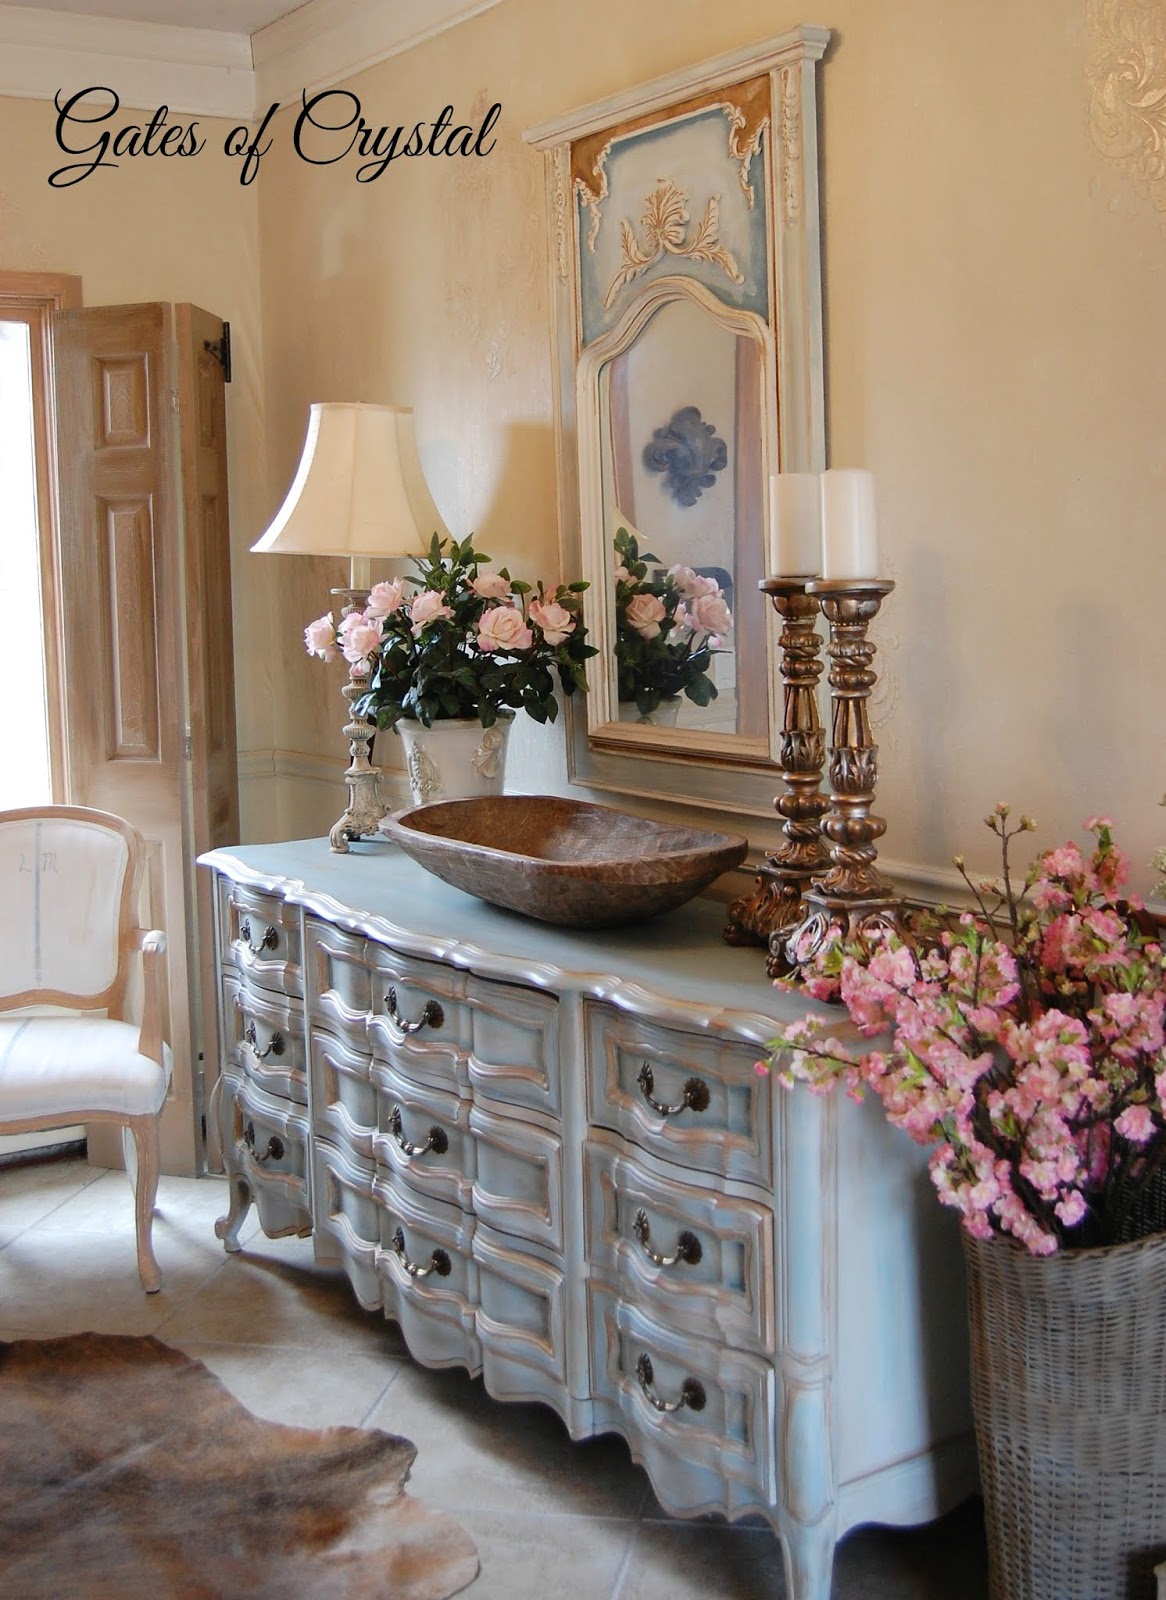

I started the redo by painting the trim and closet doors a light wood tone to match the rest of the house. I painted the walls in Sand by Sherwin Williams as a base coat, from top to bottom, including the chair rail. I'll share the paint technique and raised plaster stencil I did in a later post.
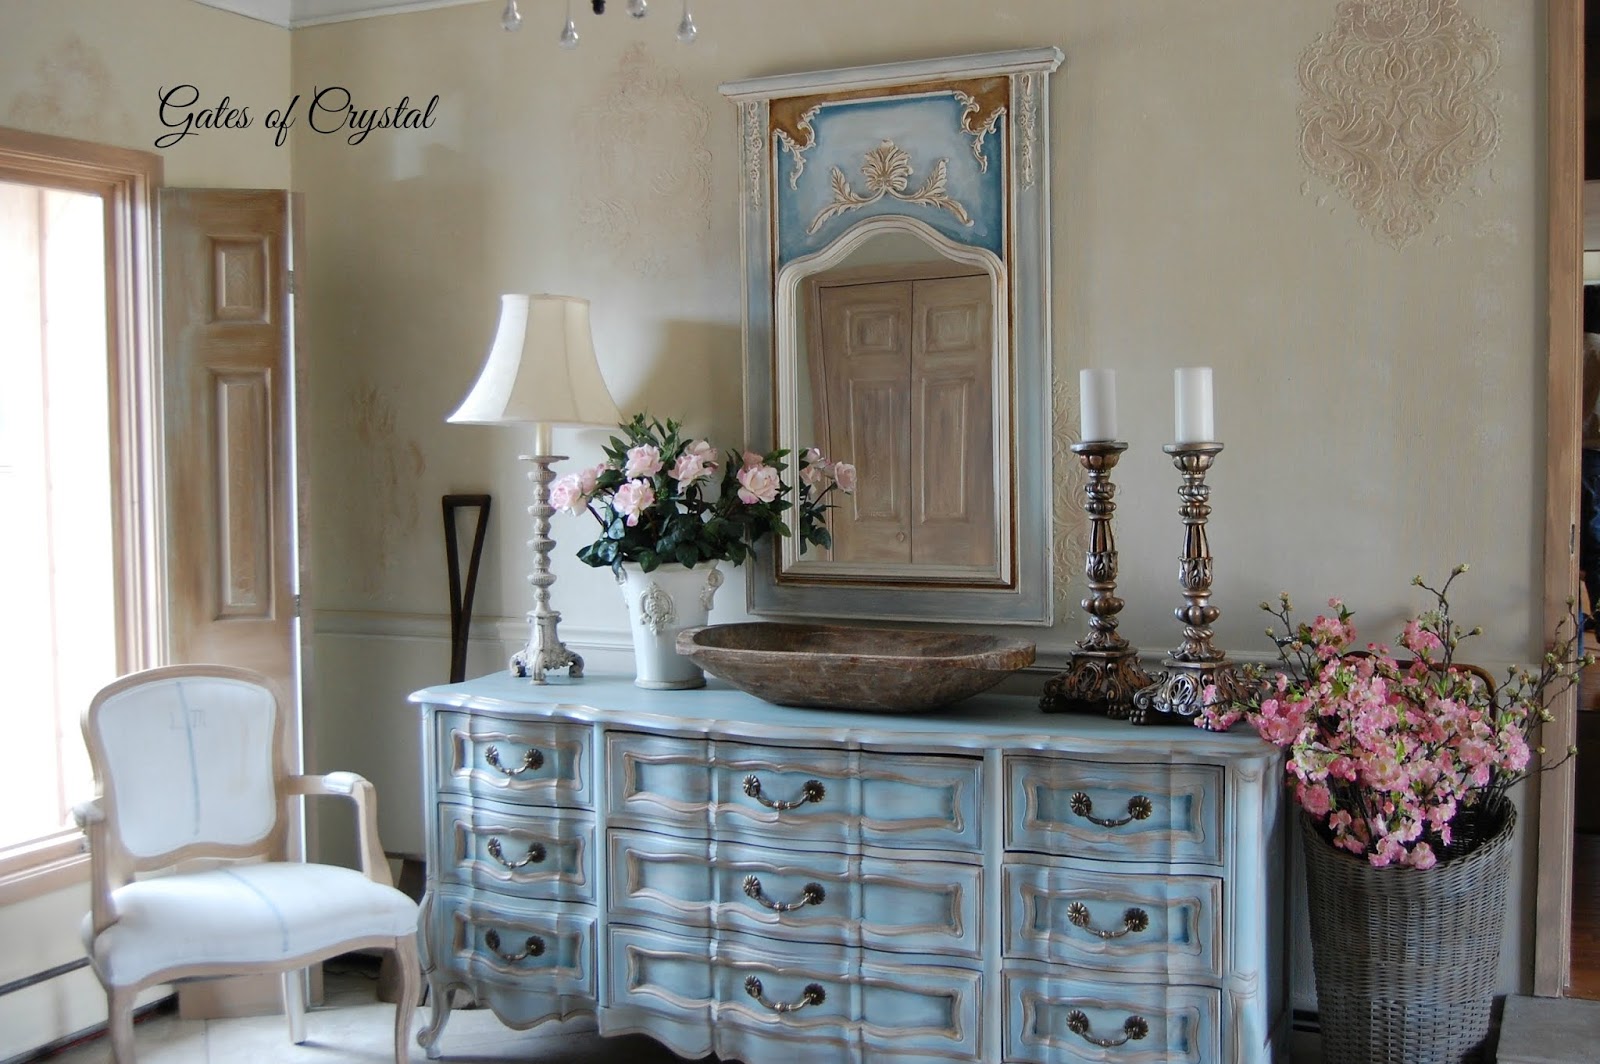
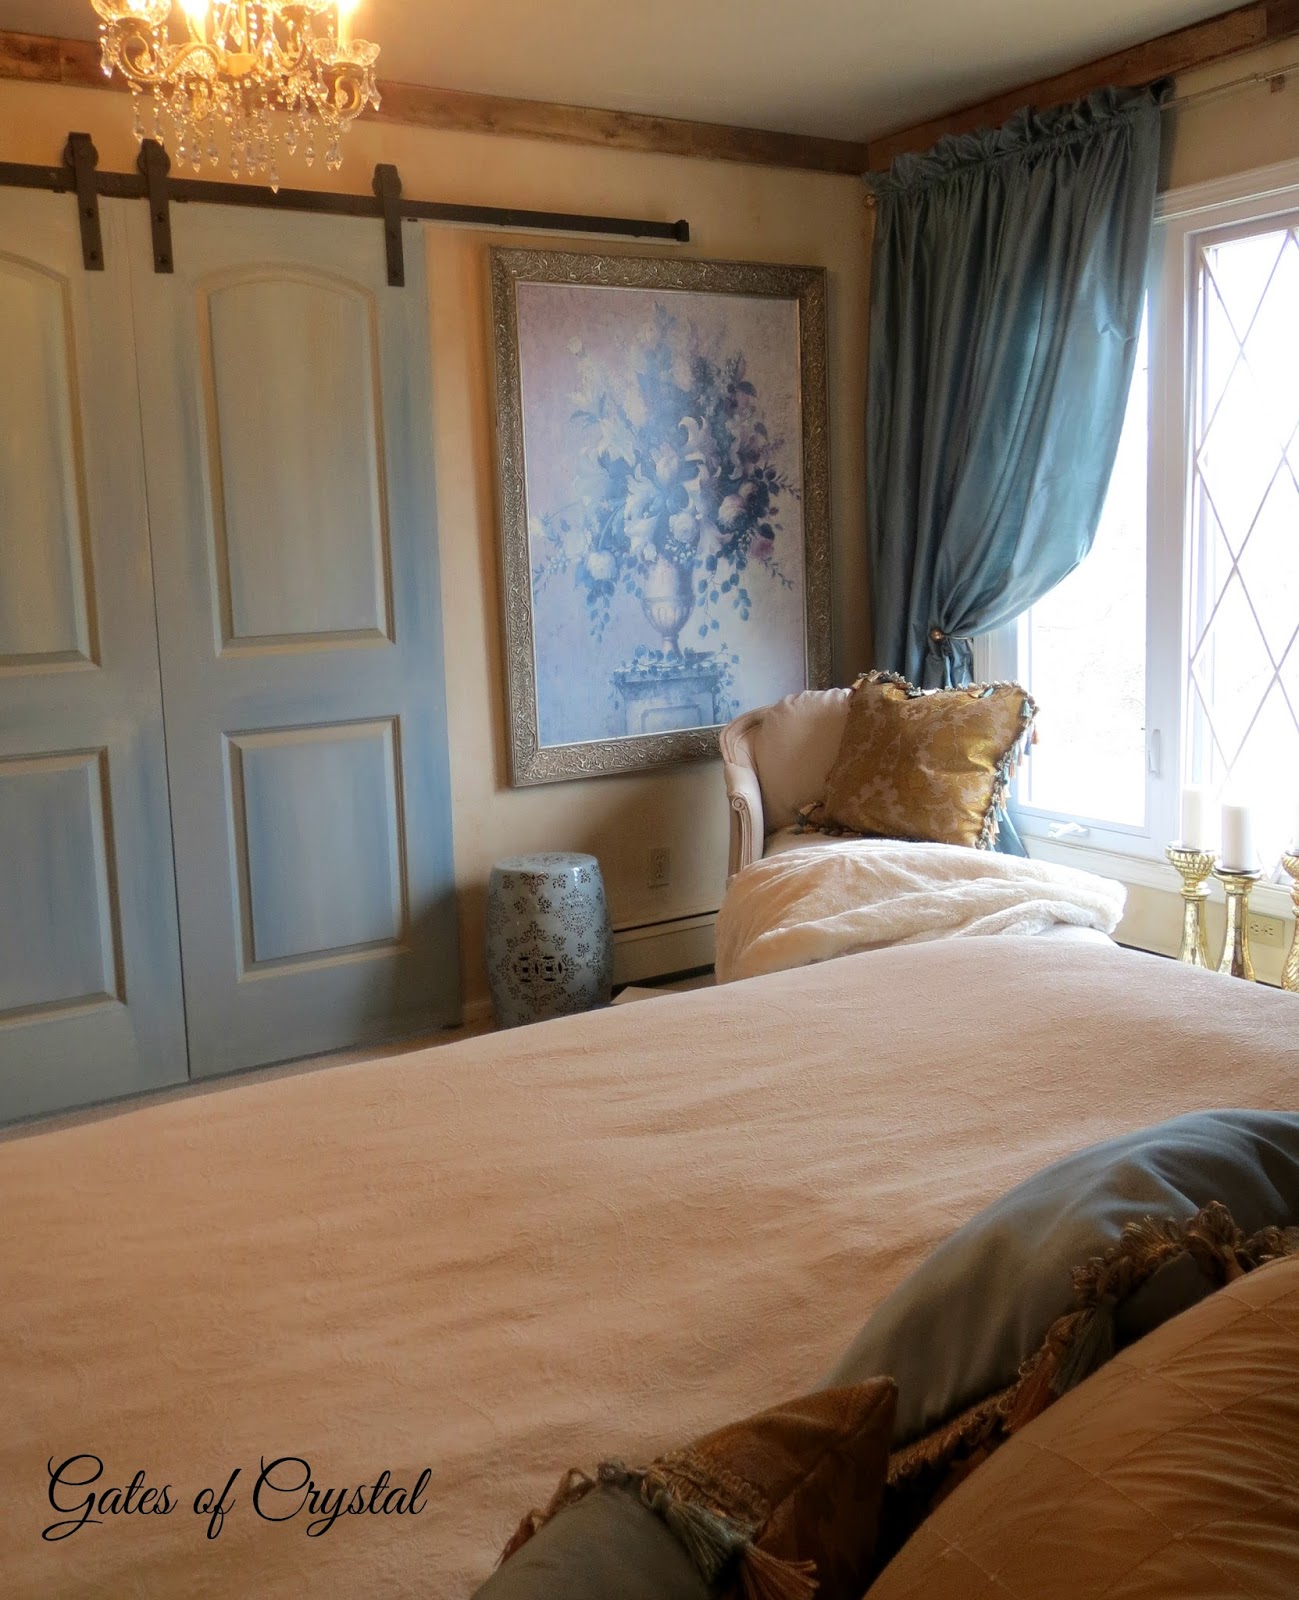
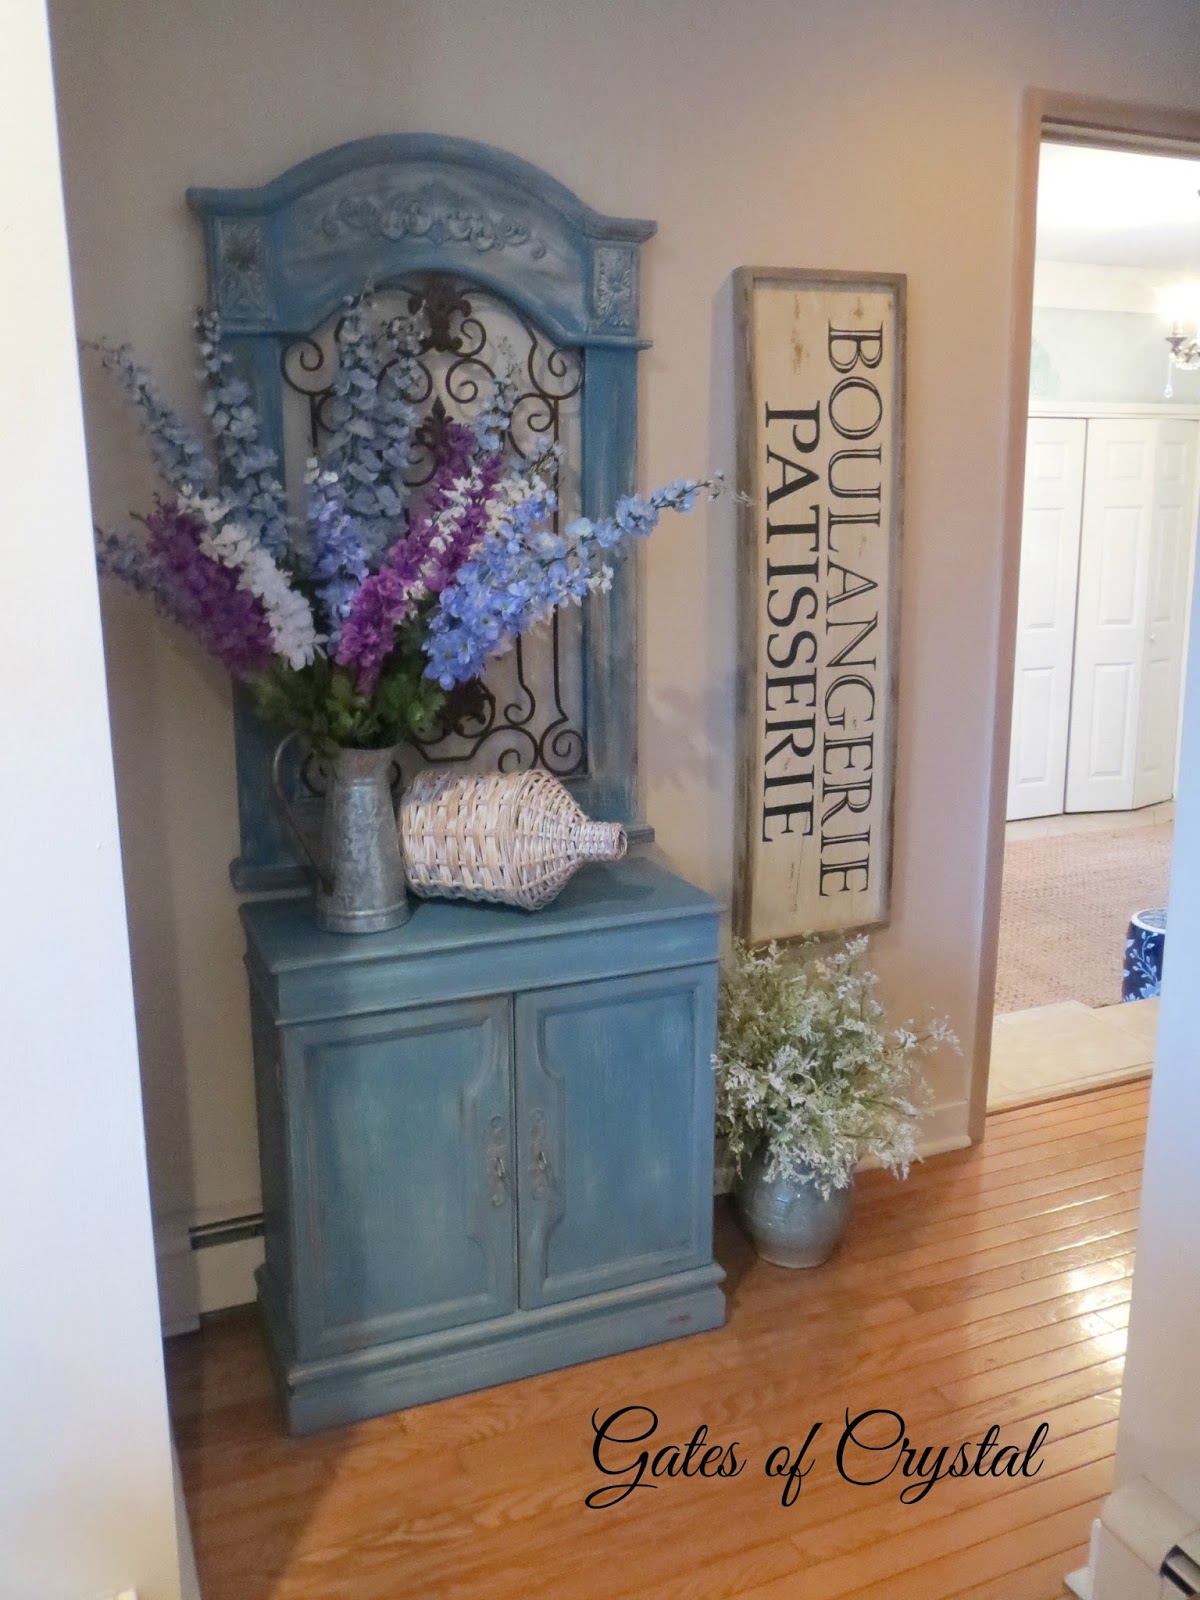
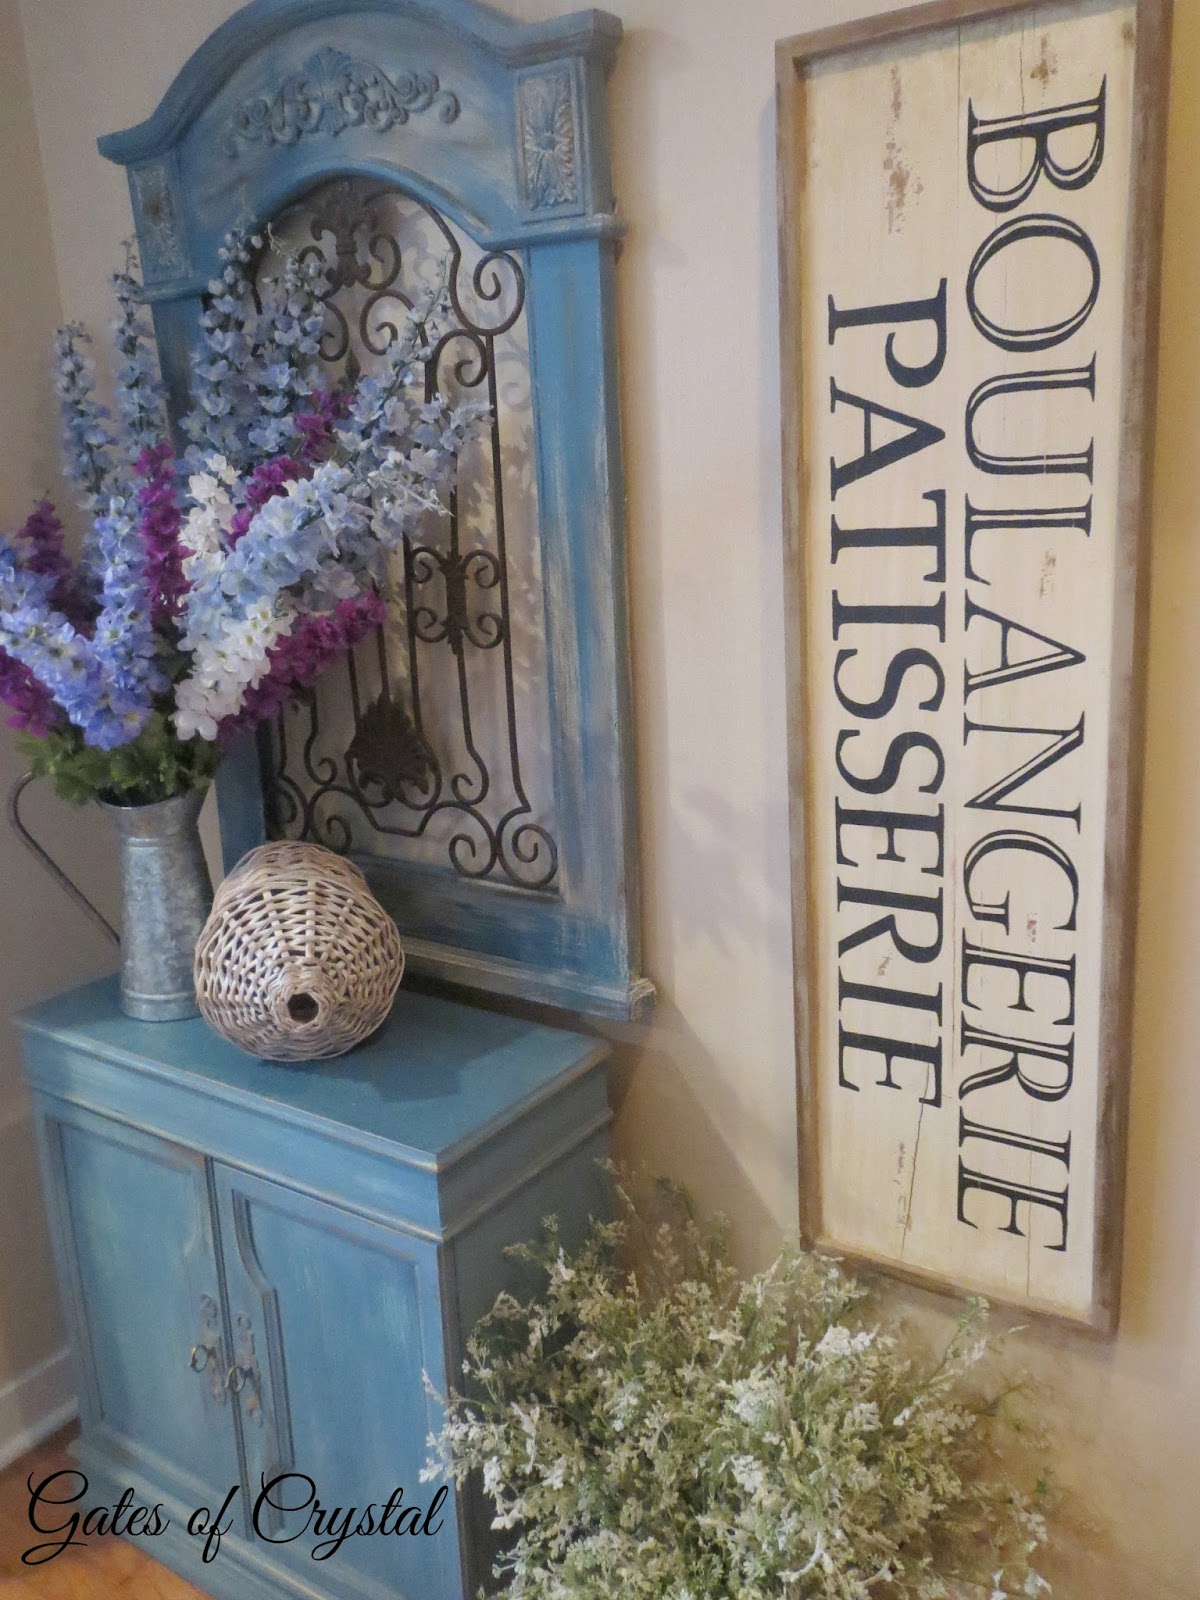
And then I repainted our blue dresser.


For those of you who are new to this site, I bought this dresser second hand several years ago. It was an old, maple bedroom dresser that someone had in storage. It was in great shape and we paid $100 for it. It's definitely one of my favorite pieces of furniture in our home and I love the impact it gives when you walk in our front door.
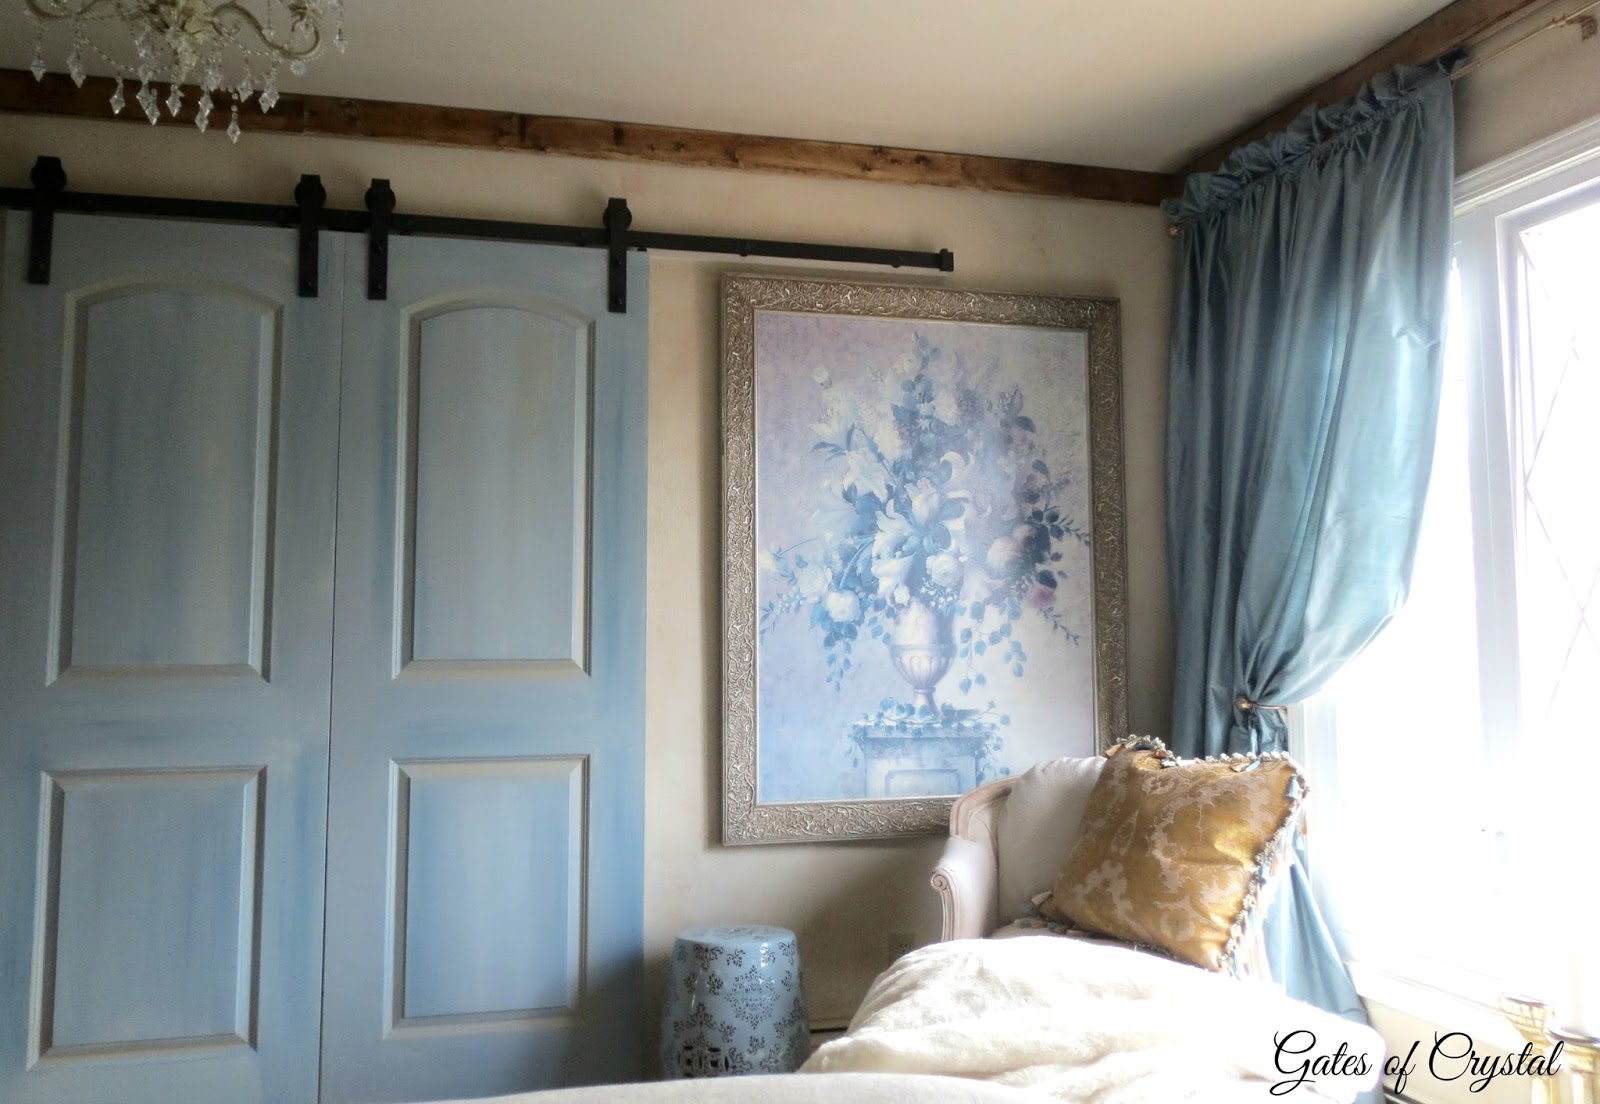
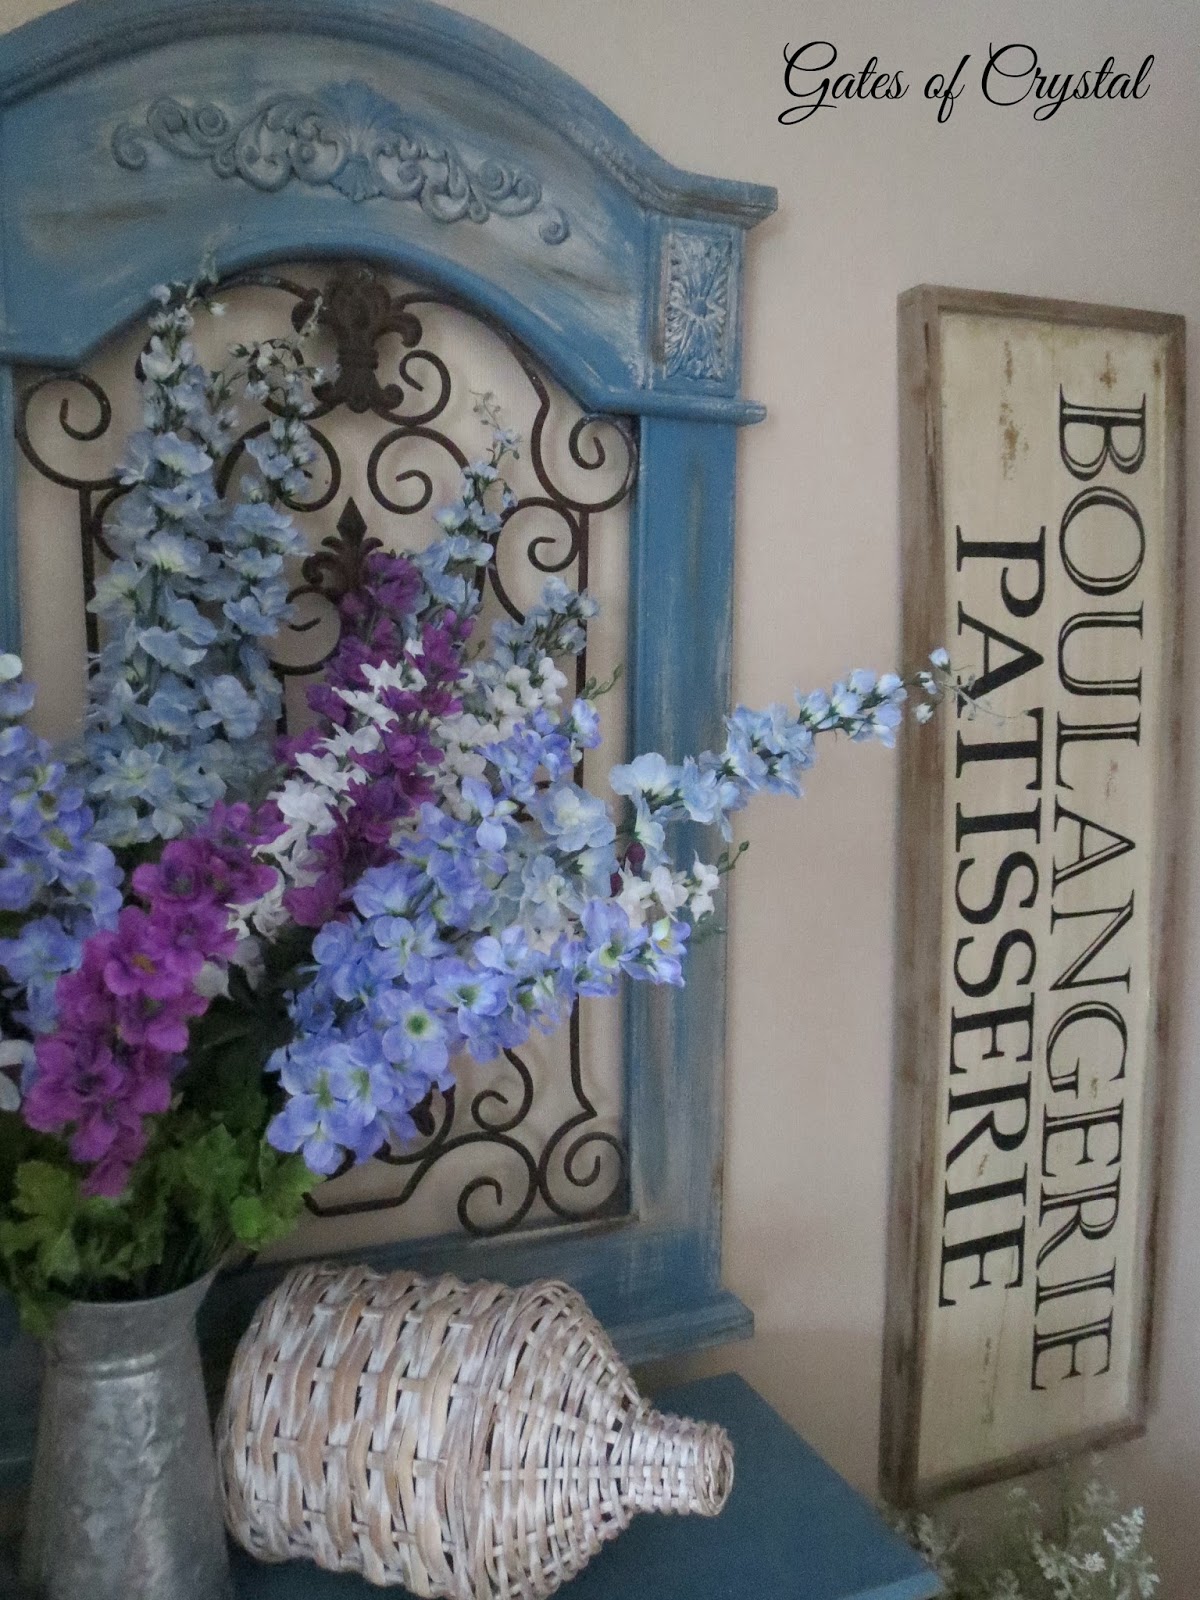
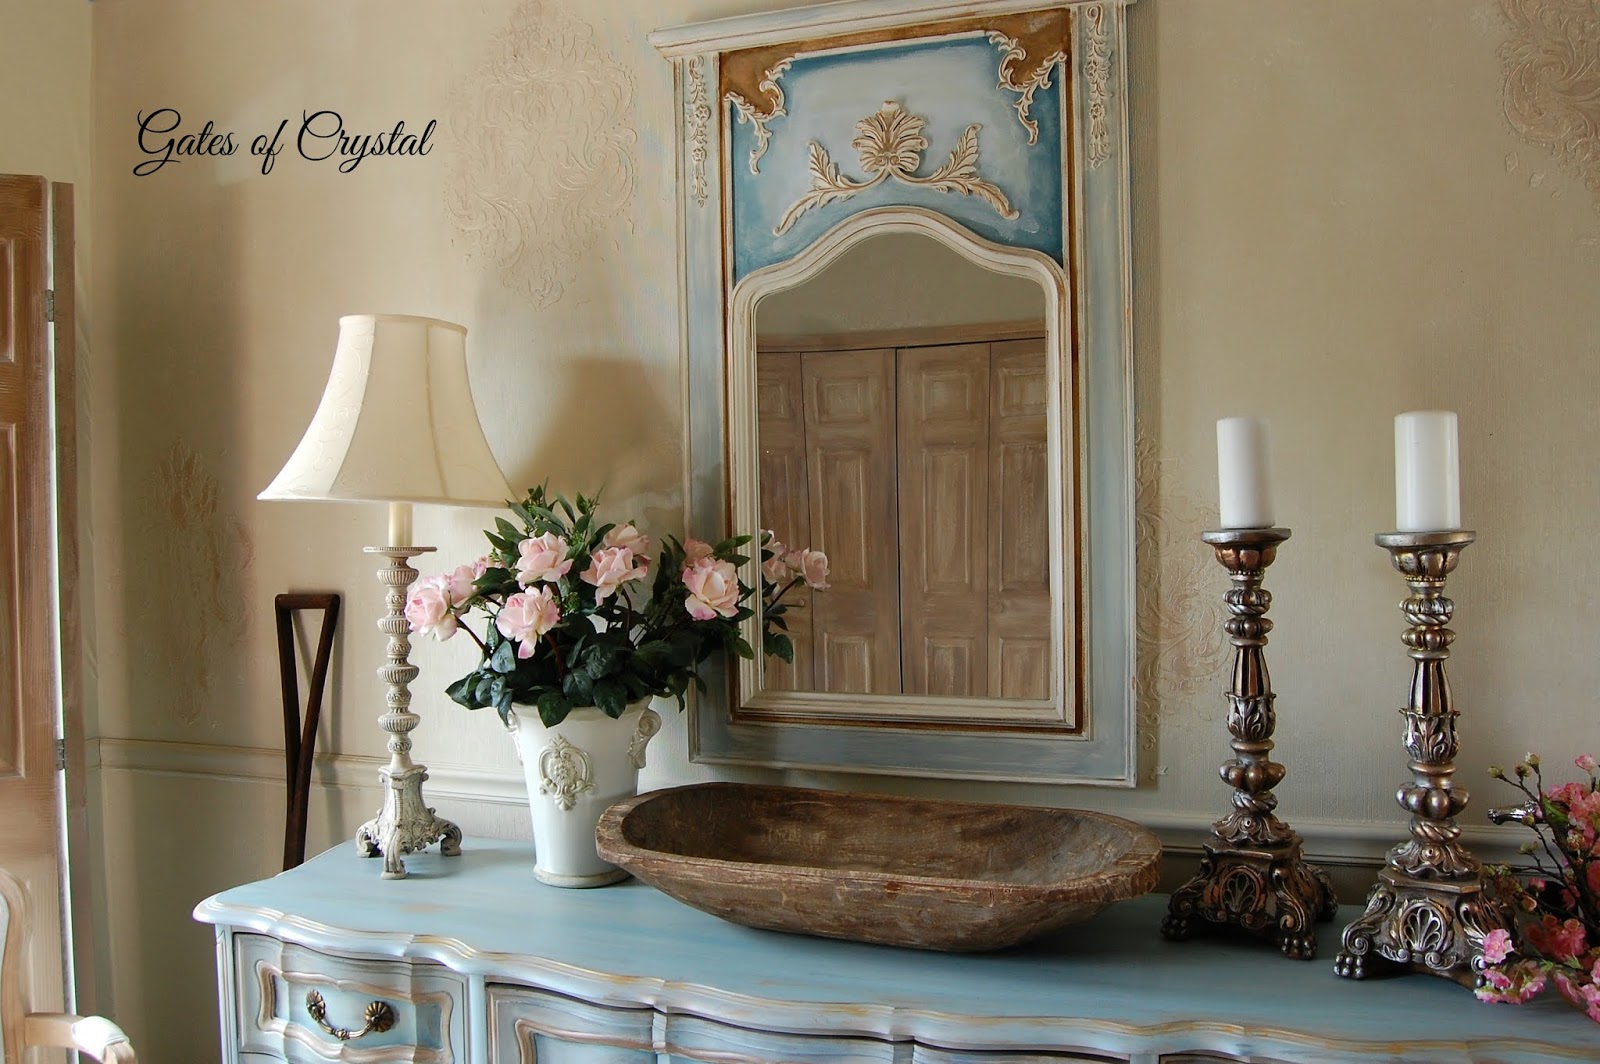
I added a little of the light blue to our HomeGoods mirror so that it coordinated better. This mirror was on clearance at HomeGoods a couple of years ago. It was all a uniform cream color and I painted it to match the dresser.
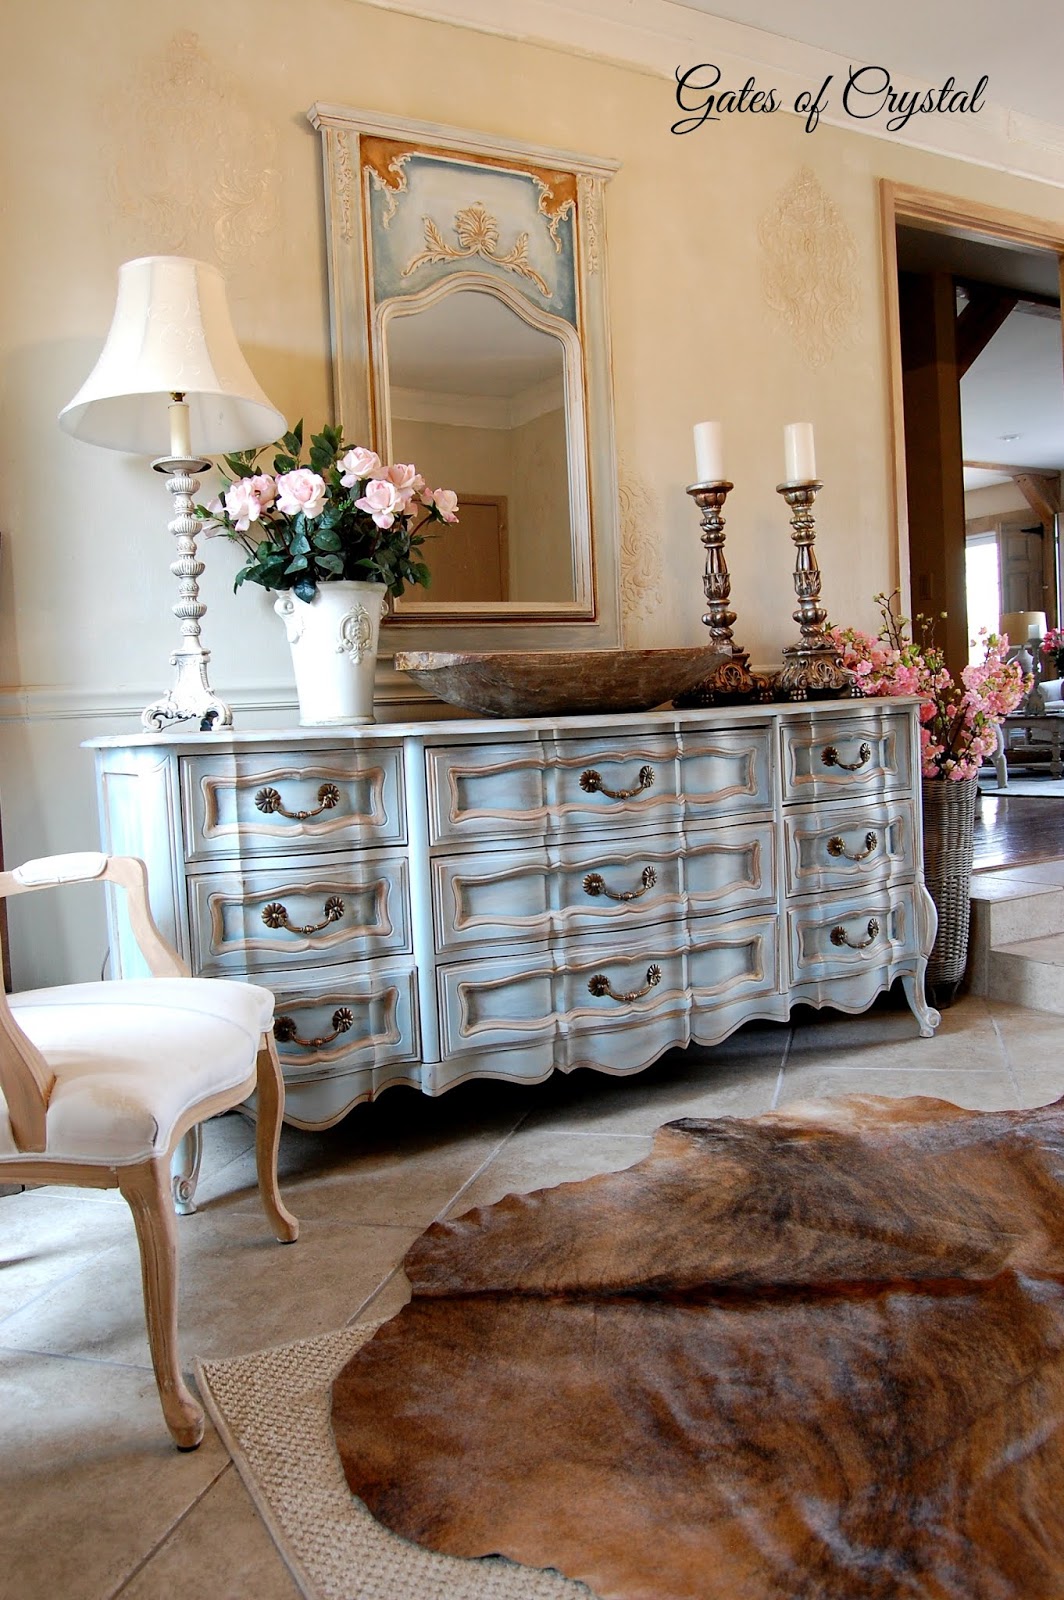
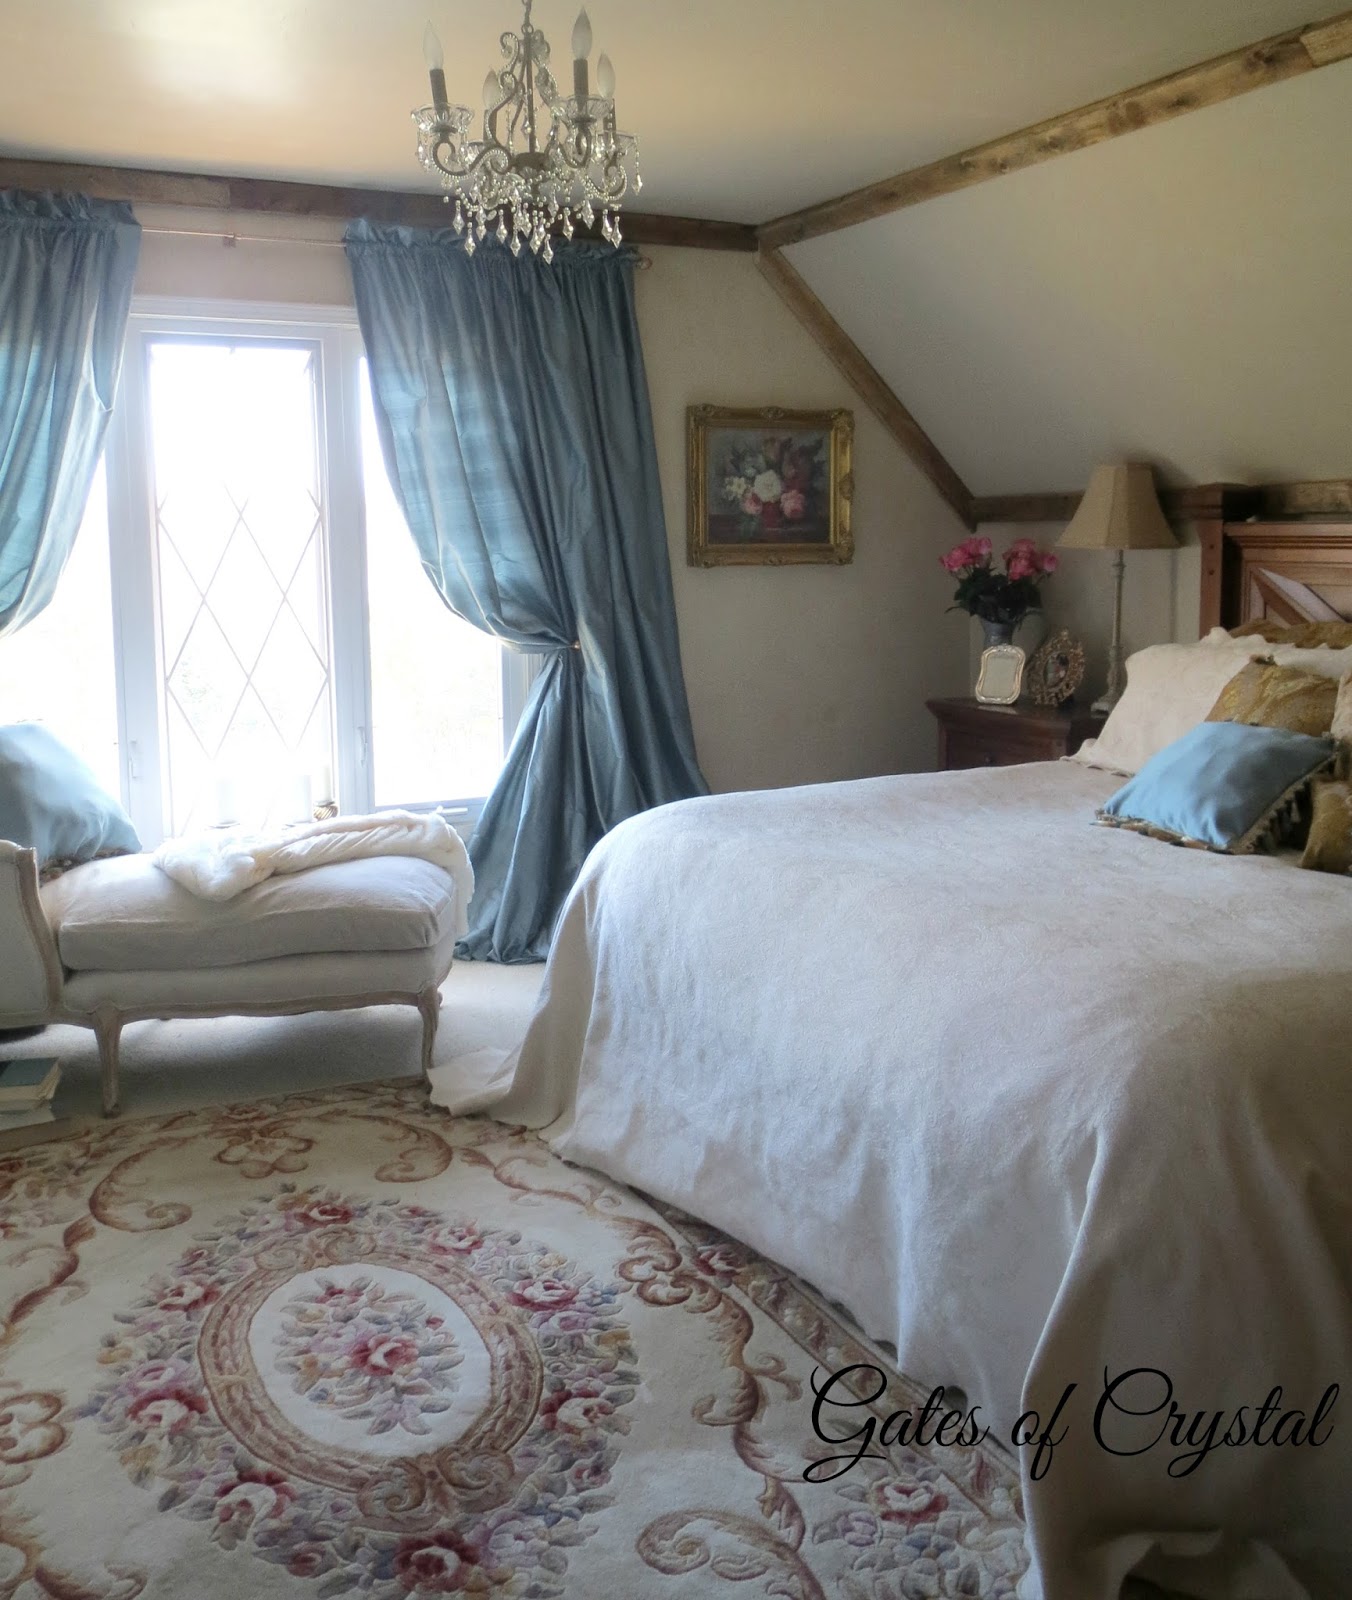
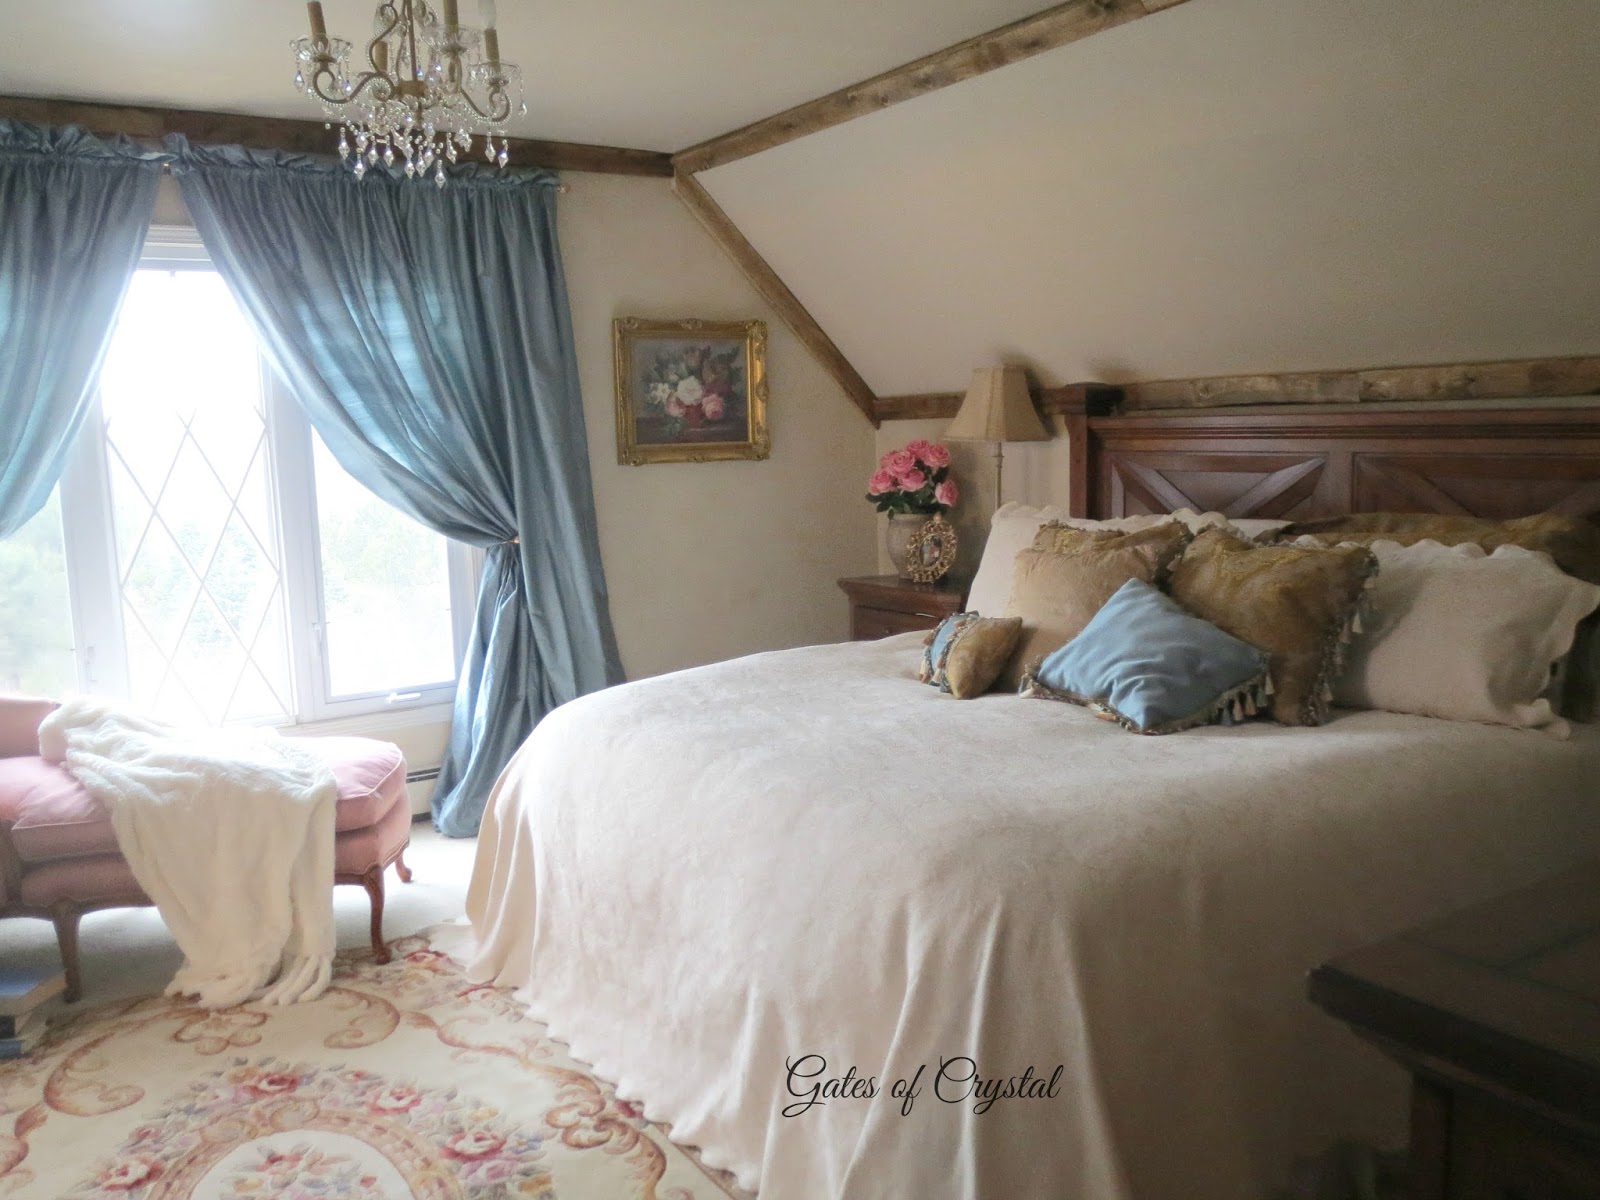
I layered one of our cowhide rugs over another rug. I love the mix of rustic with the feminine furniture.

Thank you to those that have messaged me this past year. Your kind comments were a blessing to me and I appreciate it so much.
love and blessings~

"The blessing of the Lord makes rich, and He adds no sorrow with it." Proverbs 10:22
dresser, chair - Craigslist
mirror - HomeGoods
wooden bowl, vase and roses - HobbyLobby
lamp and candlesticks - Furniture City Consignment
french shopping basket - World Market
cherry blossoms - Joann's Fabrics
cowhide rug - Twisted Pine, Estes Park, CO
wall color - Sand by Sherwin Williams