

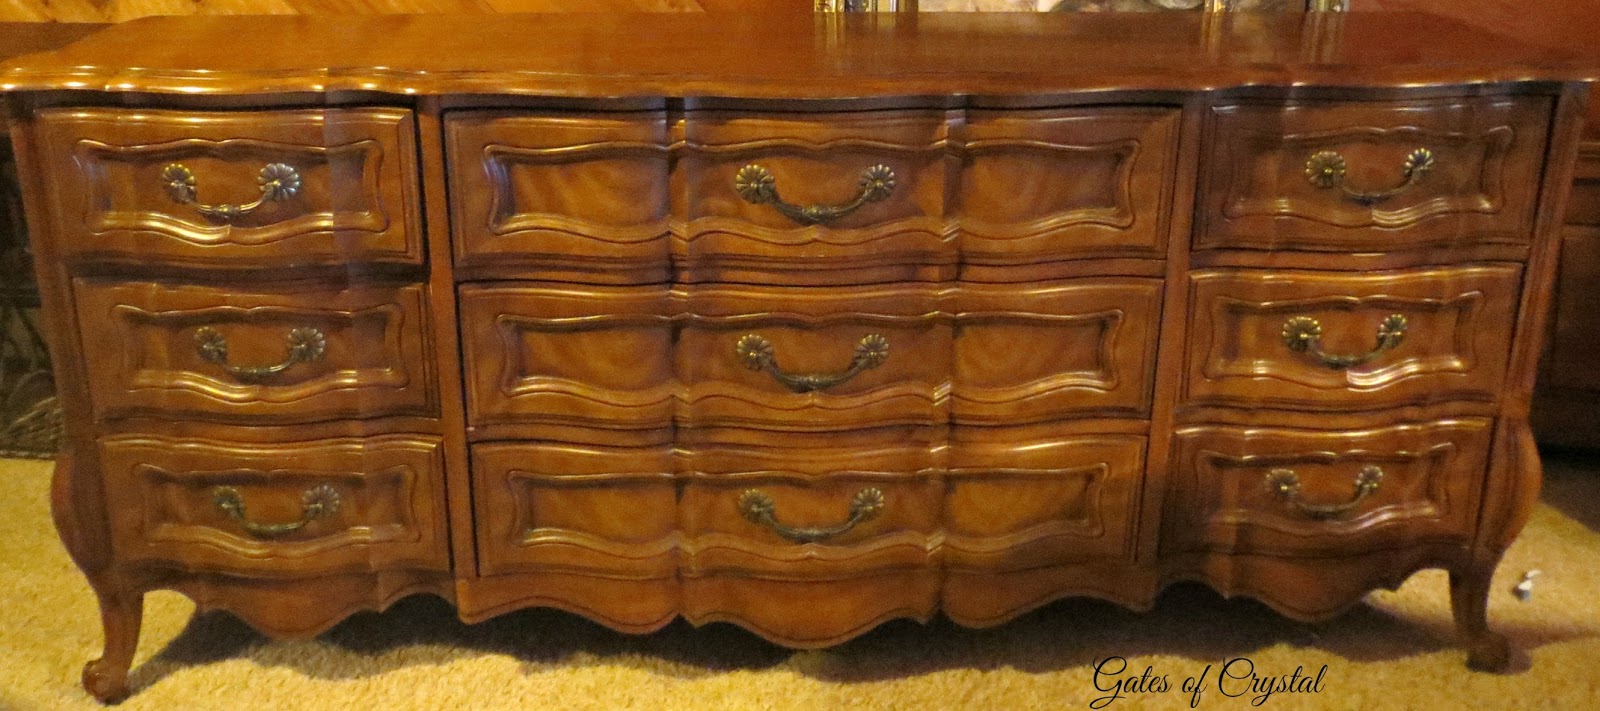
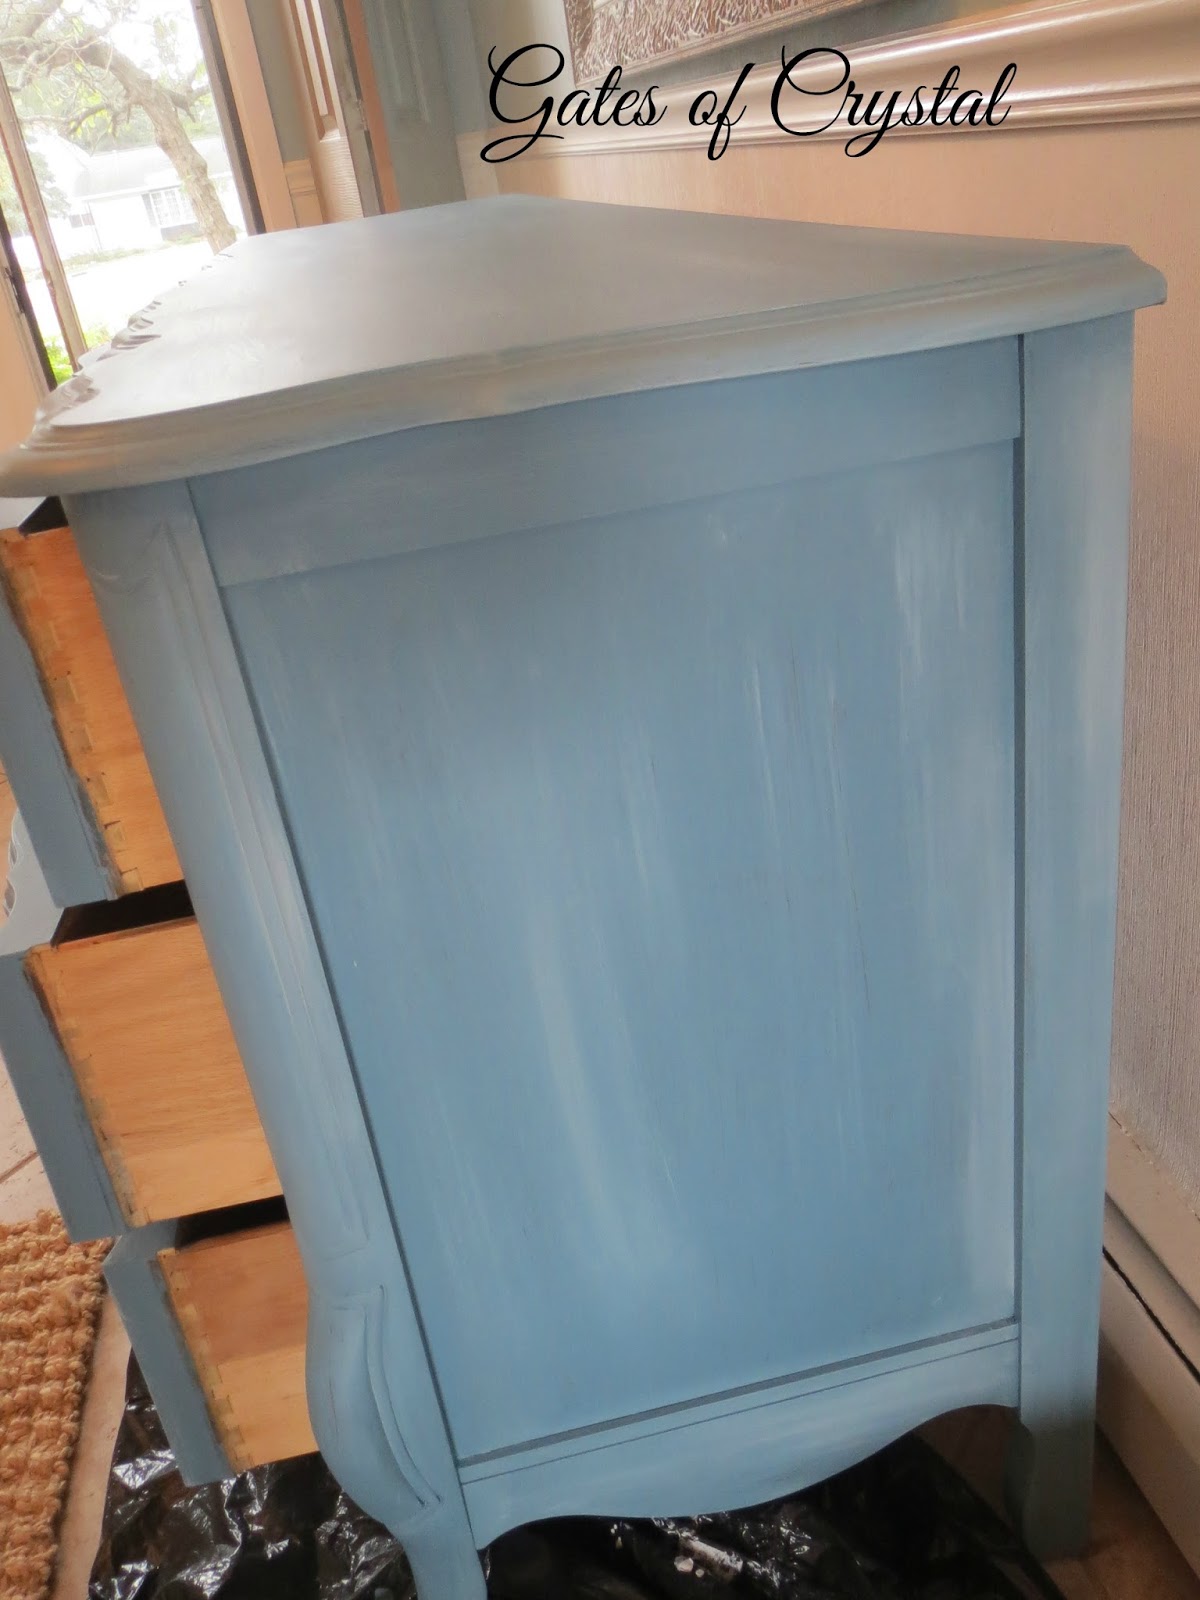
Yesterday I shared all the changes in our entry, including this French dresser that I refinished. I found this dresser on Craig's List and purchased it for $100.
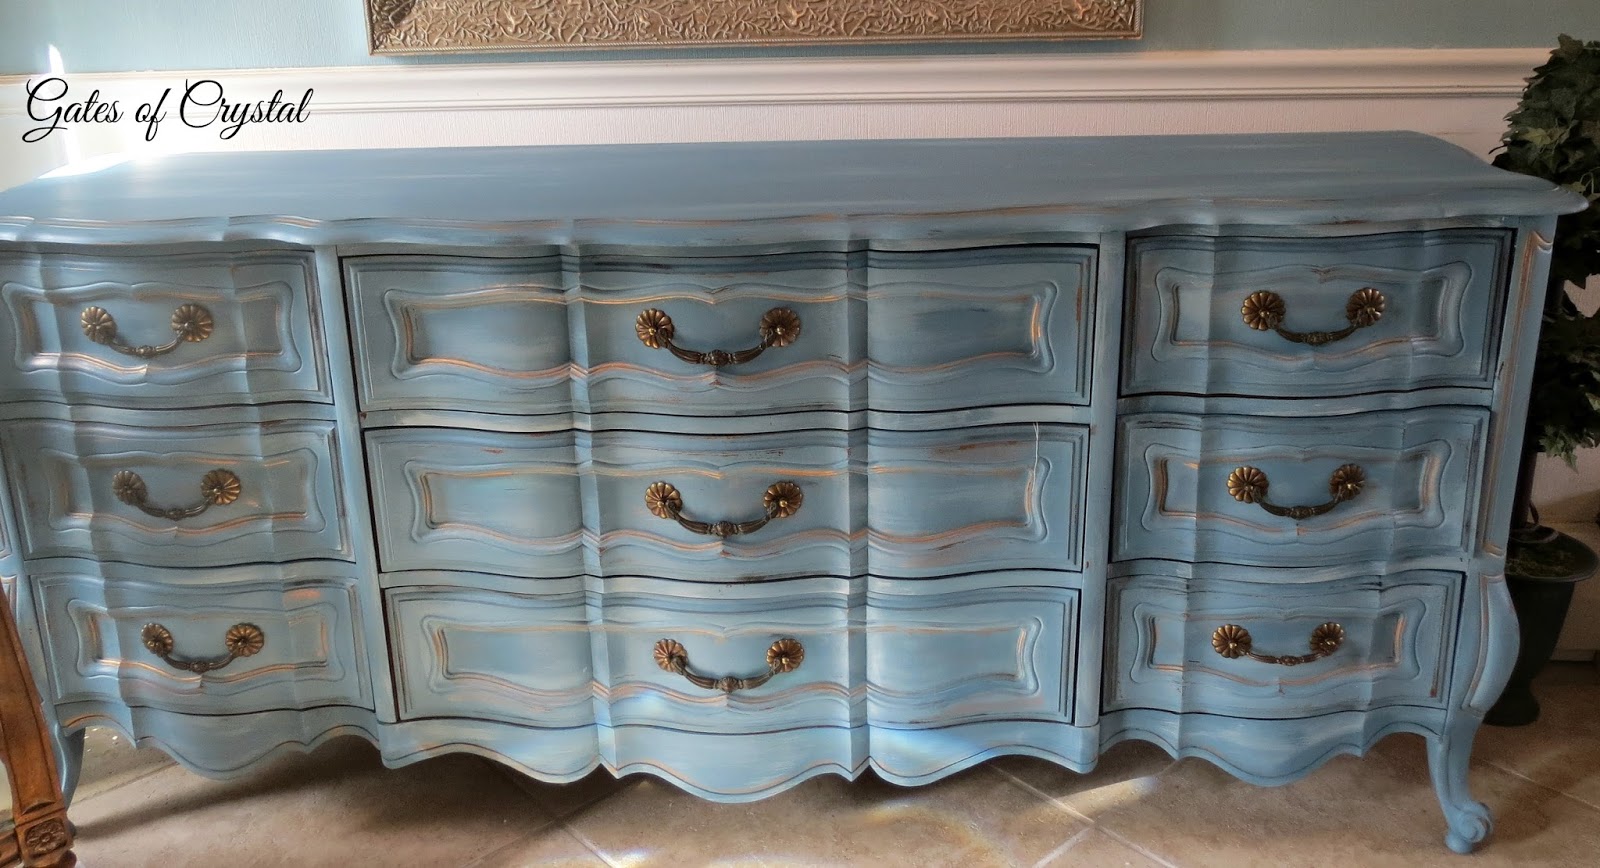
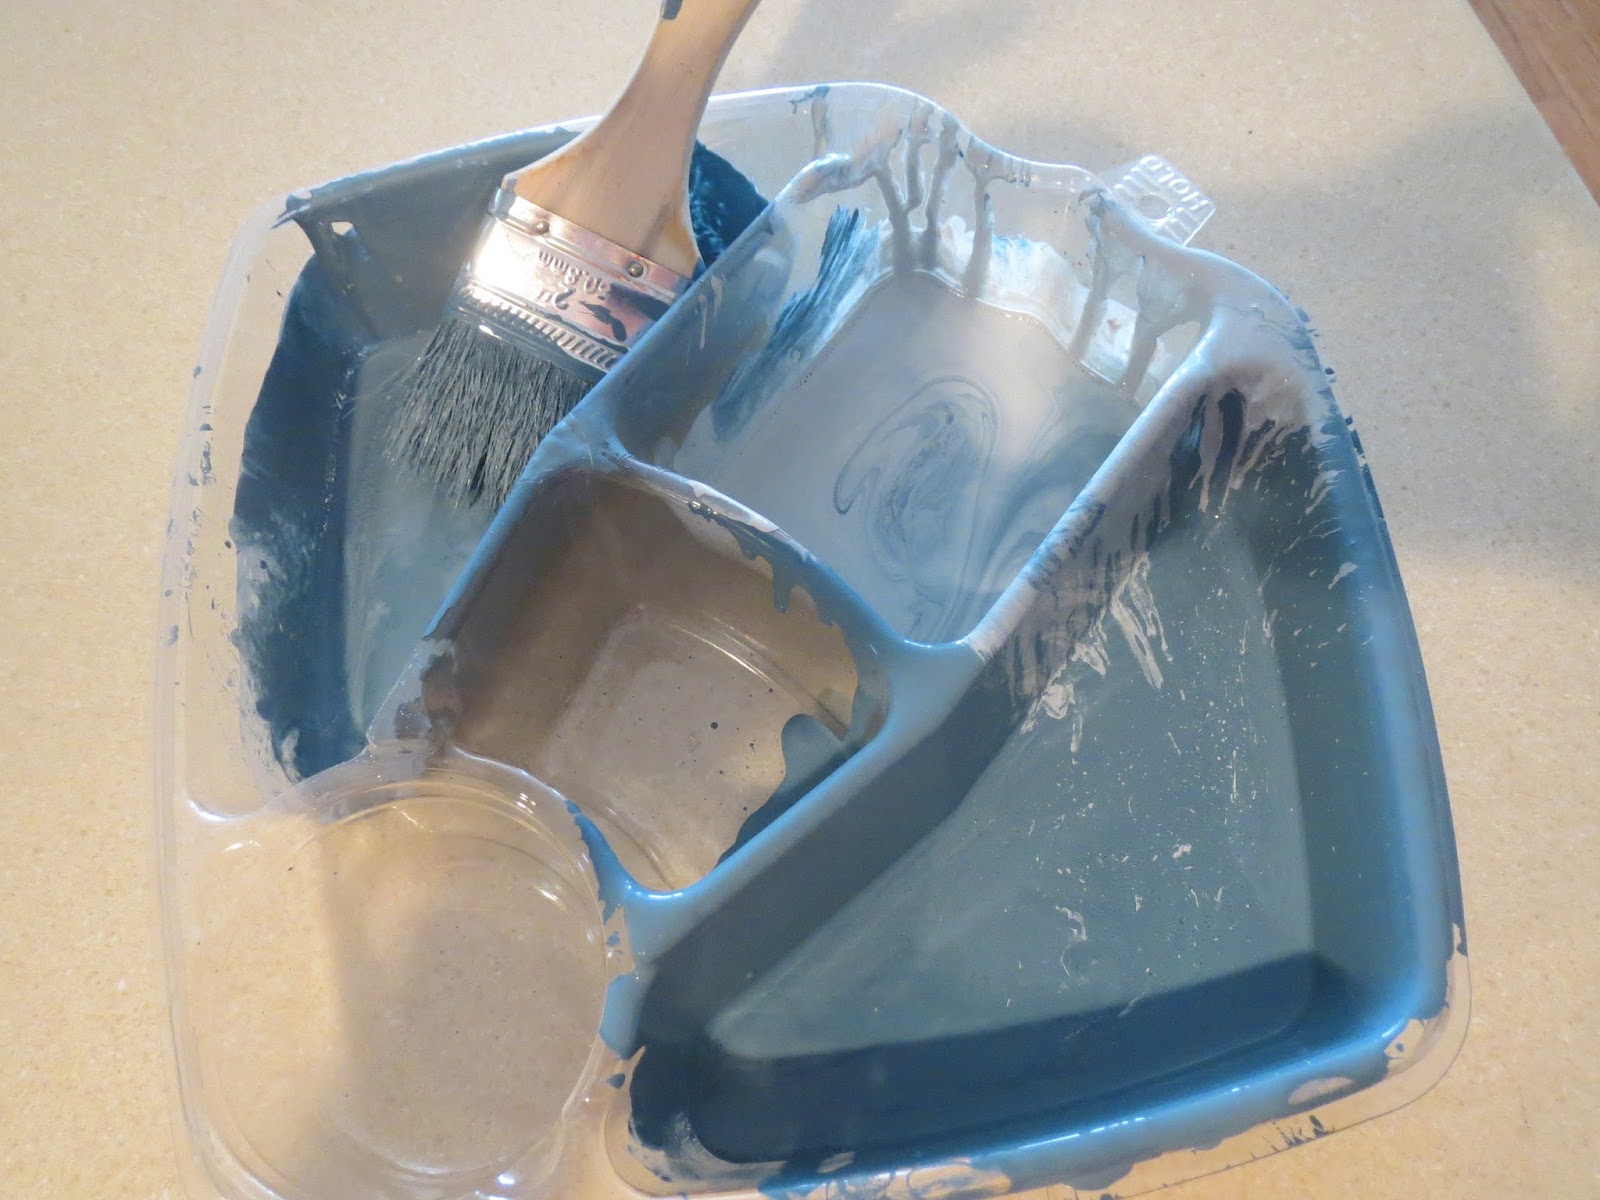

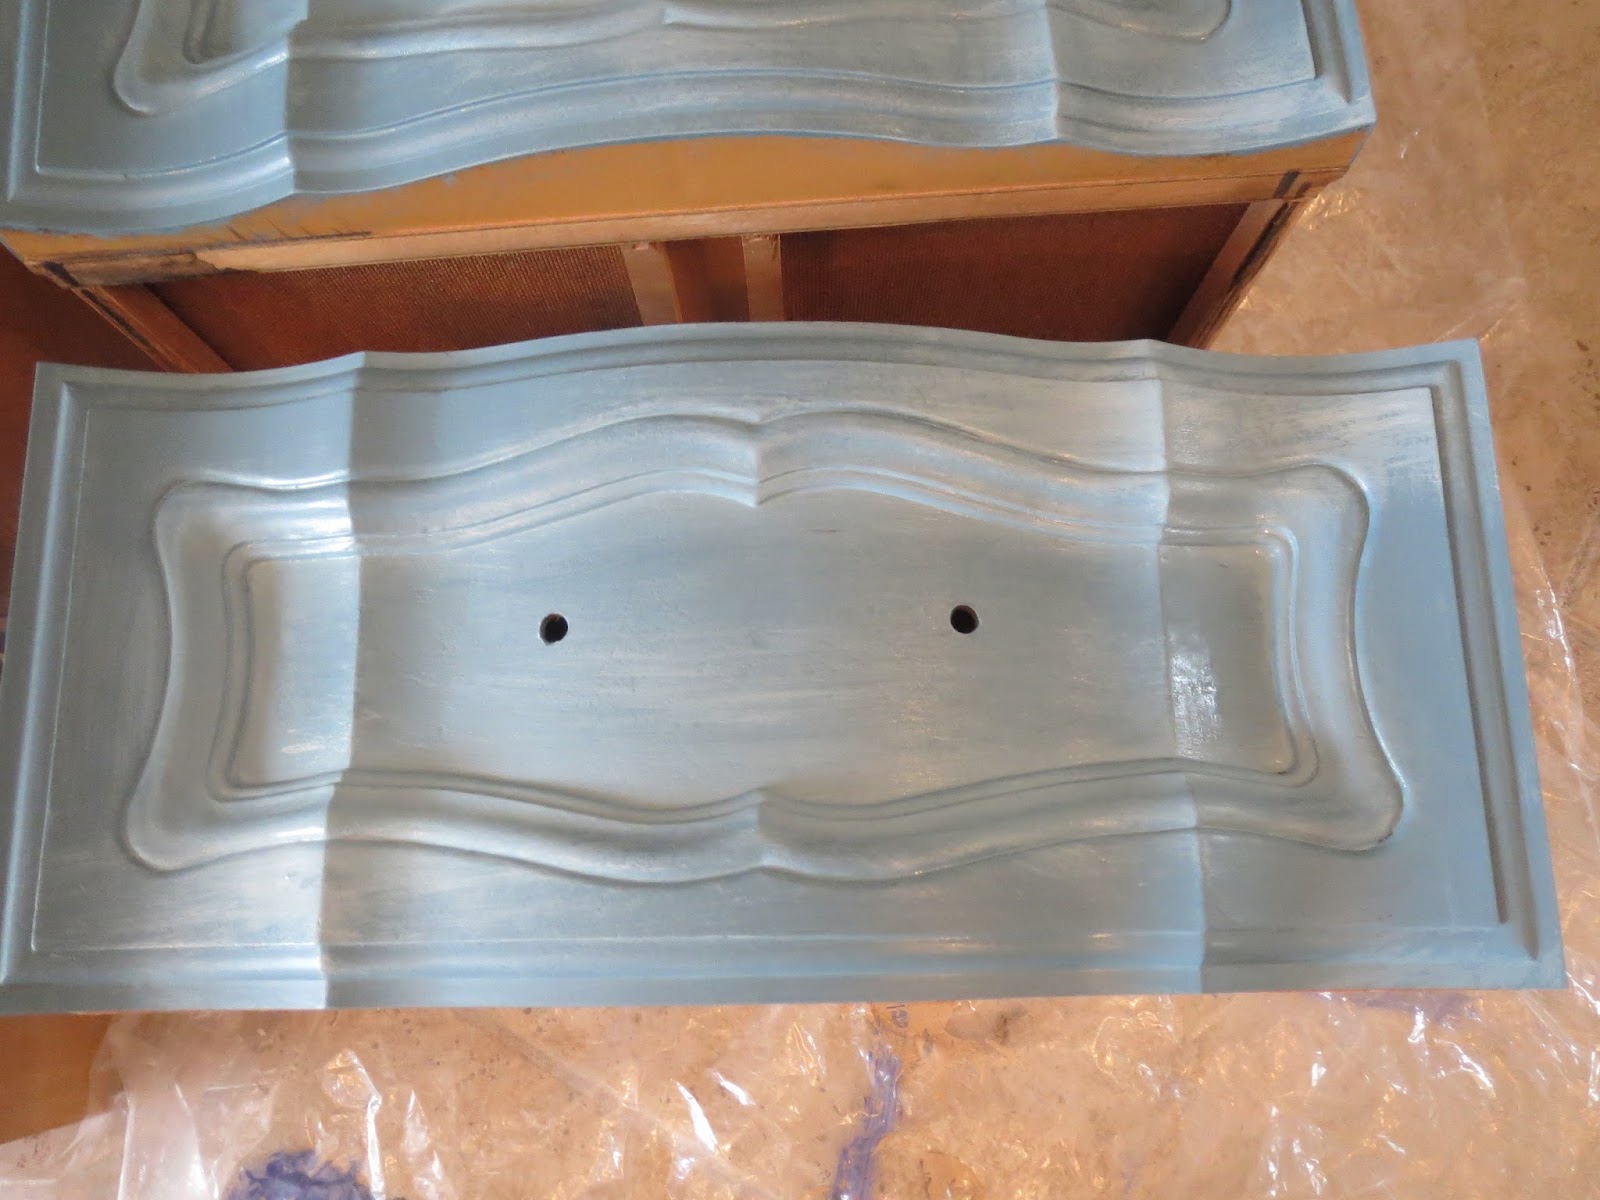
I used the lighter blue and painted all around the edges first.
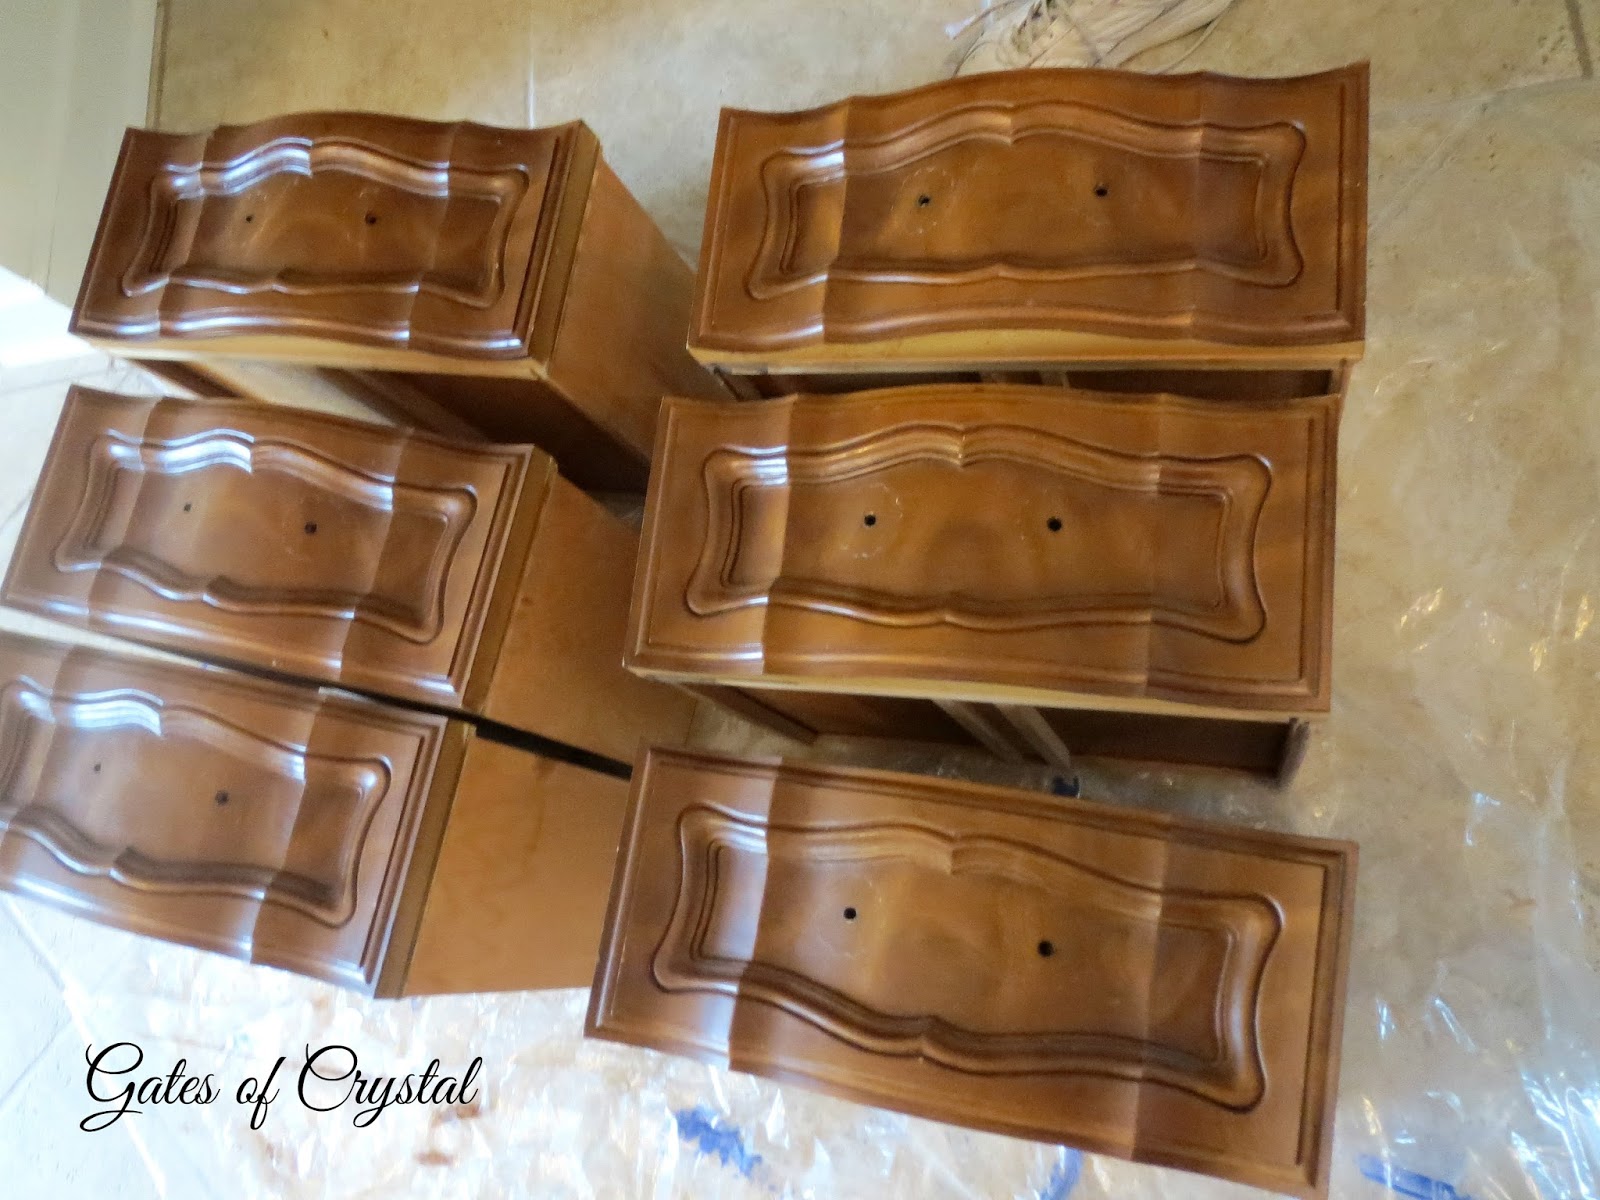
I had to put the hardware back on before I put the drawers back in. I wanted to make sure my drawers matched the body and knew they'd get stuck and I couldn't get them open without the hardware - because that had already happened earlier! lol
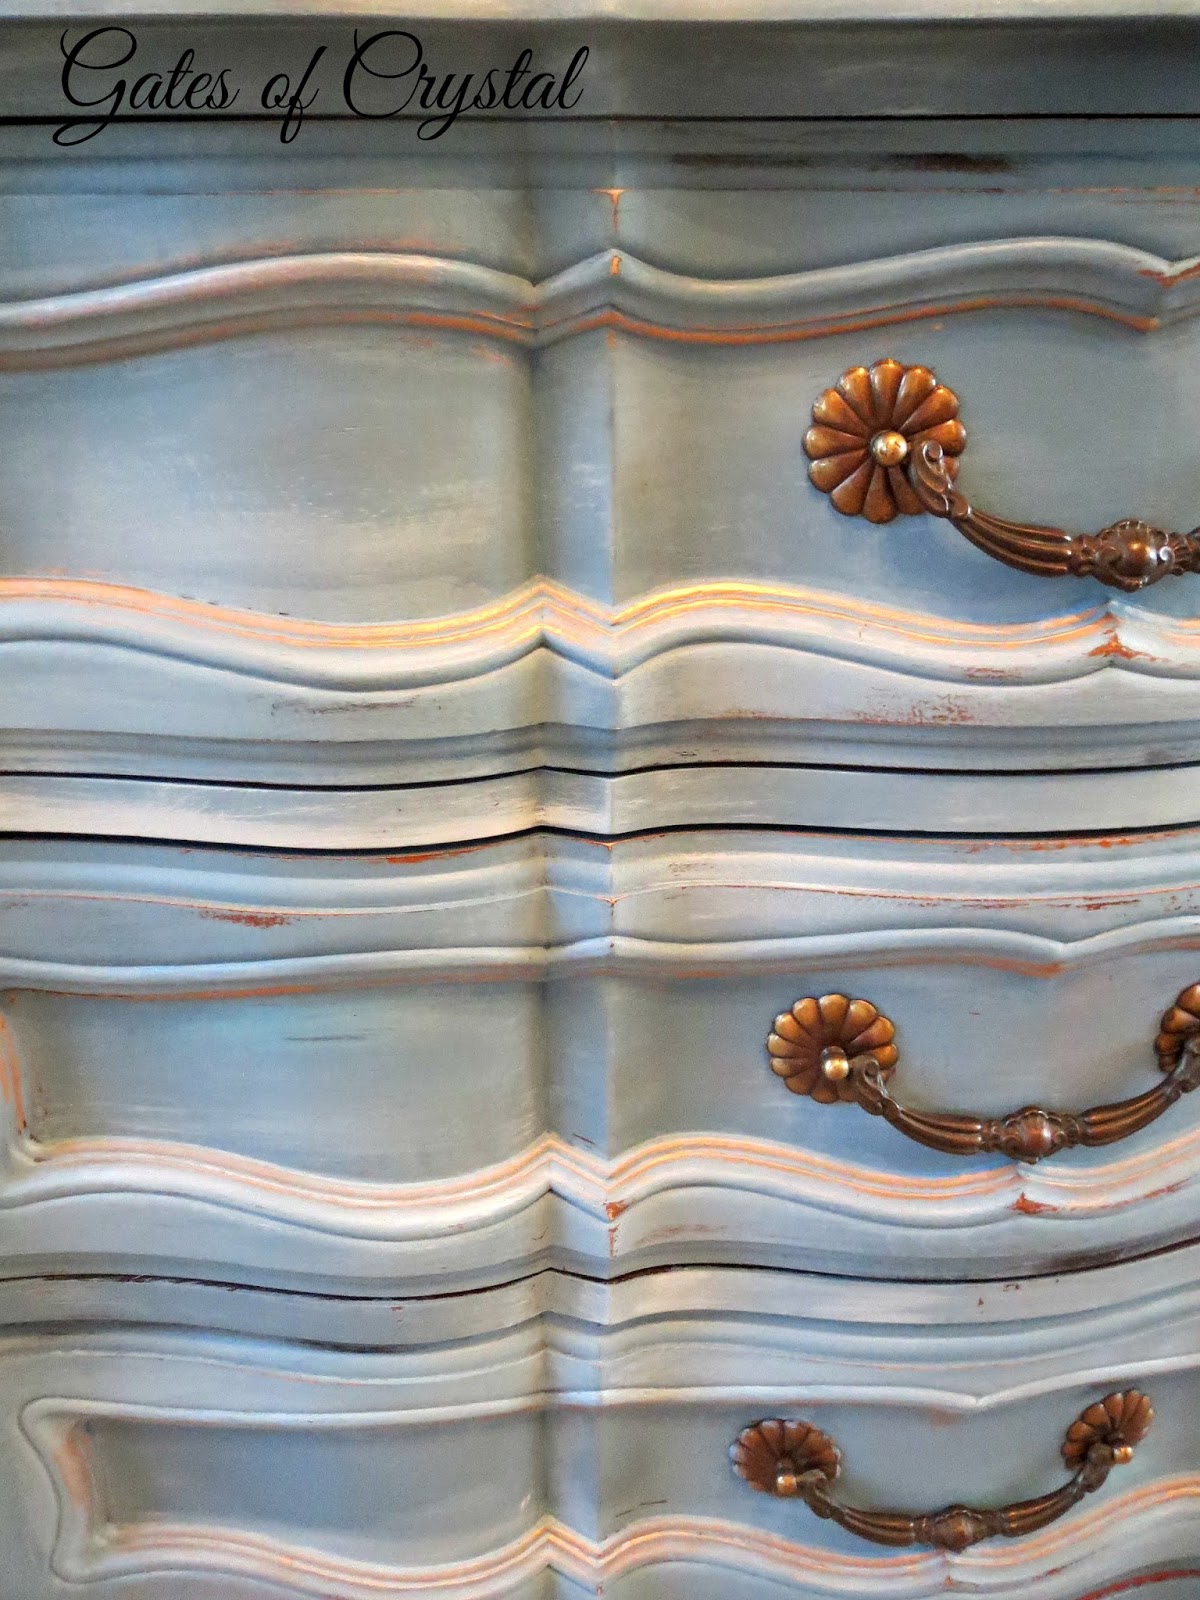
The next morning I went over the whole dresser with wax made for chalk paint that I purchased at Lowe's. When it had dried well, I applied Rub n' Buff. I have this 12 piece sample set. I haven't had it long. When I first got it, I experimented with it until I knew what to expect. It's a great product and so much fun when you're refinishing furniture! (not a sponsored post).
I used the Antique Gold and went over all the curvy edges on the drawers and on the top and bottom of the cabinet. You can also see the off-white streaks that I blended out on the top. The black streaks you're seeing is Rub n' Buff Ebony.
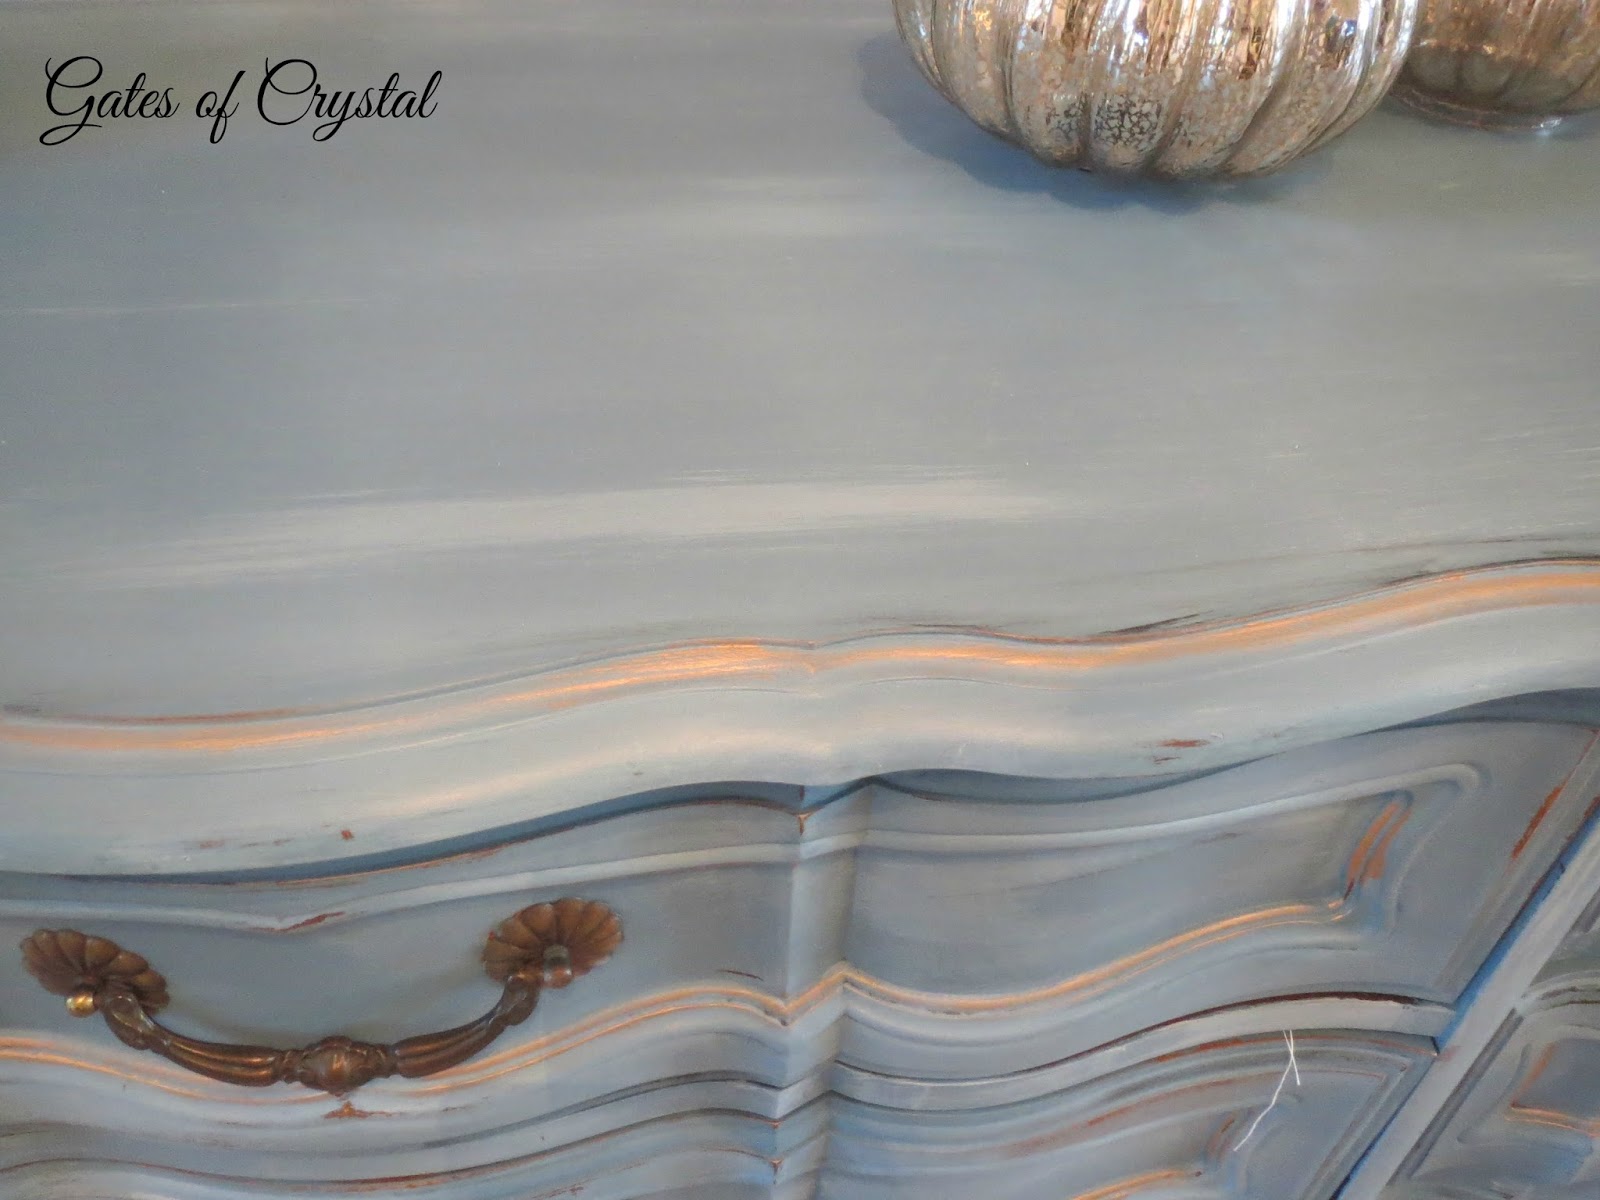
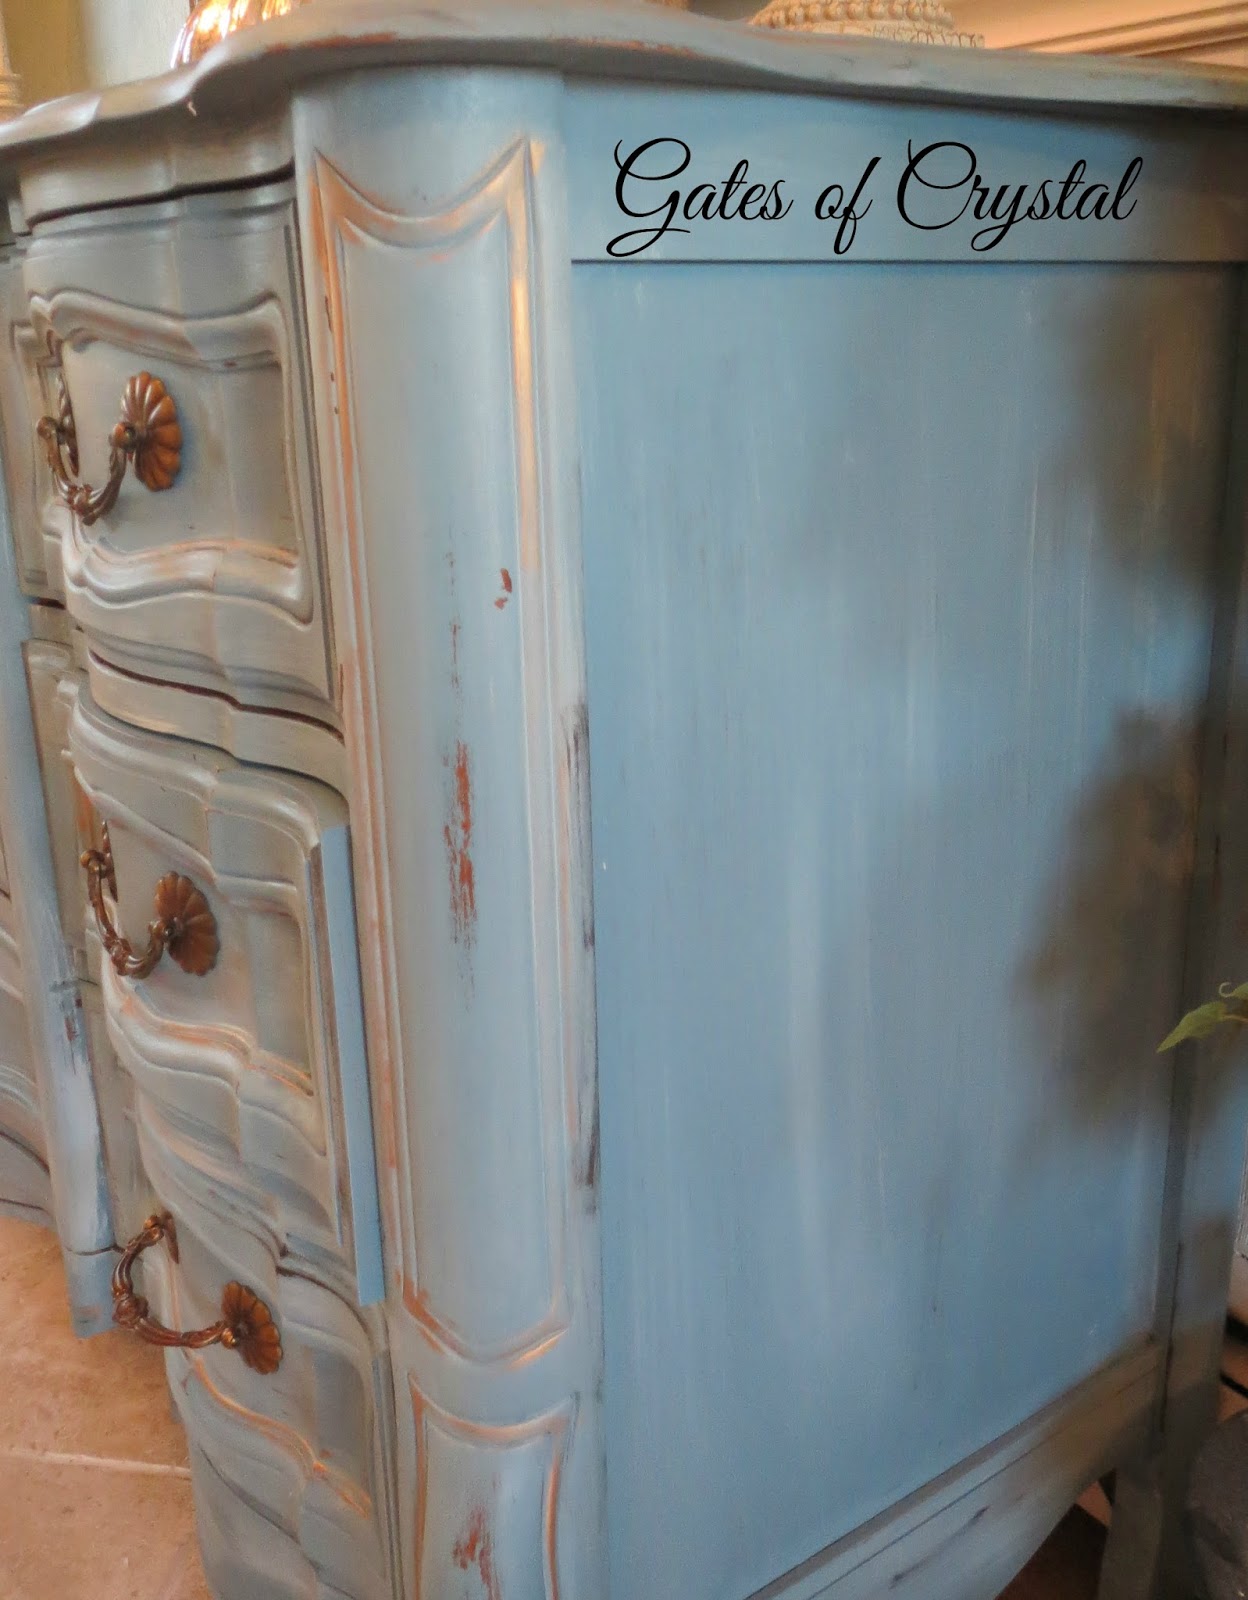
The hardware already had an antiqued gold finish and I didn't do anything to it.
When I first put the dresser in the room my daughter wasn't sure she liked it. She walked in again the day after I had painted it and loved it! Painting it made all the difference!
I'm always surprised how quickly chalk paint dries. I waxed the top heavily as everyone who comes into our home drops whatever they have here (on my previous table.) But the nice thing is the finish is very imperfect and any changes from guests would probably not be noticeable!
If I've left anything out, please feel free to ask questions. I'm not an expert by any means but will be happy to tell you what I did.
Have a wonderful weekend!
love and blessings~

I'm joining these great parties:
oursouthernhomesc
dwellings-theheartofyourhome
thoughtsfromalice
lifeonlakeshoredrive
coastalcharm
astrollthrulife
stonegableblog
thriftydecorchick
diybydesign.
savvysouthernstyle