Home & Garden, Tips & How To

A New Barn Door in the Master Bedroom

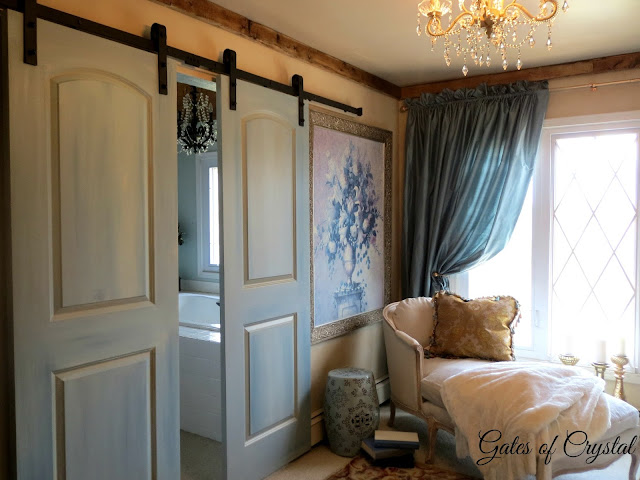
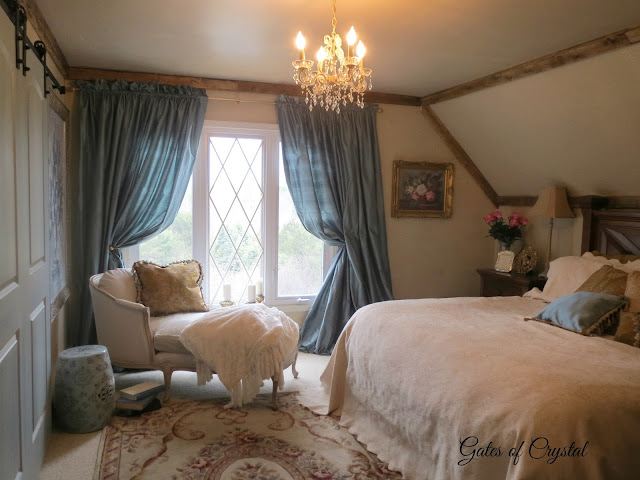
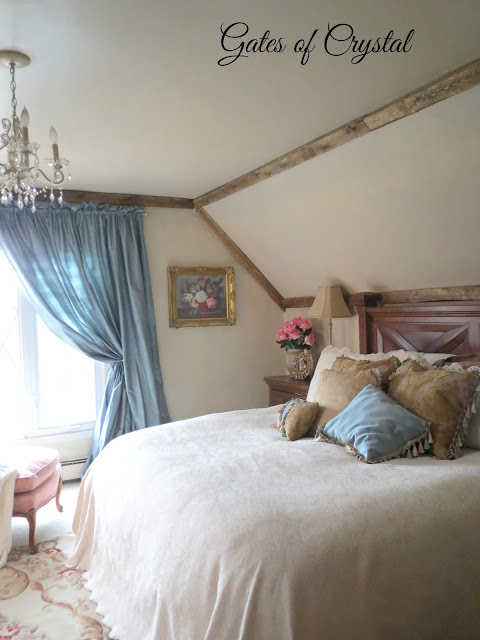
Our master bedroom make over is done except a few little details and we are enjoying the changes! The last big item was getting our barn door hung and we can finally mark that off the list.

We've never had doors on this opening between our bedroom and bath and in reality, we don't really need them but we've always liked the look of barn doors and this was a perfect place.

They were a challenge to get hung but it was more our situation than a problem with the hardware.  As you can imagine, these metal pieces are heavy-duty and add the weight of the doors and you need to be sure everything is securely hung. The tract had pre-drilled holes to hang it on the wall but these holes did not line up with the studs in the wall. The molly bolts that came with the hardware set would not stay set - they twirled when we tried to put the bolts in.
In an effort to make a long story short, we made several trips to the store getting new molly bolts, new screws, trying to fix the molly bolts into the wall, etc. We finally gave up and attached a board to the wall under the tract. And that worked!

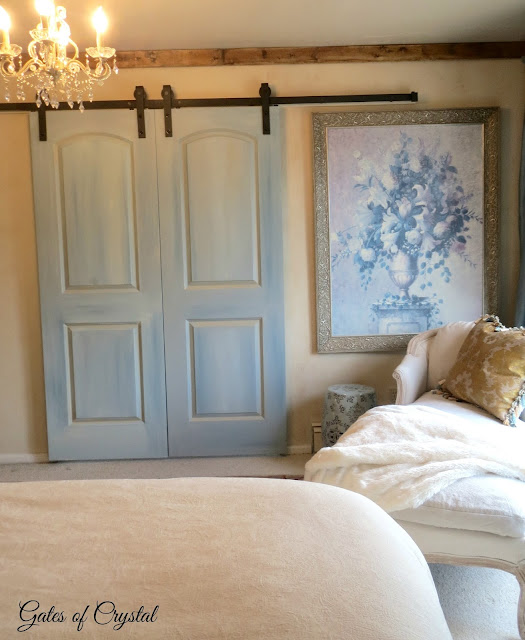
I still need to find picture hangers for this large piece of art that are flatter to the wall.  The ones we have now are causing the picture to stick out too far for the door to open all the way but I think when I change that, it will.

I bought these doors at Menard's. I would have loved to have had antique doors with some wonderful details but I like these. They're just regular 28 1/2" doors without the predrilled holes. I like them so much that I wish we had found this style when we replaced all the doors in our house but these are a fun difference. These doors are hollow. The solid doors were a lot more expensive but also a lot heavier. Mark added reinforcements to each door where the hardware was attached.

I painted them with SW Rain with a tiny bit of black added to the paint to make the color a little grayer. Then I added a deeper blue in places and blended it out. I had a mix of SW Deer Valley mixed with a little gold glaze from another project and I painted that into the details and blended it out.

When I was done, the color coordinated well with our new draperies.

We got our hardware from Amazon. It came very quickly and it's a good solid quality. Straight-Rustic-Double-Sliding-Hardware.   I would give it 4 stars instead of 5. The holes that were predrilled in all the pieces were not evenly spaced so the first time we put everything on the doors, they were uneven. In other words, the uneven holes caused the doors to hang crookedly. We had to mark where each hole should go and redo it to make everything plumb.


Here's a before picture to remind you. I liked this but it wasn't really my style - I got too influenced by what was popular right now.  Here are the links to my past posts on this room makeover.

Update on Our Master Bedroom

Making Pillows for the Master Bedroom

Beams In the Bedroom


Oh! and in case you're wondering, nothing's happened in our master bathroom yet. In fact, I'm waiting on the contractor to get back to me again. We have had him come out and measure, we've picked our tile, and now we're waiting on an estimate.
Our Master Bathroom

I've been busy 'tweaking' lots of things in our house lately.I also got some new dining room chairs a couple of weeks ago and have refinished them. I'll be back soon to show them to you!


love and blessings~
"Behold, I will set your stones in turquoise, and your foundations I will lay in sapphires. I will make your summits of rubies and your gates of crystal, and your entire wall of precious stones."
Isaiah 54:11,12
Sources:
Bedspread and shams - Overstock.com
curtain fabric, pillow fabric and tassel fringe - warehousefabrics.com
rug - QVC, Royal Palace about 12 years ago
French chaise - second hand
doors - Menards
barn door track - Amazon


Standard
Home & Garden, Tips & How To

Mixing Rustic with Romance

I'm so sorry to be gone for so long!

My husband and I made a trip to Auburn, Alabama last week. Mark got his Ph.D. there and worked for the Mises Institute. He makes a trip back every year and I often go with him. We had a great time visiting old friends and enjoying the beautiful weather. Then we returned to Michigan and 16 degrees and snow!

We were exhausted from our trip and woke up the next day with bad colds. So I have been recouping.

And painting!

I don't know what's happened but I am suddenly looking at everything and asking myself if it's the way I want it. French Country has been my style for a long time but there are so many different and beautiful ways to do it that no two house have to look the same.  About 3-4 years ago, I dramatically changed our decor and went from reds and yellows and lots of prints to a more simple style with lots of white and lots of rustic.

This is our family room about five years ago. I wasn't blogging then.

 It's hard to believe this is the same room! It was so much more formal and a little English Country. The walls were a yellow/gold and so were the draperies. This is the same couch - I've since slip covered it in an off-white.
You can see the rug that now lives in the living room here. These chairs were in our living room too for a while, but I had slip covered them in white. I've since given them to our daughter.

You can see I loved blue and white even then and I actually loved it with the yellow and red florals.
I would change things from time to time but kept this color scheme for almost a decade.
I was getting tired of this but I didn't know what I wanted to do. And then one day, I walked into a Pottery Barn in Grand Rapids and fell in love!

What I loved about the Pottery Barn store was the mix of fresh white couches and chairs with rustic wood, barn doors and sturdy, farmhouse tables. (I don't know why I bothered to say that because we ALL love that - right?!) But, Pottery Barn is not quite blingy enough for me and needs a little more romance.

So I've been figuring out, for the last three years, how to mix the two gracefully. And incorporate the new, fresh color scheme.

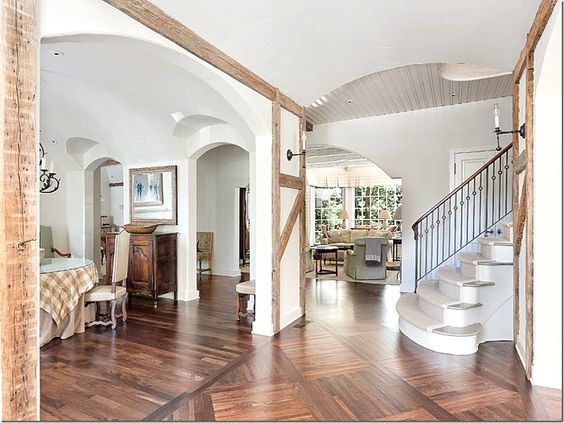
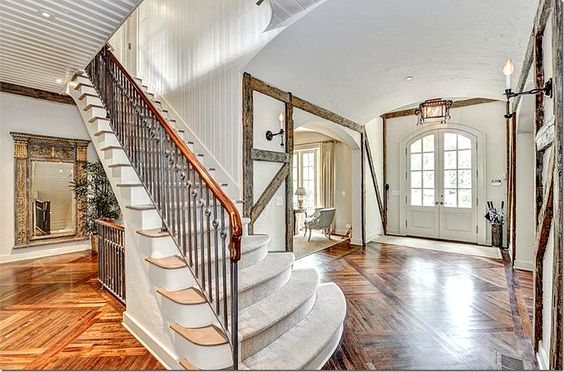
When Miss Mustard Seed posted these beautiful pictures, I fell in love.  I pinned them and stared and realized how much I loved the color of the wood. And then figured out that I hadn't combined enough 'rustic' into my 'romance'!


We just replaced all of our doors in our house - we still have a few more to do. Our former doors were very eighties. They were super heavy and solid but were a plain surface with an oak finish and brass 80's hardware. At the time I thought I wanted the classic look of all white trim and white doors. But when I saw these pics, I knew it was the perfect way to tie everything together.

Then Joni at CotedeTexas posted these beautiful photos and I was swooning all over again.


These are the photos that inspired our master bedroom 'boards.'

So I've been painting doors to give them this wood look and we've been adding beams and boards to add 'rustic' to our 'romance.'

We finally got our barn doors up and I will show them to you soon.  Between sitting down and trying to get rid of this cold I've been taking stock and doing lots of tweaking. And lots of painting. And some rearranging.

I hope to have lots to show you soon!

love and blessings~

"Behold, I will set your stones in turquoise, and your foundations I will lay in sapphires. I will make your summits of rubies and your gates of crystal, and your entire wall of precious stones."
Isaiah 54:11,12

I'm joining these parties:
poofingthepillows
share-it-one-more-time
lifeonlakeshoredrive
coastalcharm
betweennapsontheporch
myuncommonsliceofsuburbia
stonegableblog
astrollthrulife
cozylittlehouse
wow-us-wednesdays
share-your-style-61

Standard
Home & Garden, Tips & How To

A Garden Gate

Happy Good Friday!

It's not looking much like Spring here today. We got several inches of snow the last two days and then it added a layer of freezing rain. I kept looking out the window yesterday because you could hear a constant cracking and breaking as small branches fell from the trees and every once in a while there was a 'whamp' and a 'thump' as a big branch hit the ground.

This morning it looks more like Christmas than Easter!

This wall 'gate' used to sit on our plant shelf in the family room.  I bought it on clearance at HobbyLobby a couple of years ago and it's been several place in our house over the years.
It used to be black but recently I painted it with chalk paint to match this little chest and put it above it to balance the desk at the other end of the room.  You can see how I painted this chest here.

This has always been kind of an odd little spot in our house.  It's a hallway that leads from the entry to the living room. It's also right at the bottom of the stairs. It's too small a spot for a very big piece of furniture and so once I put this little chest here, I've never changed it.
But every once in a while, I change what's above it.
I love this French sign. I got it at HomeGoods a couple of years ago and it's been hanging in the hallway to the kitchen. We've recently made some changes in that hallway and I thought it would be fun to move this sign to a more obvious spot. It had a kind of apple green color on the wood trim around the sign and I painted it a dull tan/brown before I moved it.

Some silk delphinium give another pop of color.
I've had this lattice fabric for a couple of years now. I bought it originally to make slipcovers for our dining room chairs. I got it out this week and I'm thinking I'll either go ahead and make the chair slips or use it in the living room. I love anything 'lattice' and this fabric is so fresh and pretty!

And lattice and summer flowers go perfectly together!

Have a wonderful Easter as we celebrate the life, death and resurrection of Jesus! May we celebrate His life every single day of the year! Jesus is the Lord of lord and the King of kings and I am forever grateful for His sacrifice of love!

love and blessings~


"Behold, I will set your stones in turquoise, and your foundations I will lay in sapphires. I will make your summits of rubies and your gates of crystal, and your entire wall of precious stones."
Isaiah 54:11,12
Standard
Home & Garden, Tips & How To

Our New Chaise Makeover

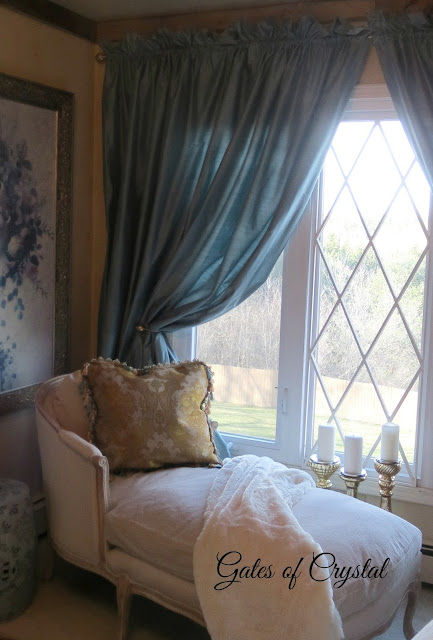
I bought this French chaise from a photography studio here in town. It had never been in a home and was used only for photographs so it was in perfect condition. I have always wanted one of these and was thrilled when I saw it for sale. 


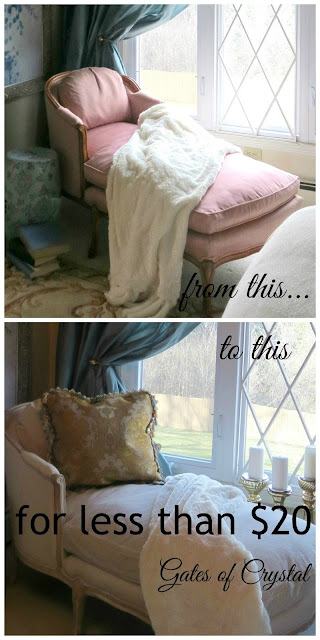
When you last saw it, it looked like this. And even though it was perfect, I didn't want to leave it pink.

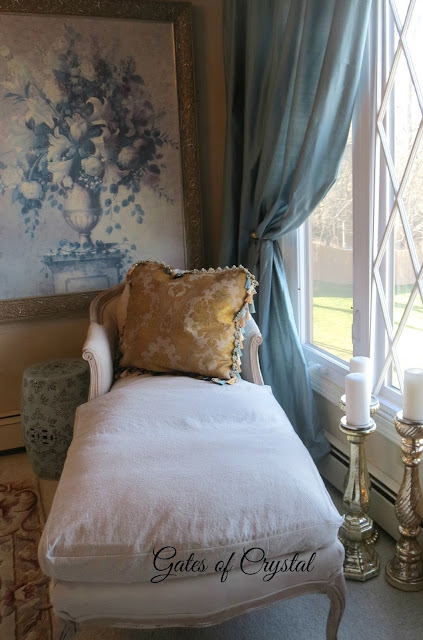
So, I painted the upholstery and the wood frame with chalk paint and covered the cushions with drop cloths. I used the same methods I used on these chairs. (The secret is to sand the fabric after you paint it!) I liked the way they turned out and nobody has ever suspected that the fabric was painted. I used the same colors on this chaise.

And I covered the cushions with drop cloths using the same steps I used for slip covering my couch.
How to Make a Slip Cover - Part Two

This makeover was free - I already had the paint and the drop cloth but you could buy enough paint and a drop cloth for less than $20.

This chaise is super comfy! My son was here for a visit and when he spotted this, he immediately flopped down on it and looked out the window.  And that's what I do, too!
We're almost done with our bedroom makeover. You can see the edge of the track for the barn door in this picture. My husband has worked and worked to get it up. The end screws don't hit a stud and he's had to change the molly bolts several times to try to get it securely on the wall.

He made another trip to the store this weekend for more bolts and hopefully he'll get it figured out this week. In the meantime, he's been working on putting rustic wood all around our house. I'm excited to show it to you when we get it done.


Find out how I made this pillow here: Making Pillows for the Master Bedroom and our progress on our master bedroom here.

Have a wonderful week!

love and blessings~

"Behold, I will set your stones in turquoise, and your foundations I will lay in sapphires. I will make your summits of rubies and your gates of crystal, and your entire wall of precious stones."
Isaiah 54:11,12

I'm joining these linky parties:
thoughts-of-home-on-thursday
diy-collective-no-12
Rattlebridge Farm


Standard
Home & Garden, Tips & How To

Happy Spring!

Don't you just love Spring! I know I do!

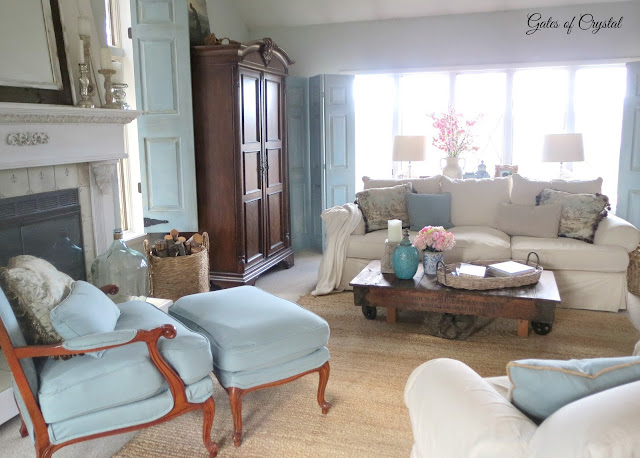
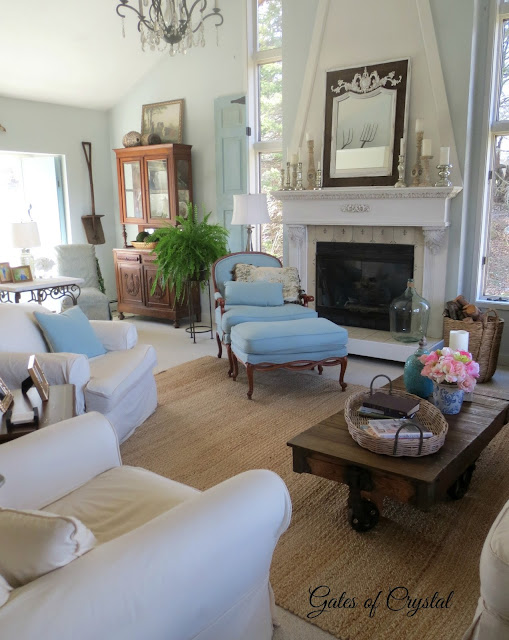
We've had some really mild weather here in Michigan but we all know that warm weather is probably a good month away. So, I've decided to pay more attention to the calendar than the weather report and add some Spring to our family room.

I haven't made any big changes in here for a while.  We're adding some rustic touches with wood trim and beams in some of the house and I think I'll soon do the same in here.
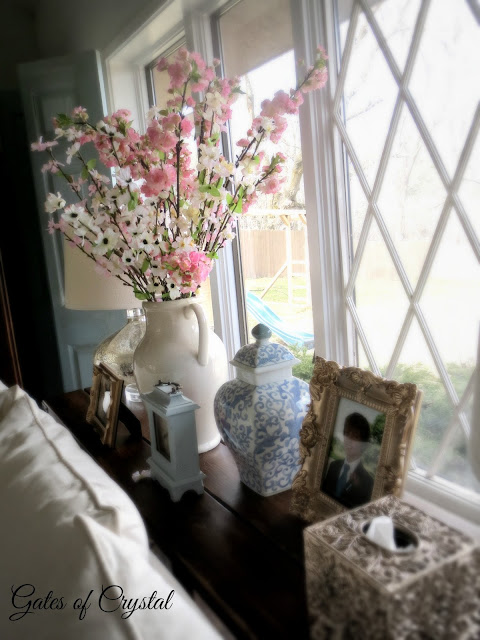
But to celebrate Spring, I've added some pink blooms.

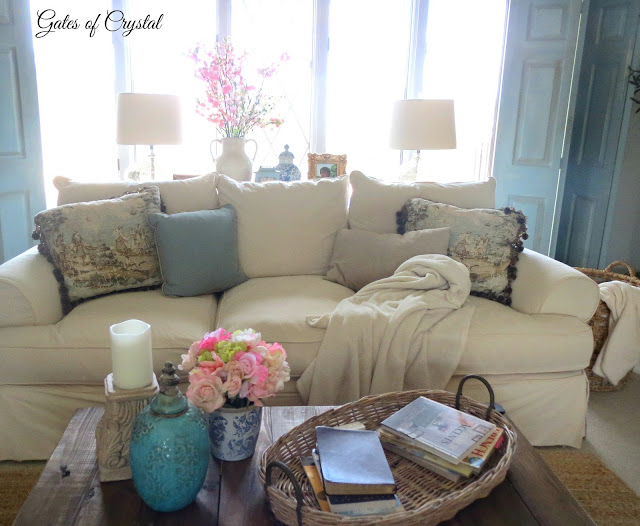
A Spring mix on the coffee table and some cherry blossoms behind the couch add just a soft touch of color.
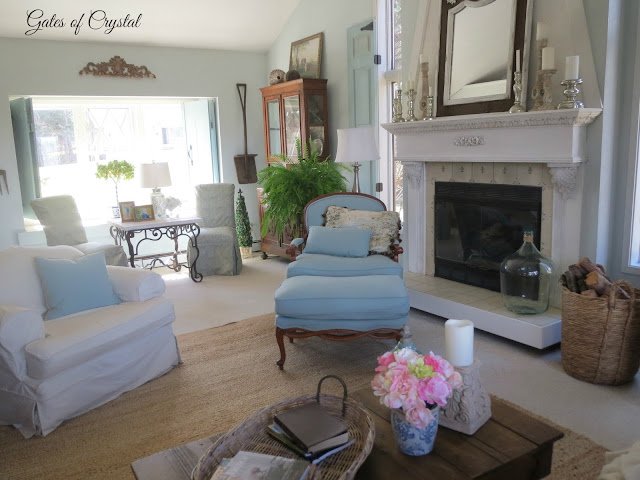
I bought this ginger jar at HomeGoods. It's a lighter blue than my other blue and white and I love it in here. Because it's lighter, it doesn't seem to be quite so formal and traditional so it's perfect in our casual family room.
I had gotten influenced by how popular silver was recently but gold has always been my favorite so I changed all my picture frames and accents back to gold all around our house.


I found this little pot at HobbyLobby. It's kind of rustic finish. There were a couple of different shapes and sizes and I bought a couple for the deck this summer.


We're supposed to get snow later this week so I'm enjoying the sun today. Have a wonderful week!

love and blessings~
"Behold, I will set your stones in turquoise, and your foundations I will lay in sapphires. I will make your summits of rubies and your gates of crystal, and your entire wall of precious stones."
Isaiah 54:11,12
Standard
Home & Garden, Tips & How To

Making Pillows for the Master Bedroom

We had beautiful weather here over Spring Break. We didn't go anywhere because my husband had recently returned from an Economics Conference and has another one coming up soon.  So we spent the week with our family and working on a few small projects around the house.

We almost have our barn door up.  We ran into a few snags but are working them out and should have it up this week. I can't wait!

So, in the meantime, I've worked on some other small things. I don't usually buy throw pillows very often. Every once in a while I'll find something I really like and buy it but usually I'd rather make mine out of whatever fabric I'm using in my room.

I ordered this gold damask fabric along with the tassel fringe when I ordered the blue damask. I canceled the blue when the company notified me that they required a minimum order of five yards. I couldn't use all five yards and I didn't want to spend that much money. I had ordered this gold fabric, thinking I would use it too, but when it came I decided to make all my pillows from it.

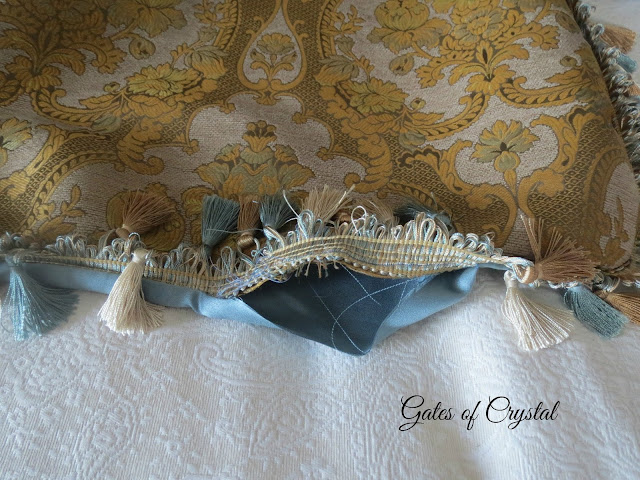
The blue in this fabric is very subtle but the tassel fringe had all three of the colors of the fabric and was perfect to tie everything together.
The links are at the end of the post for the fabrics and fringe.

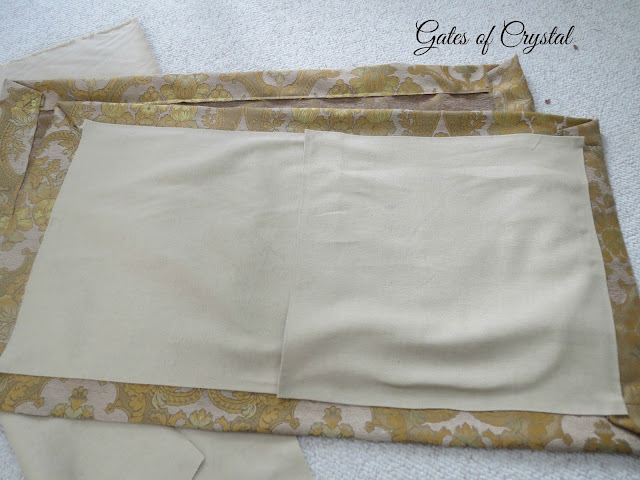
I first made two big shams out of the damask. I measured my fabric up against a king-sized pillow and cut it out with enough to fold over.
I sewed this all around. I then cut out two pieces for the back of the sham.  I didn't want to use up my damask so I used a tan fabric that I already had.  Plus, this damask is so heavy that putting two layers together would be too much.  If you're interested in purchasing this fabric, it was great for these pillows but it's the heaviest fabric I've ever used. My sewing machine would not go through these corners and edges of this back fabric. I would not try to use it for a slip cover. It's upholstery weight. It doesn't fold...it bends.  lol
I made an envelope opening on the back of this sham and then inserted my pillow.  I didn't worry about centering my pattern on the pillow because I knew I was going to tuck it behind the bedspread shams. Otherwise, you want to center your pattern on your pillow.
I also made two large square pillows with my blue fabric on the back and the gold damask on the front.

I backed both of these pillows with the bluestone polyester.  This gives me the option of flipping them over and having more blue on the bed. After I put them together, I stuffed them all with polyfil and hand-stitched the openings closed.

This little one I made with what fabric I had left after all the others. I would have liked it to be a little larger but this is all the gold damask fabric I had left.  If you're wanting to make these same pillows and want this one to be bigger, you'll need to order more than 2 yards.

I made one small square pillow with blue on both sides.

The large shams are tucked behind the shams that came with the spread.  The gold pillow in the middle was one I already had (ready-made). It has small fleur-de-lis in the fabric.

I got my French chaise painted and reupholstered today. It needs a pillow. I probably am going to have to make some more! lol

If you're on Spring Break this week, I hope you have a wonderful time!

love and blessings~
"Behold, I will set your stones in turquoise, and your foundations I will lay in sapphires. I will make your summits of rubies and your gates of crystal, and your entire wall of precious stones."
Isaiah 54:11,12


Pentex Antique Gold Damask Fabric - 2 yards
Bluestone Polyester - 1 yard
Blue Tassel Fringe - 7 yards

I'm joining these linky parties:
stonegableblog


Standard
Home & Garden, Tips & How To

Beams in the Bedroom

Hi All!

Our master bedroom is almost finished.  My husband's been on Spring Break this week and we actually had a lot of fun yesterday getting our 'beams' up.  And we're both loving this change!
I have always loved the slant of our ceiling and when I suggested that we do this project, my husband liked the idea too.

We purchased 12 8 ft long, 2x4's of rustic white pine. We purposely picked imperfect boards for this project; ones that had lots of knots and even imperfect edges. I stained them with MinWax Weathered Oak and a little bit of MinWax Aged Oak Gel Stain ahead of time and gave them plenty of drying time.

Be sure to do this in a well ventilated area. The stain has a strong smell and it takes a few days before it goes away. It gives me a headache and I wanted to wait until it was gone before we put these in our bedroom.

The Weathered Oak definitely has a gray tone to it and the Aged Oak is more the color of our furniture.  I think I may use less of the Aged Oak if we do in this other rooms of our house.

This was a very straight forward project and easy to do.  We cut the two boards that follow the slant first. They were the only cuts that had an angle. All the rest of board had straight cuts.

We may add some decorative metal pieces to some of our seams but they're really not very noticeable. This is probably our most noticeable seam - right above the bed.  There were not studs in this area to really get the board on tight so one is slightly twisted.

If you saw my last post on our bedroom, I had ordered fabric for pillows but received notice that I had to order five yards.  I cancelled the order. I had already ordered this gold damask as another fabric that I was going to use, and when it arrived I really liked it and decided to make the pillows out of it instead. I'll post a pillow tutorial soon.


I found this French chaise right here in town. A local photography studio was selling it. They'd been using it just for pictures. It's in perfect condition although I don't plan on leaving it this color. It's a solid piece of furniture and very comfortable. This is now my new favorite spot to read.

I have a Pinterest board where I save ideas for reupholstering furniture and think I'll probably make the wood a distressed white and recover the chaise in an off white French linen.


We had taken down our chandelier during this project so I cleaned it and replaced some crystals that were amber with clear crystals.

I hung our mirror above the dresser and added a decorative piece above it. I'm not sure I love it so this may get tweaked a bit.
We bought two 28" wide doors for our opening to our bathroom.  We've never had a door there but loved the idea of barn door here. I painted the doors a soft gray/blue and they're ready to hang. We're hoping to get that done tomorrow.

You can also see my wall treatment a little bit in this picture. I've not been able to get a good picture of it. I will also try to do a tutorial on it soon. I used two colors of paint to mimic Venetian plaster.
So we have a few more things to do and this project is finished.
We are still trying to get estimates on redoing our master bathroom and once that project is done, we're planning on replacing our upstairs carpet, including this room.

I'll be back soon with tutorials on the pillows I made, the wall paint treatment, and painting and hanging the barn doors.

love and blessings~

"Behold, I will set your stones in turquoise, and your foundations I will lay in sapphires. I will make your summits of rubies and your gates of crystal, and your entire wall of precious stones."
Isaiah 54:11,12
Sources:
Bedspread and shams - Overstock.com
curtain fabric, pillow fabric and tassel fringe - warehousefabrics.com
rug - QVC, Royal Palace about 12 years ago
French chaise - second hand


Standard
Home & Garden, Tips & How To

A Ballerina Bedroom and Tutu Bedskirt Tutorial

My daughter, Laura, and her husband bought their house about a year and half ago.  They have done so much to make it their own and it's really a beautiful home now.  My husband and I have had a lot of fun on several Saturdays helping them with projects.

Their daughter, Rhynn, is 3 1/2 and has started taking ballet lessons.  Laura teaches the class at their home school co-op.  She also started taking ballet when she was three.

Laura spotted a 'tutu bed skirt' recently and wanted my help making it.  She found this wonderful day bed last fall. It was a dark green and she transformed it with white spray paint.  It has the trundle bed underneath and will be perfect when Rhynn gets a little older and wants to have a friend spend the night.

So on our last trip to Grand Rapids, we stopped at HobbyLobby and found some fabric and tulle.

Laura cut an old bed sheet the size of the twin mattress. Rhynn and I measured from the bed frame to the floor and added an inch for the hem. (16")  I cut the pink heart fabric we purchased to make an unruffled skirt.

We used the 6" wide tulle that comes on a roll.  We bought two rolls but ended up not needing all of the second roll.  We're saving it to make a ballerina pillow with a tulle skirt.

We cut the tulle into 32" lengths, folded them in half to match the 16" bed skirt.  We then accordion folded the each piece to ruffle it up and attached it to the top of the skirt piece.
When I attached the first strip to the skirt it was a little shorter than I expected.  So I would add a little to each strip.  (16" wide skirt = 34" strips of tulle folded in half)  I just moved my strips down an inch to accommodate.

Rhynn helped fold the strips of tulle.
Because of the way the day bed is made and where it's positioned in the room, we only made a skirt for the front of the bed.
And here's a happy little dancer in a ballerina bedroom! (wearing her pink batman shirt) :)
She needed to be in every picture - lol

We found this ballerina quilt at HomeGoods.
Laura gets full credit for this bright and happy room.  I love all the jewel tones and the soft lavender walls. She offered Rhynn paint swatches when she was only two years old and Rhynn consistently picked pink and purple!  Those are Laura's old point shoes hanging on the wall.

A shelf with pink bins holds lots of stuff on the opposite wall. I found this cute wall art at HobbyLobby.
This cute giraffe chair and ottoman and the ballerina storage also came from HomeGoods.  That's a Dora the Explorer night light behind the chair but Dora was 'so last year!.' :)


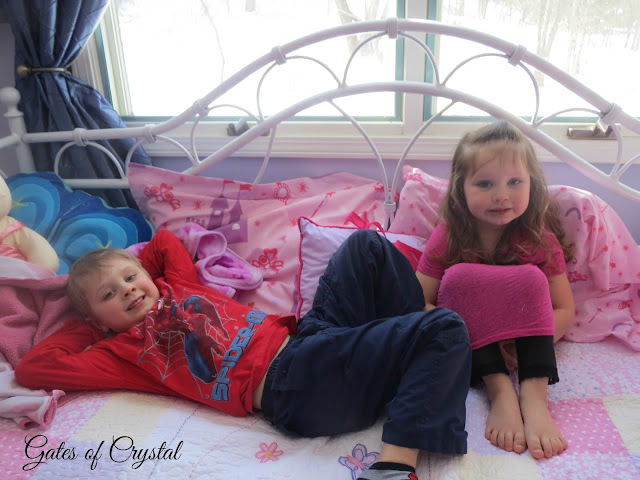
Levi also got a room makeover recently.  He turned five in January and is in love with super heroes. I'll post some pictures of his room soon.

Have a great weekend!  We woke up this morning to fresh snow and it's the start of Spring break!

love and blessings~


"Behold, I will set your stones in turquoise, and your foundations I will lay in sapphires. I will make your summits of rubies and your gates of crystal, and your entire wall of precious stones."
Isaiah 54:11,12
Sources:
day bed - second hand
ballerina quilt - HomeGoods
Ballerina shoe pillow - Meijer
curtains - I made them years ago
child's chair - HomeGoods
Ballerina storage bin - HomeGoods
Pink storage bins - HomeGoods
Jesus Loves Me wall art - HobbyLobby
lamps - I bought years ago and they're spray painted
DANCE  - HobbyLobby years ago - spray painted
ballerina bear was Laura's when she was little
wicker furniture was Laura's when she was little

Joining these linky parties:
dwellings-theheartofyourhome
shabbyfufublog
stonegableblog.

Standard