Obviously, I didn't follow her advice - but there's some truth in her statement.
There are a lot of things in our house that have been spray painted. A couple of times. My spray paint collection is pretty impressive. My husband will occasionally look at something in our house and ask me, "How many colors has THIS been?" He's a funny guy.

But this is the first time I've ever spray painted a sink.
A couple of years ago we redecorated our main floor bathroom. We spray painted all of our towel racks and hardware oiled bronze. They've held up perfectly.
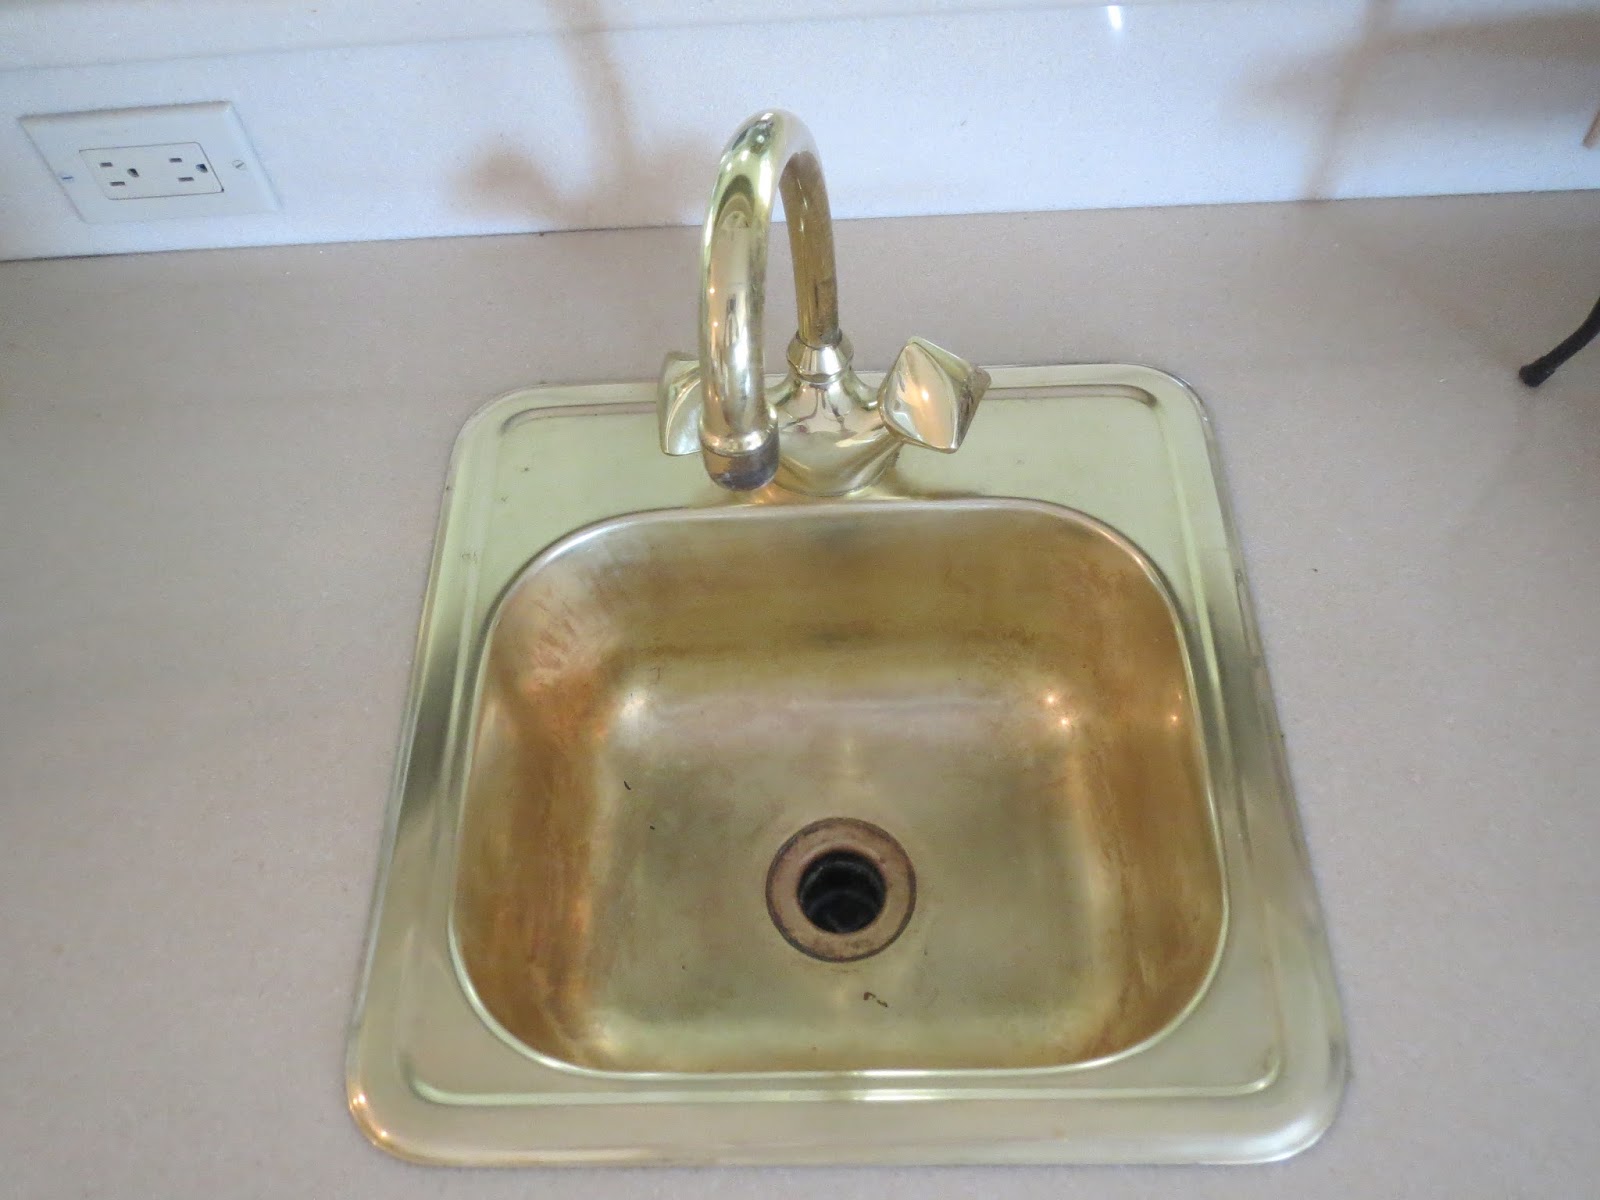
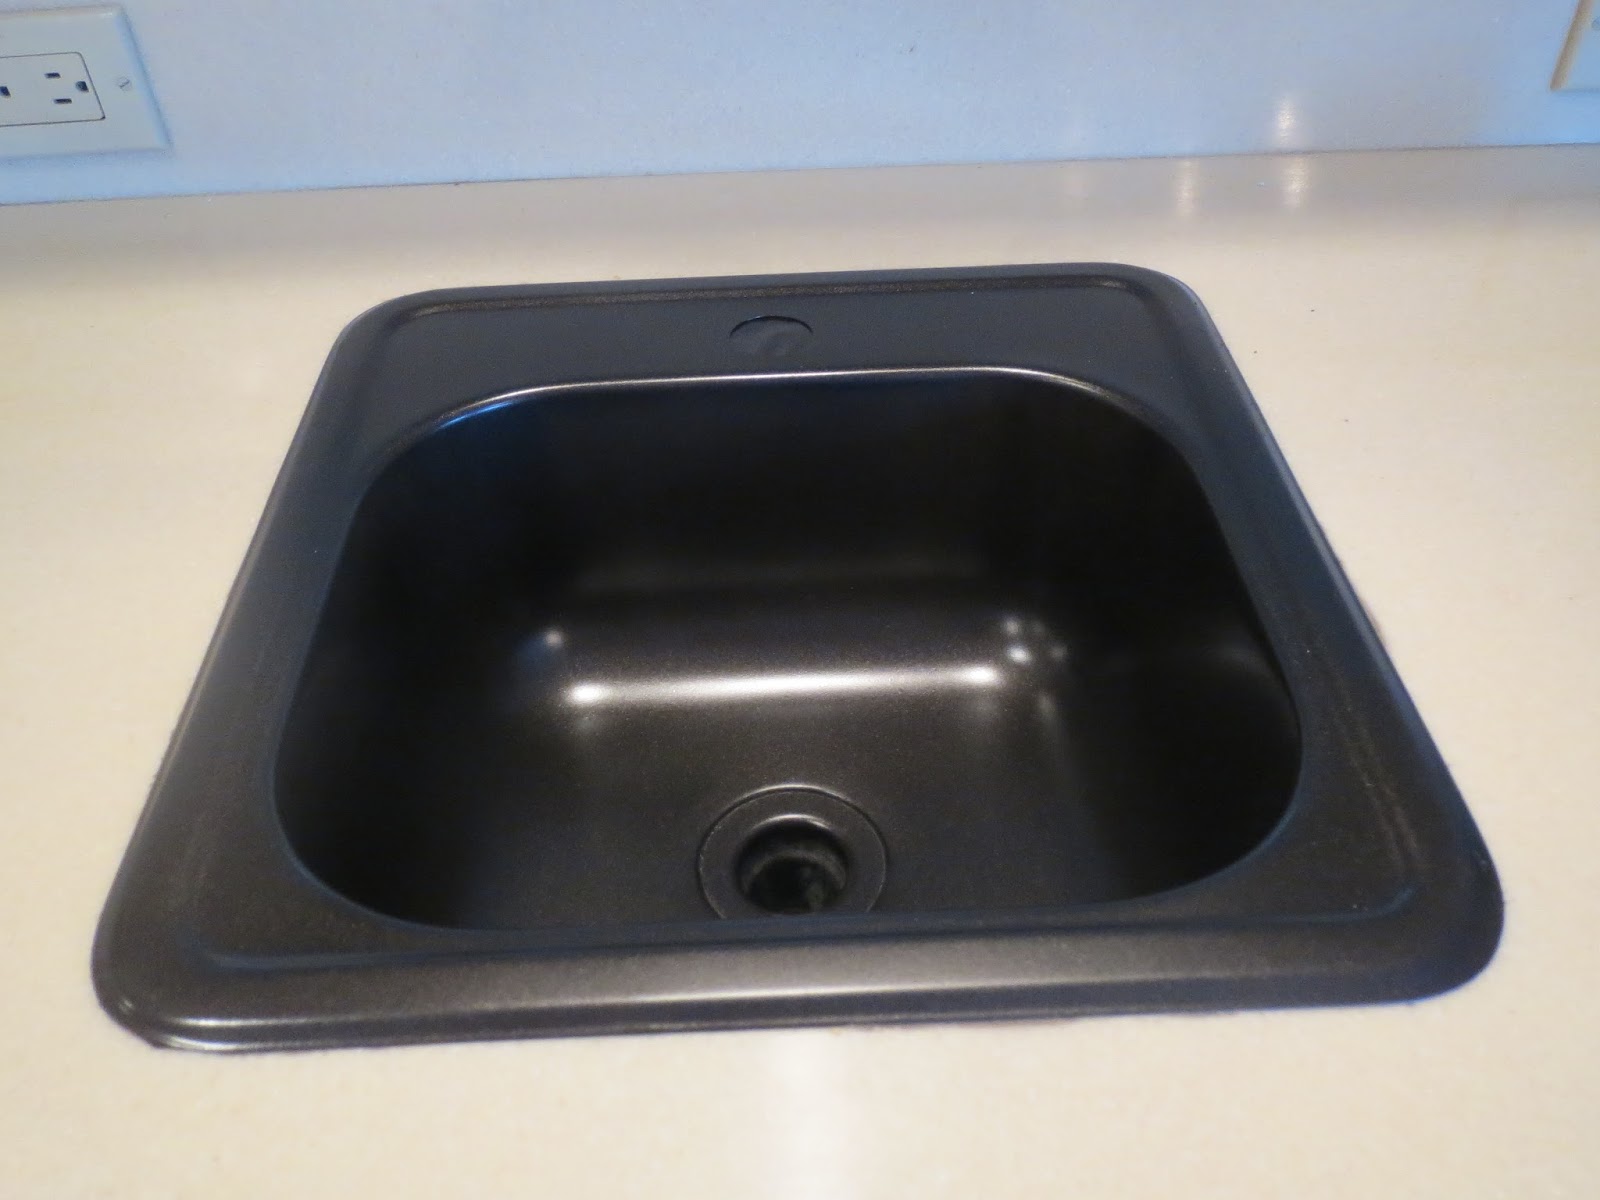
We never use this sink. It looks really shiny in this picture. I had scrubbed it for about 10 minutes. You might be able to tell that it's still not perfect. It stays shiny like this for about 3 hours. Then it tarnishes.
This area in our dining room is obviously for mixing and serving drinks and we have never used it for that in the 12 years we've lived here. I occasionally set a plant in it to water it well but otherwise...nothing. So I felt pretty confidant that it wasn't going to get a lot of wear and tear. I certainly wouldn't advise doing this with a sink you use daily.
We tried to get this sink out. Either to replace it or paint it...at the time we weren't sure which. But we soon found out that it was in there for good. So I went to Plan B.
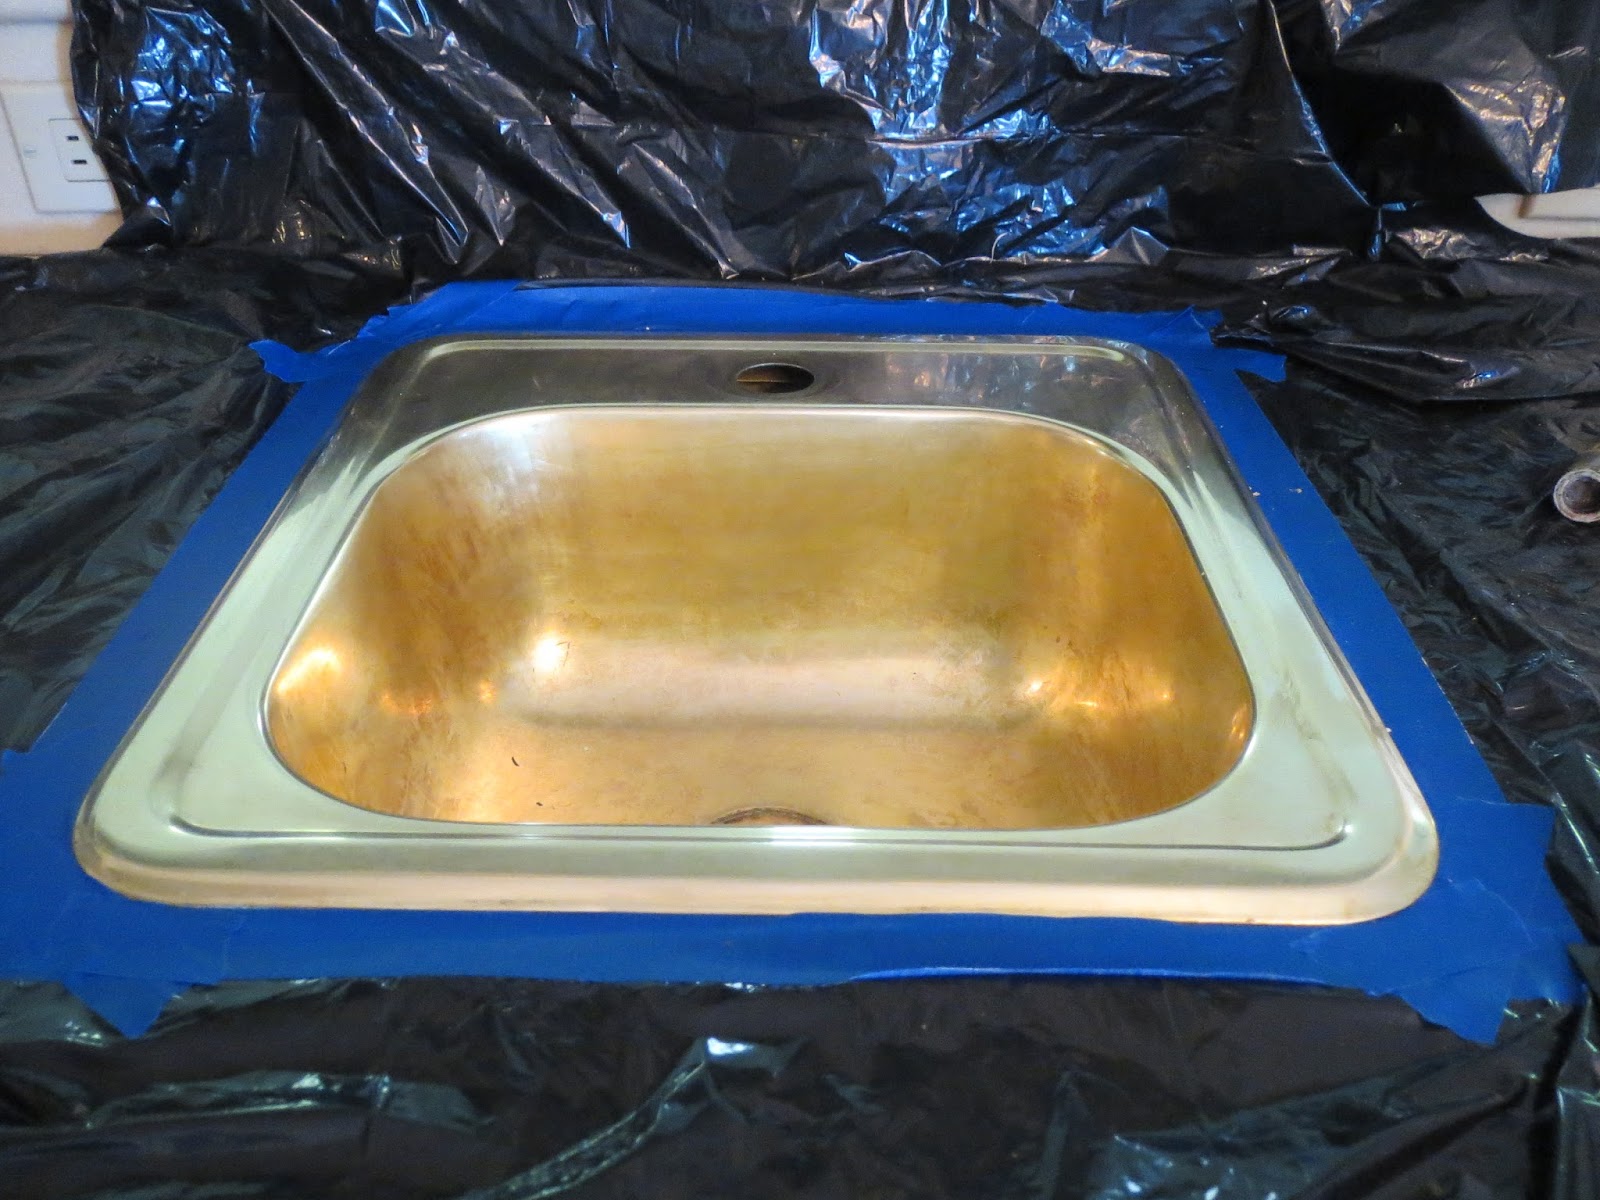
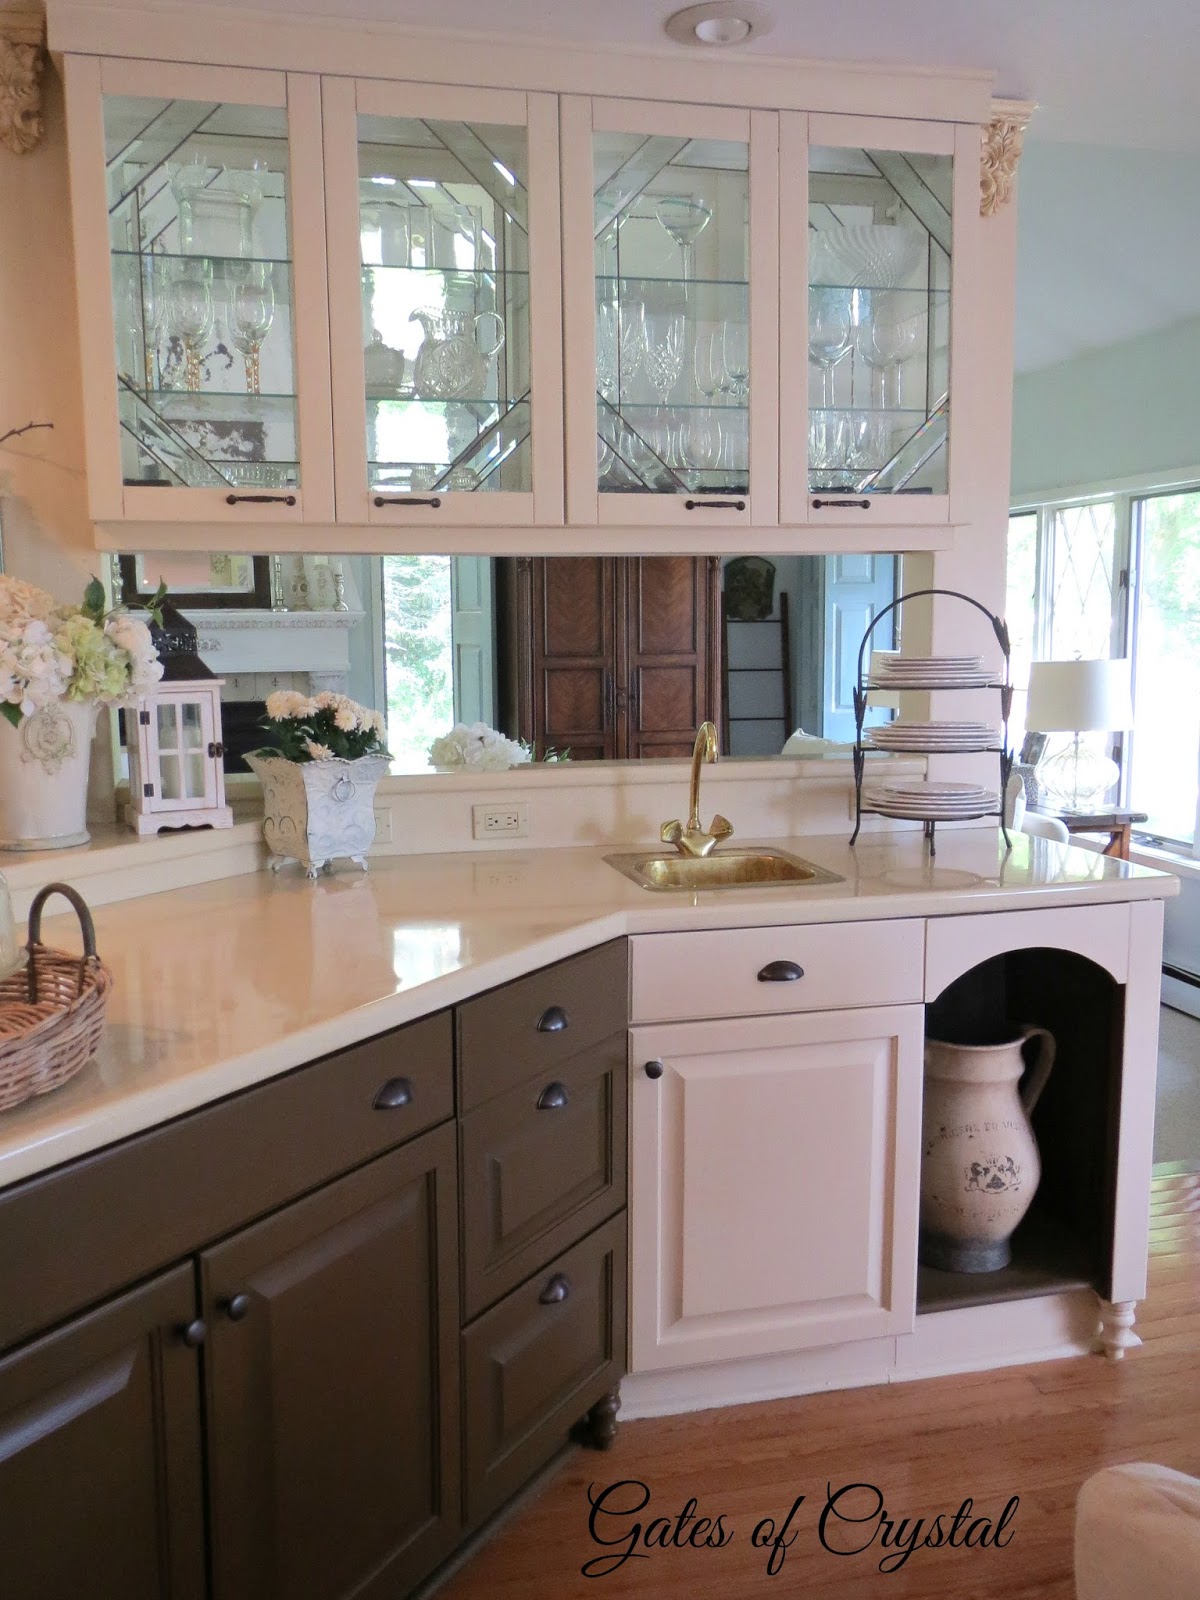
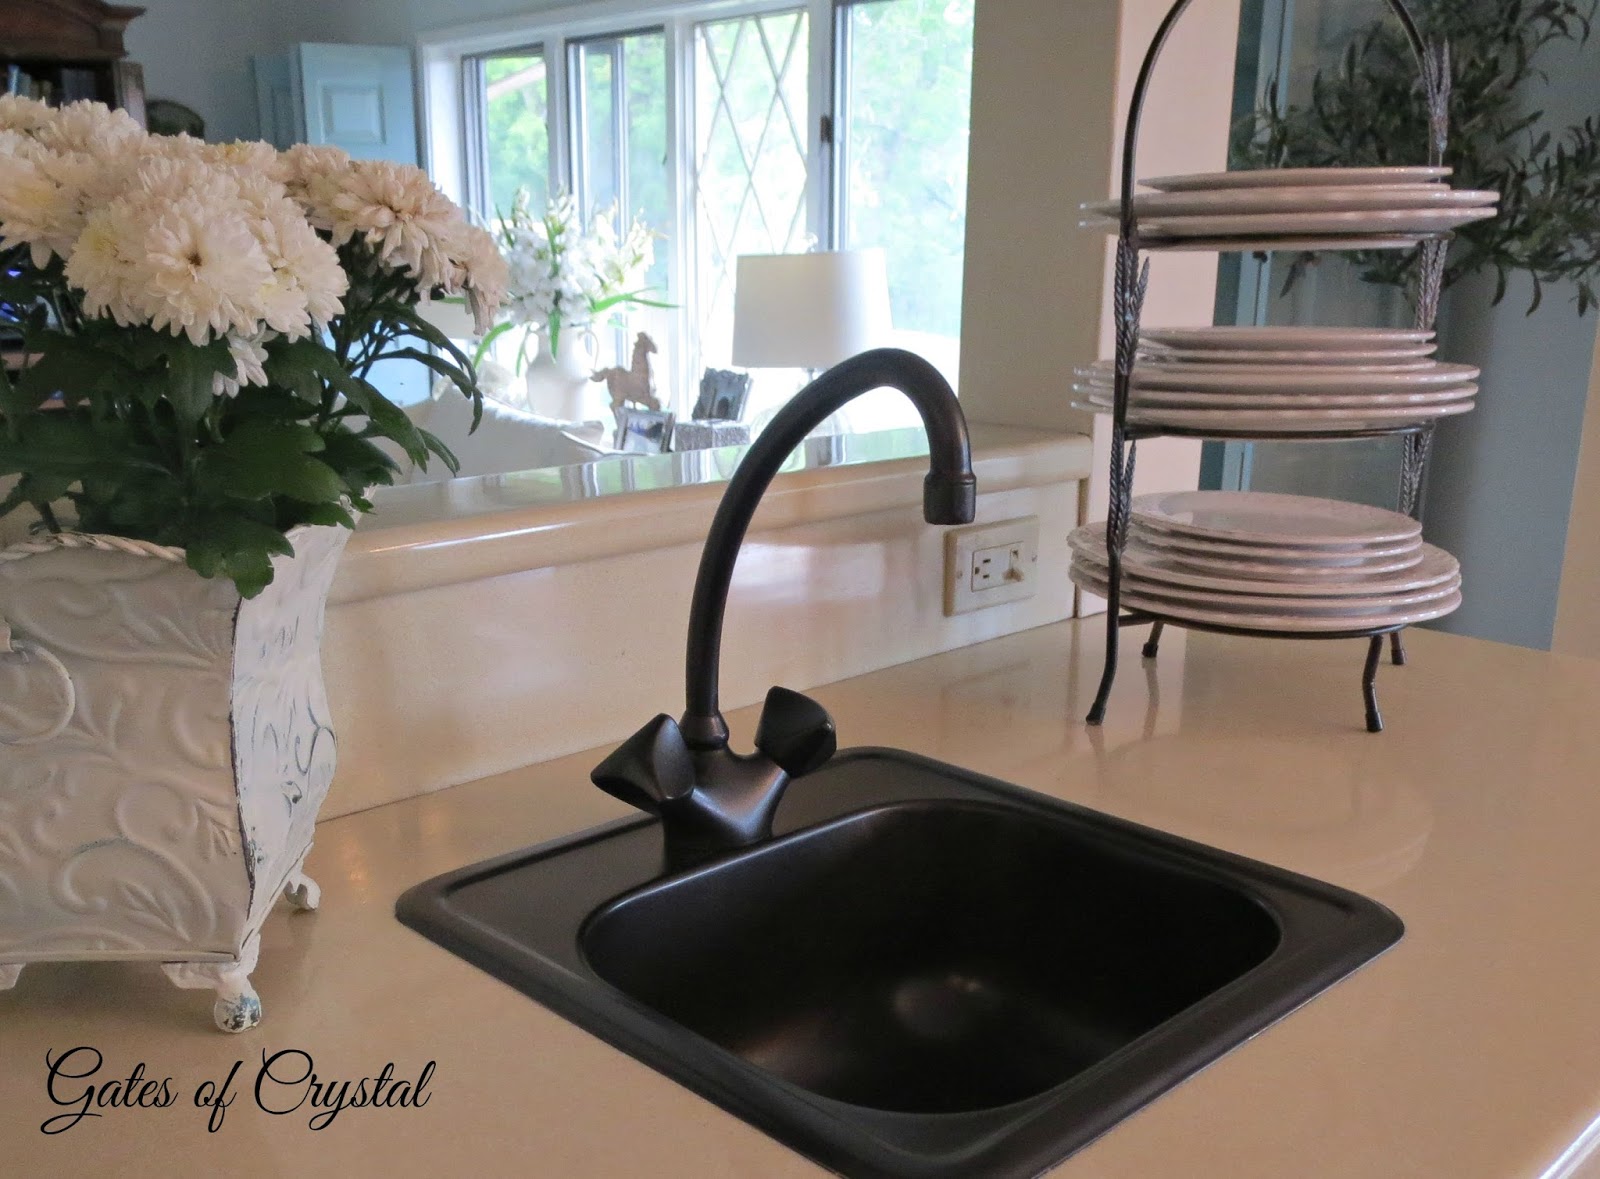
We removed the faucet so that we could paint that separately. I taped off the sink and surrounded it with trash bags to protect the cabinet.
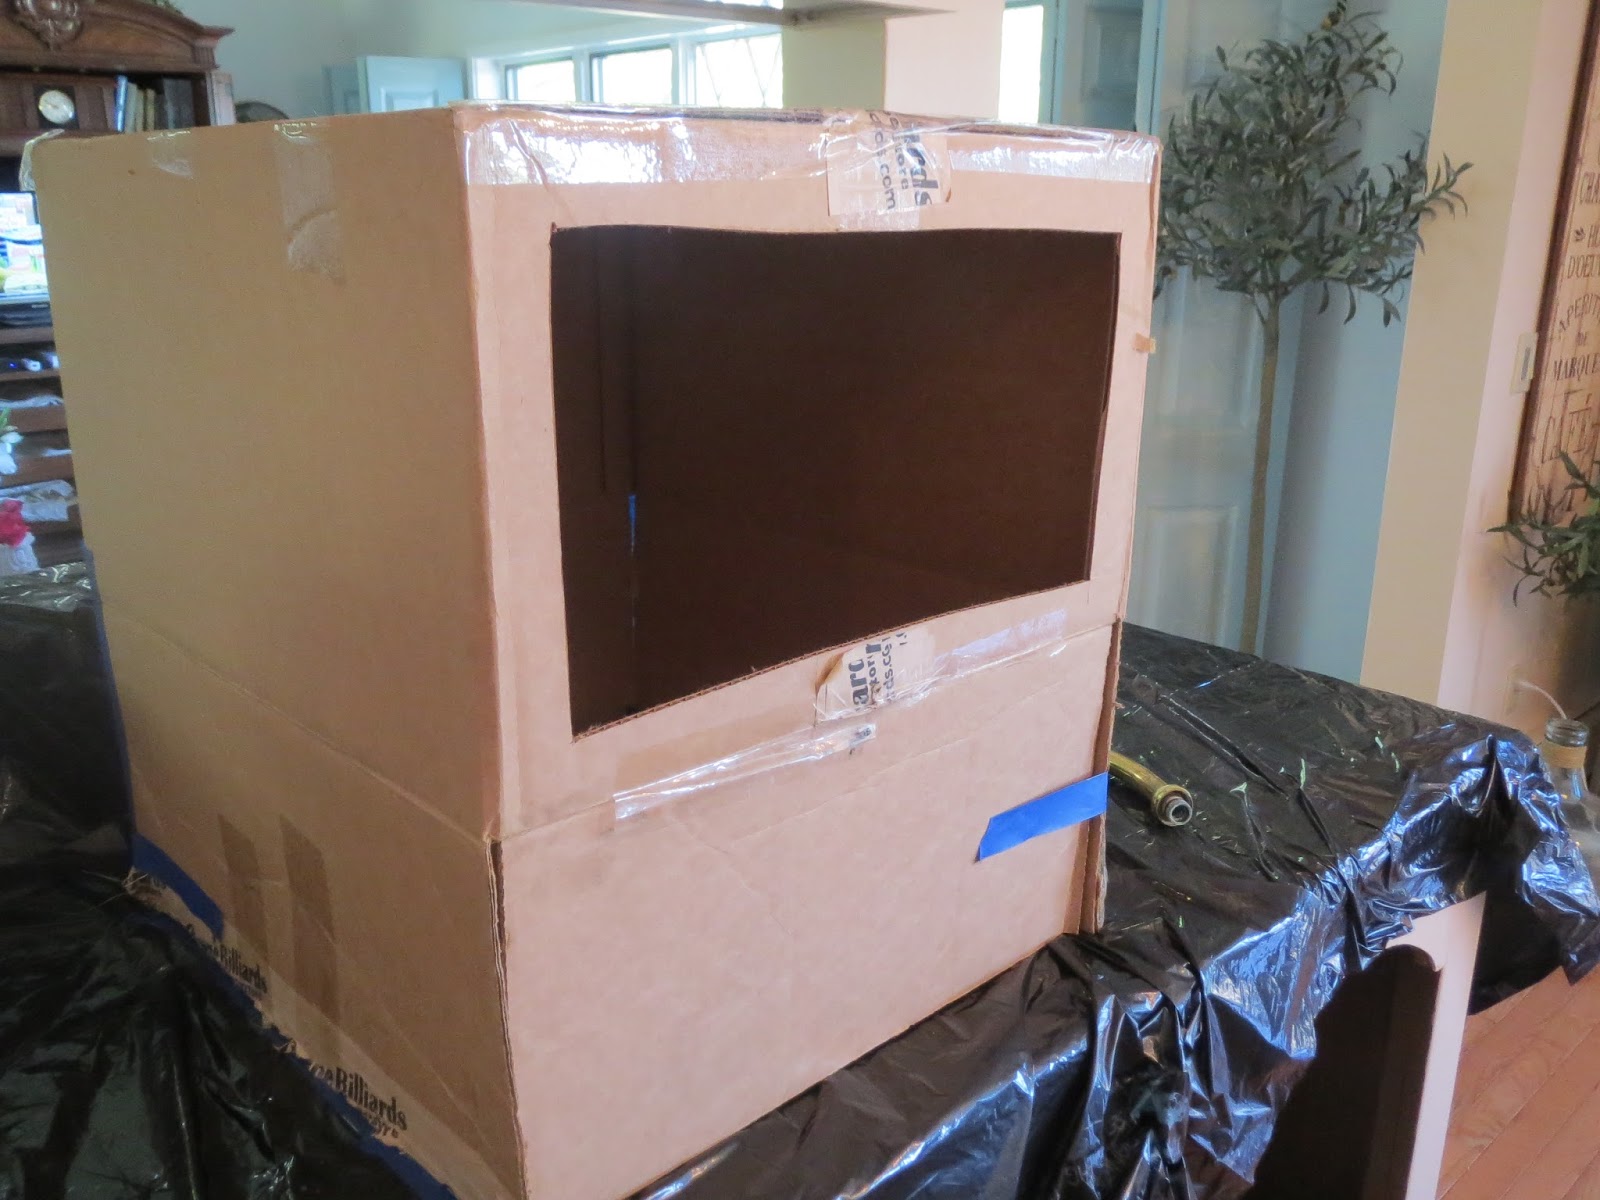
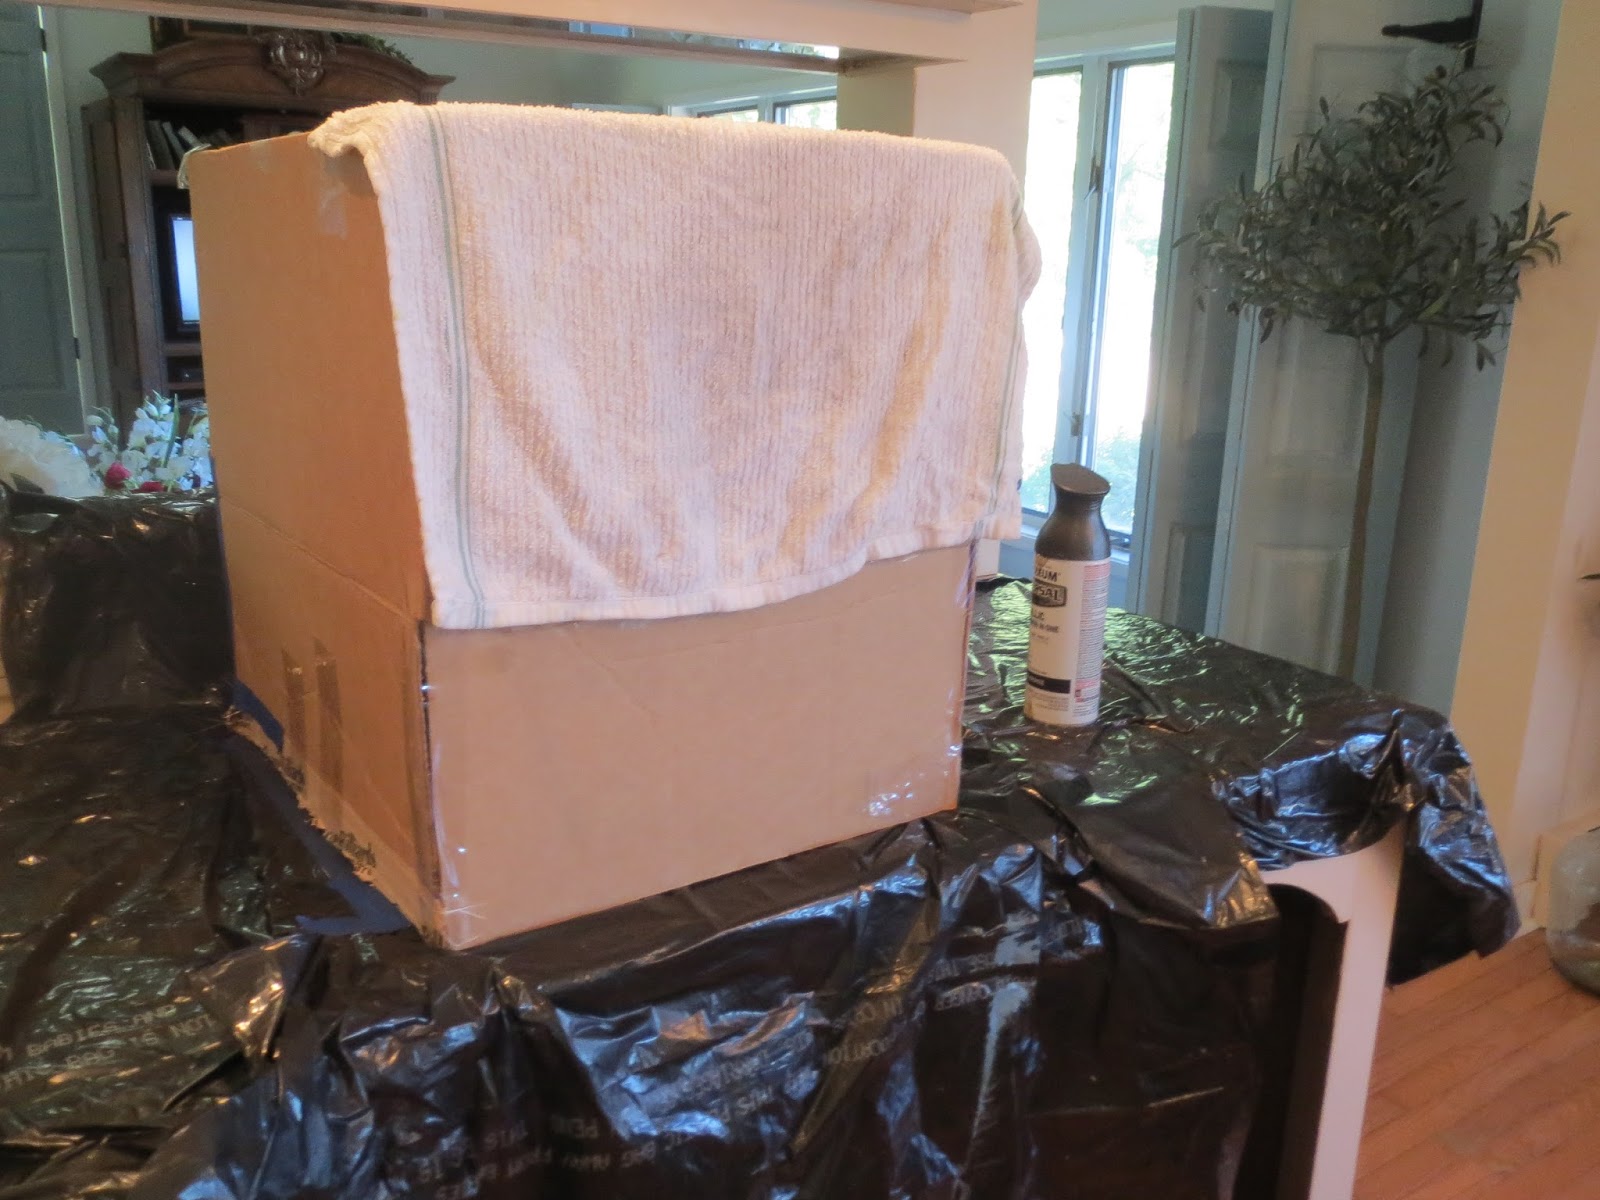
I then fixed a cardboard box to further protect the room while I painted.
I stuck the paint can into the box. sprayed all around and then 'closed the window' with a rag until the mist settled.
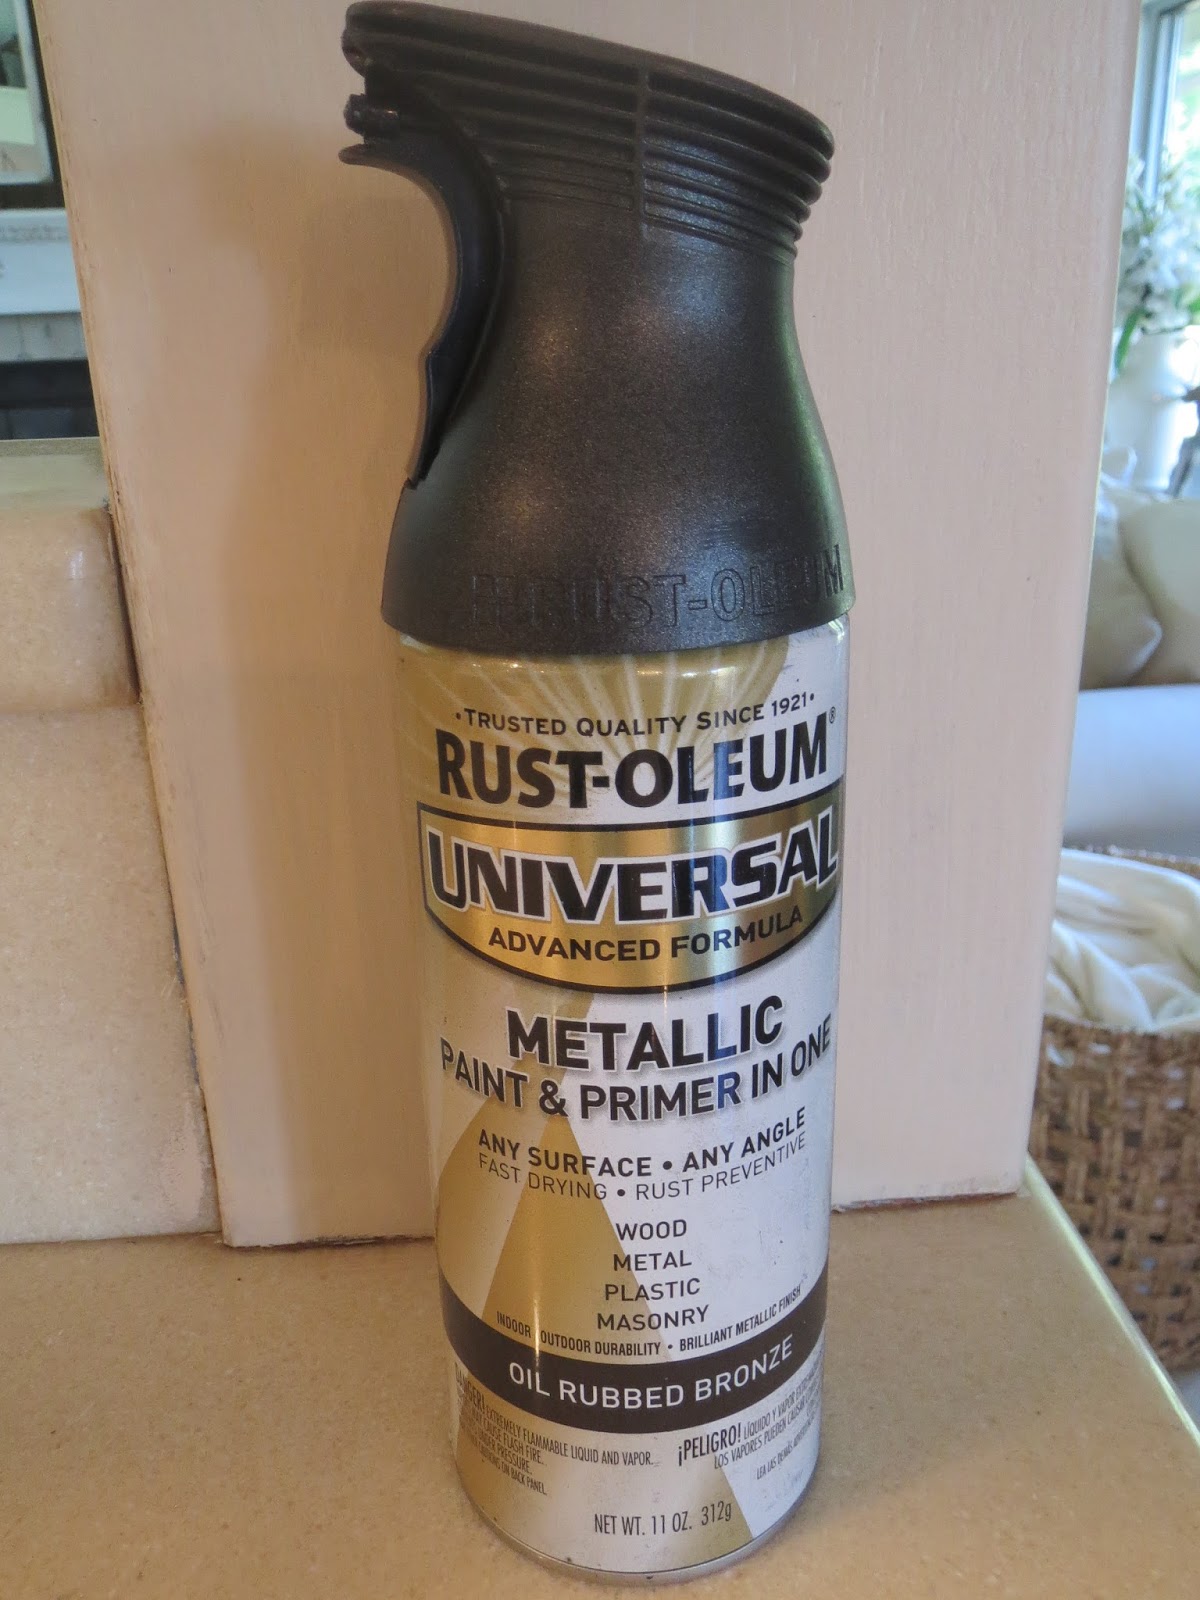
I did this several times until the sink was perfectly painted. I used Rustoleum for metal that included a primer.
We let it dry for several hours before we reattached the faucet.
Et voila! New sink! And I don't know if you can tell from this picture but it really is perfect. And because of our experience with the bathroom, I think it will be durable enough.
I had a nice comment on my From Farmhouse to French Country-Part Two that the brass sink added some 'up' to the room and I agree. It was a very pretty sink. But it didn't match and it was hard to keep looking nice. I think this was a nice solution.
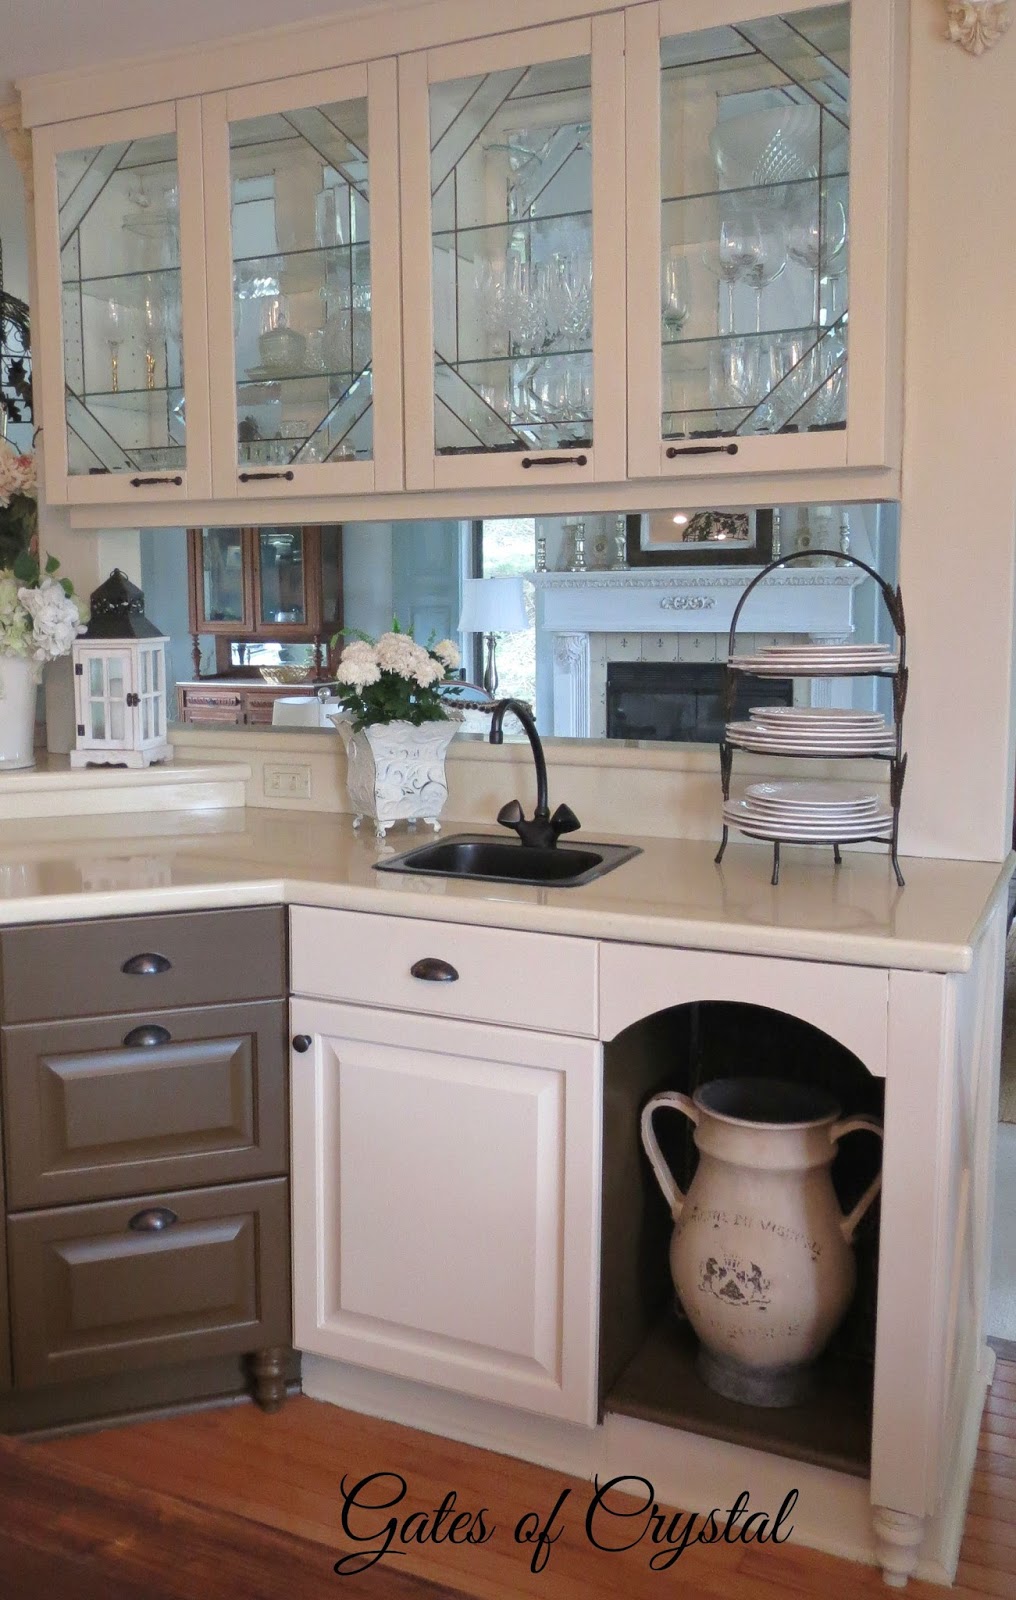
Previously the sink was the only brass thing in the room. Now it ties in perfectly with the cabinet hardware.
Have a great week! I'll be back in a couple of days with my living room's newly painted French Blue shutters!
French Shutters
love and blessings~

" Again Jesus spoke to them, saying, “I am the light of the world. Whoever follows me will not walk in darkness, but will have the light of life.” John 8:12
I'm joining these parties: oursouthernhomesc, betweennapsontheporch, .karensuponthehill, coastalcharm, astrollthrulife, savvysouthernstyle, too-much-time, tatertotsandjello, cedarhillfarmhouse.